This activity was given to us by Bug’s Montessori guide (that’s what Montessori calls teachers).
Here is what you need:
– braiding material
– chip clip or tape (preferably packaging tape or masking tape)
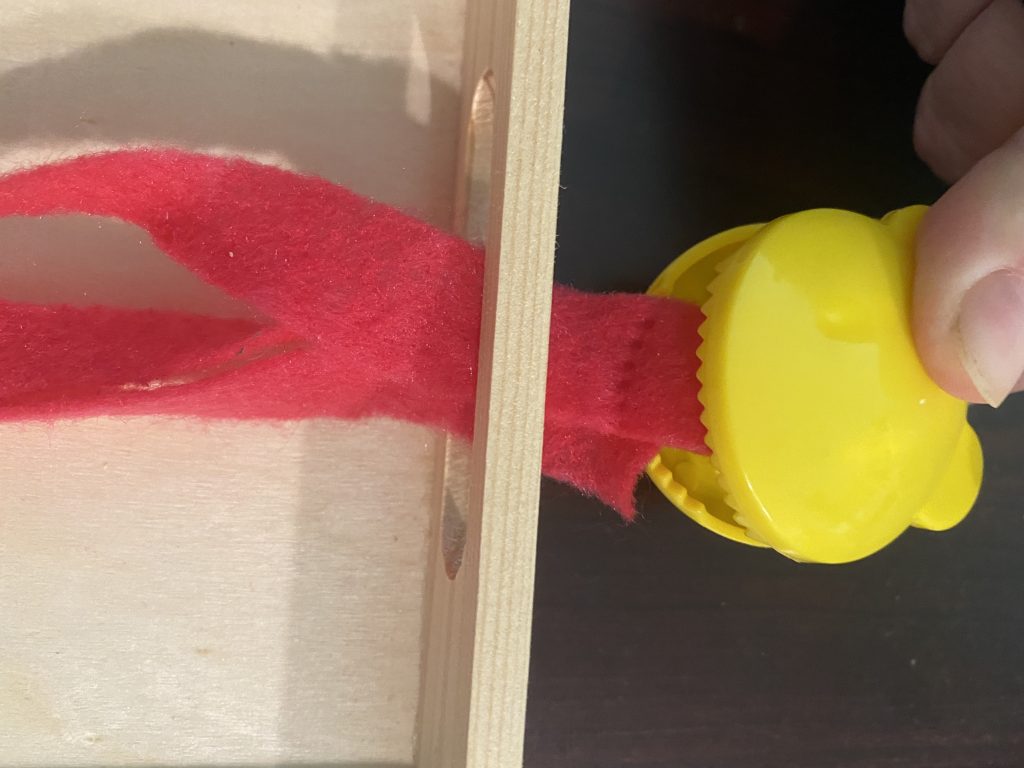
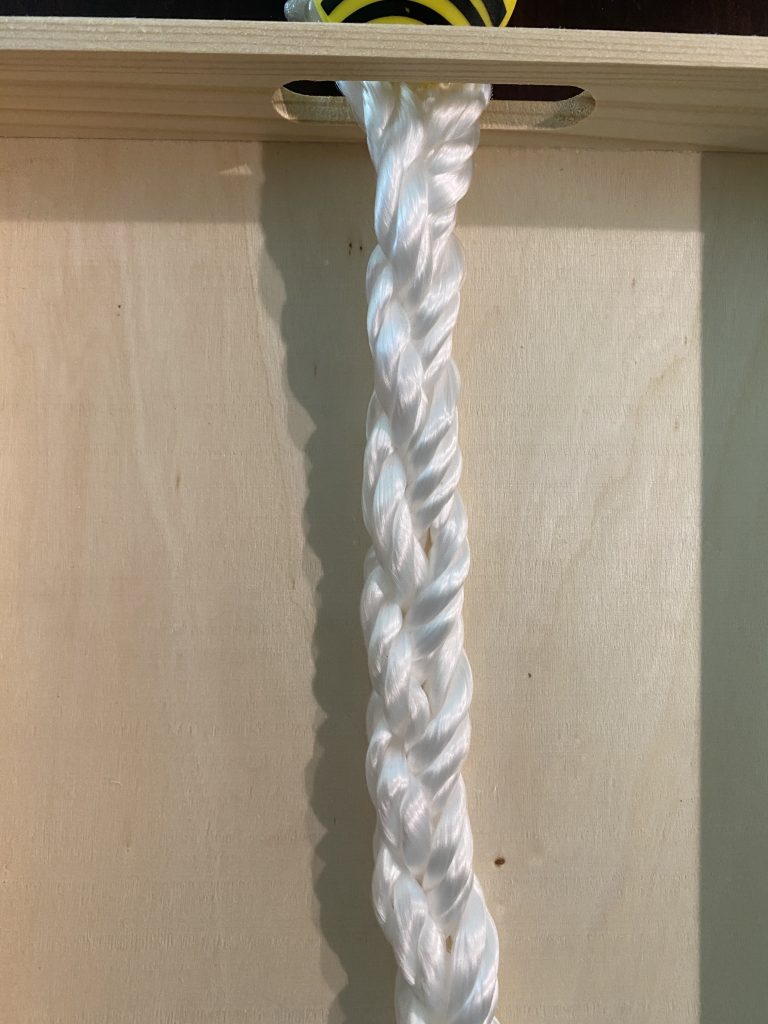
For braiding material, I first tried to use some felt cut into thin strips (about 3/4″ wide). I stretched the felt after cutting the strips to make it easier to use. Later, my husband found some curtain cord in the closet when looking for something else. I crowed in triumph because that was exactly what I needed for the activity. It’s perfect. Here is a link to some that comes in a variety of colors if you can’t find some around the house.
![]()
Later, my husband found some curtain cord in the closet when looking for something else. I crowed in triumph because that was exactly what I needed for the activity. It’s perfect. Here is a link to some that comes in a variety of colors if you can’t find some around the house.

Clothesline would work well too or anything with manageability for small hands, preferably something that is nice to touch. (Yarn is a little too thin for younger children.)
Now, just simply feed the three strips of material or cord through the handle.
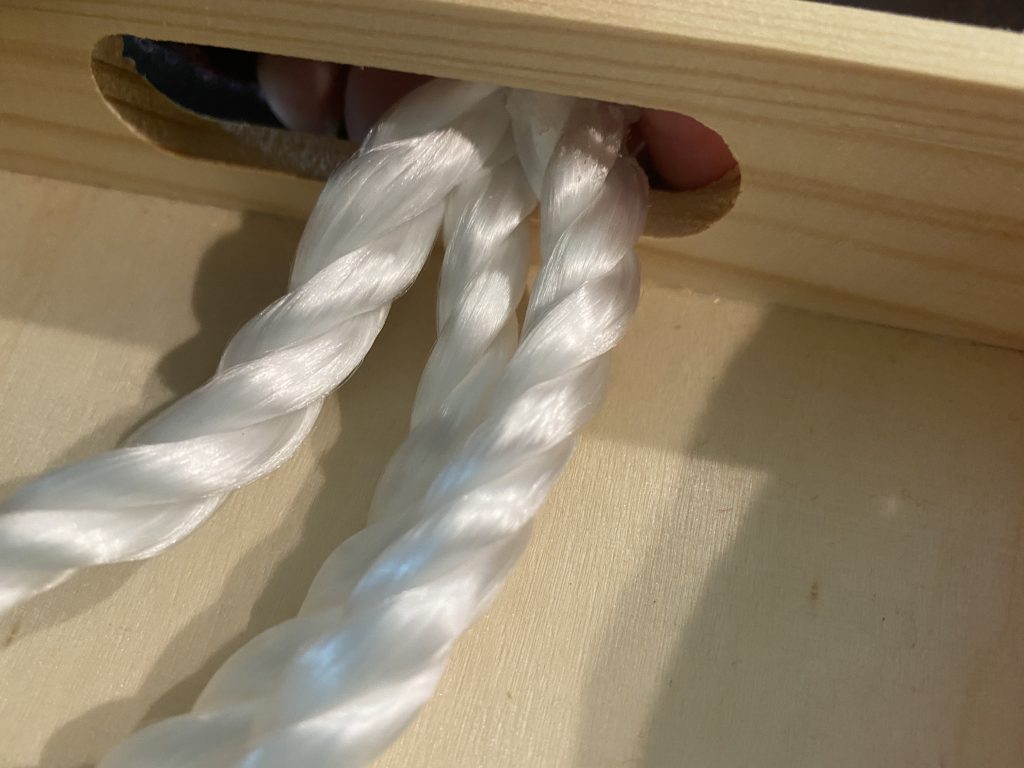
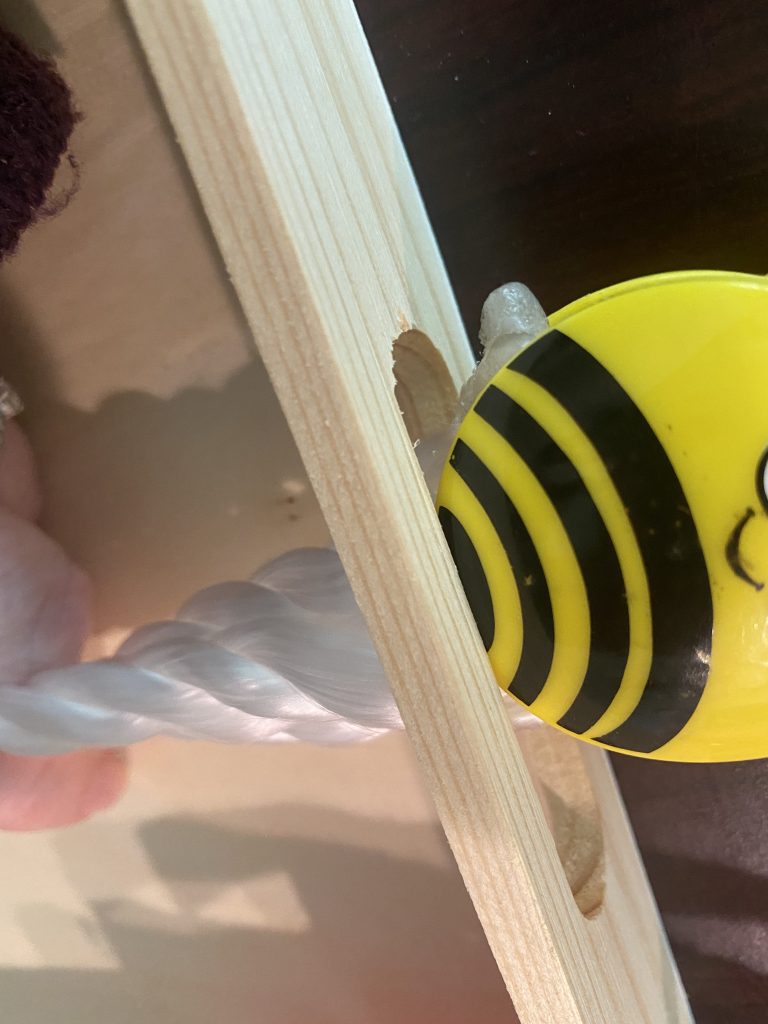
Then clip it with the chip clip to hold it in place. If you don’t have a handle on your tray, or the clip won’t hold, just tape it down.
Now your tray is ready to use!
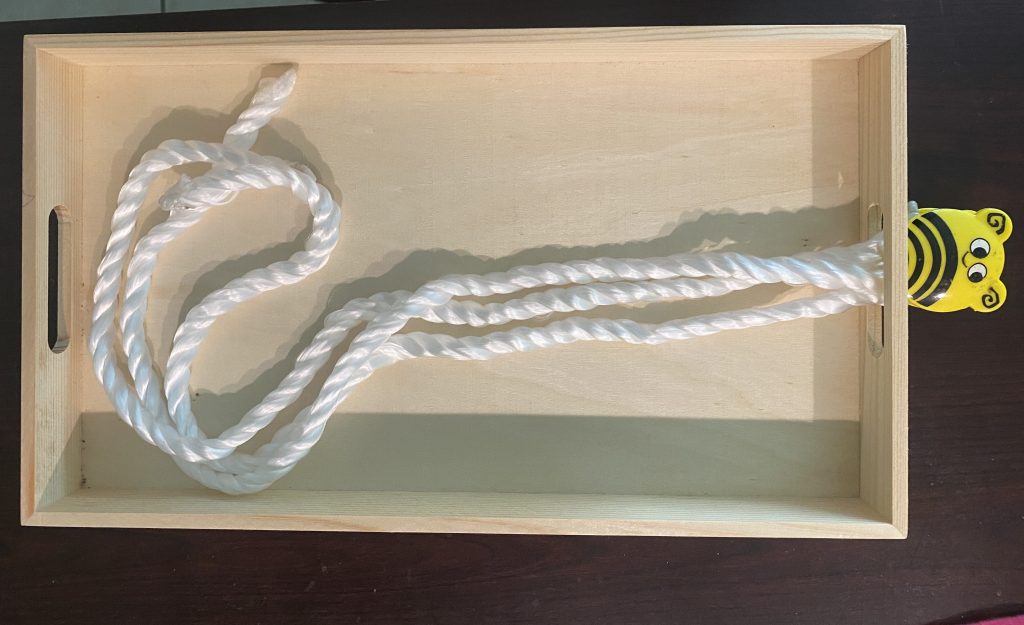
Demonstrate how to braid, then let your child try!
This activity can be expanded into several other work projects, including hair braiding, macrame, and friendship bracelets!
If you need trays, I absolutely loved this set. I wasn’t sure that I would because they are all different sizes, but the variance ended up working splendidly for different activities.
