When we first bought our RV, I was dismayed that there was no built in oven. It had been optional on our model, so we could buy one…. but the cost of the unit we needed was around $1000 which didn’t include installation. While there were cheaper options, it would mean tearing out or cutting the countertop and fitting in something that wasn’t originally designed to be there. What was meant to be there was an oven insert without the range top. Specifically, this one by Furrion:
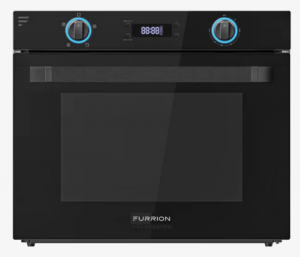
After days of searching, I came to the conclusion that buying directly from Furrion was the only option if we wanted an oven like that. These ovens are 21″ wide – not residential size. Putting in anything else would mean serious renovation and I love my cabinetry. I didn’t want to hack everything to pieces trying to make it fit.
After a lot of measuring and researching, I realized that we could fit an air fryer/toaster oven right under the range if we removed a drawer. The Ninja Foodi would fit perfectly. It was literally the exact size that we needed. It would mean that we could keep the silverware drawer under the range and still have the functionality that I wanted from a regular oven. We’d had great experience with Ninja as a brand, so we were pretty excited at the idea.
However, after a lot of reading, we realized with some dismay exactly what I’m about to tell you.
Do not use a toaster oven or air fryer while it’s inside your cabinetry. It’s a major fire hazard.
I wasn’t thrilled. I really wanted something that would function like an oven. Our built in plans had to be modified. It would essentially have to be an “almost” built in. The oven would be nestled safely in the cabinetry out of the way in a spot the fit it exactly, but when it was being use it would have to come out and sit on the counter, table, or outside on a picnic table. That was the con.
However, there was a “pro” too. The inside of the Foodi was actually a little bigger than the inside of the oven, which meant that we could bake a few extra fries or cookies. It was plenty large enough to cook on two levels, which meant we could make fries and chicken strips for the whole family. Plus, we had the versatility that the multi-function Foodi could offer.
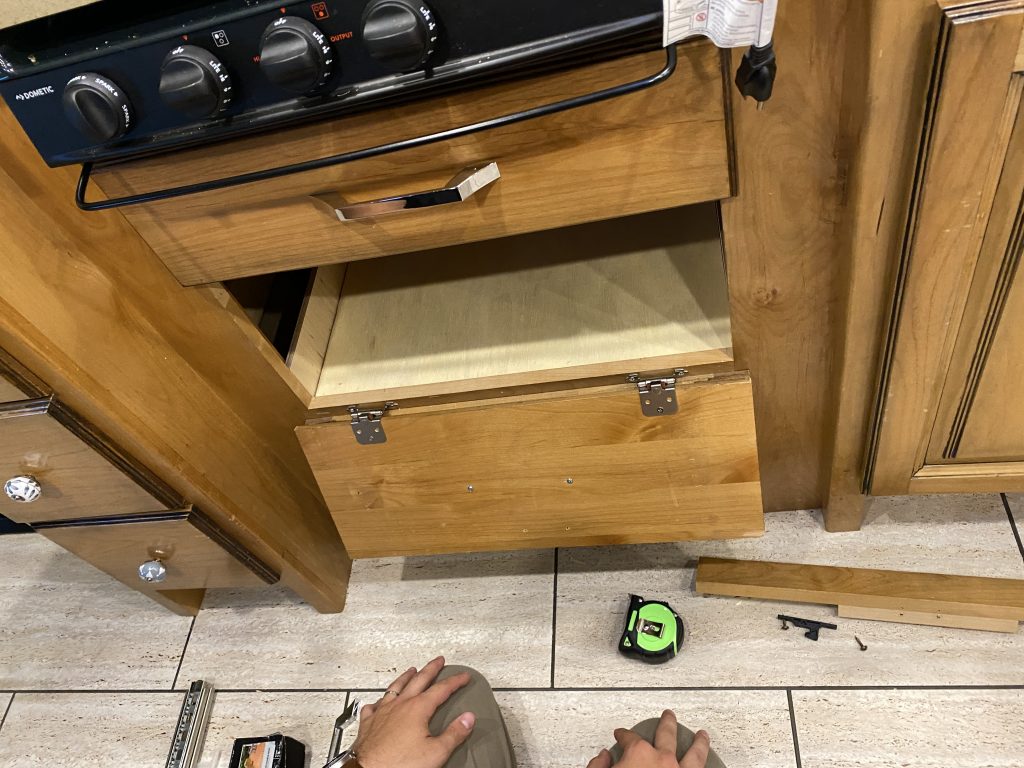
The first part of the process was to remove the drawer and the drawer slide hardware from the enclosure. Then, we cut a base for a shelf that would support the oven. The sides that you see below were already really sturdy, so we just put a support across the bottom, then added the shelf piece.
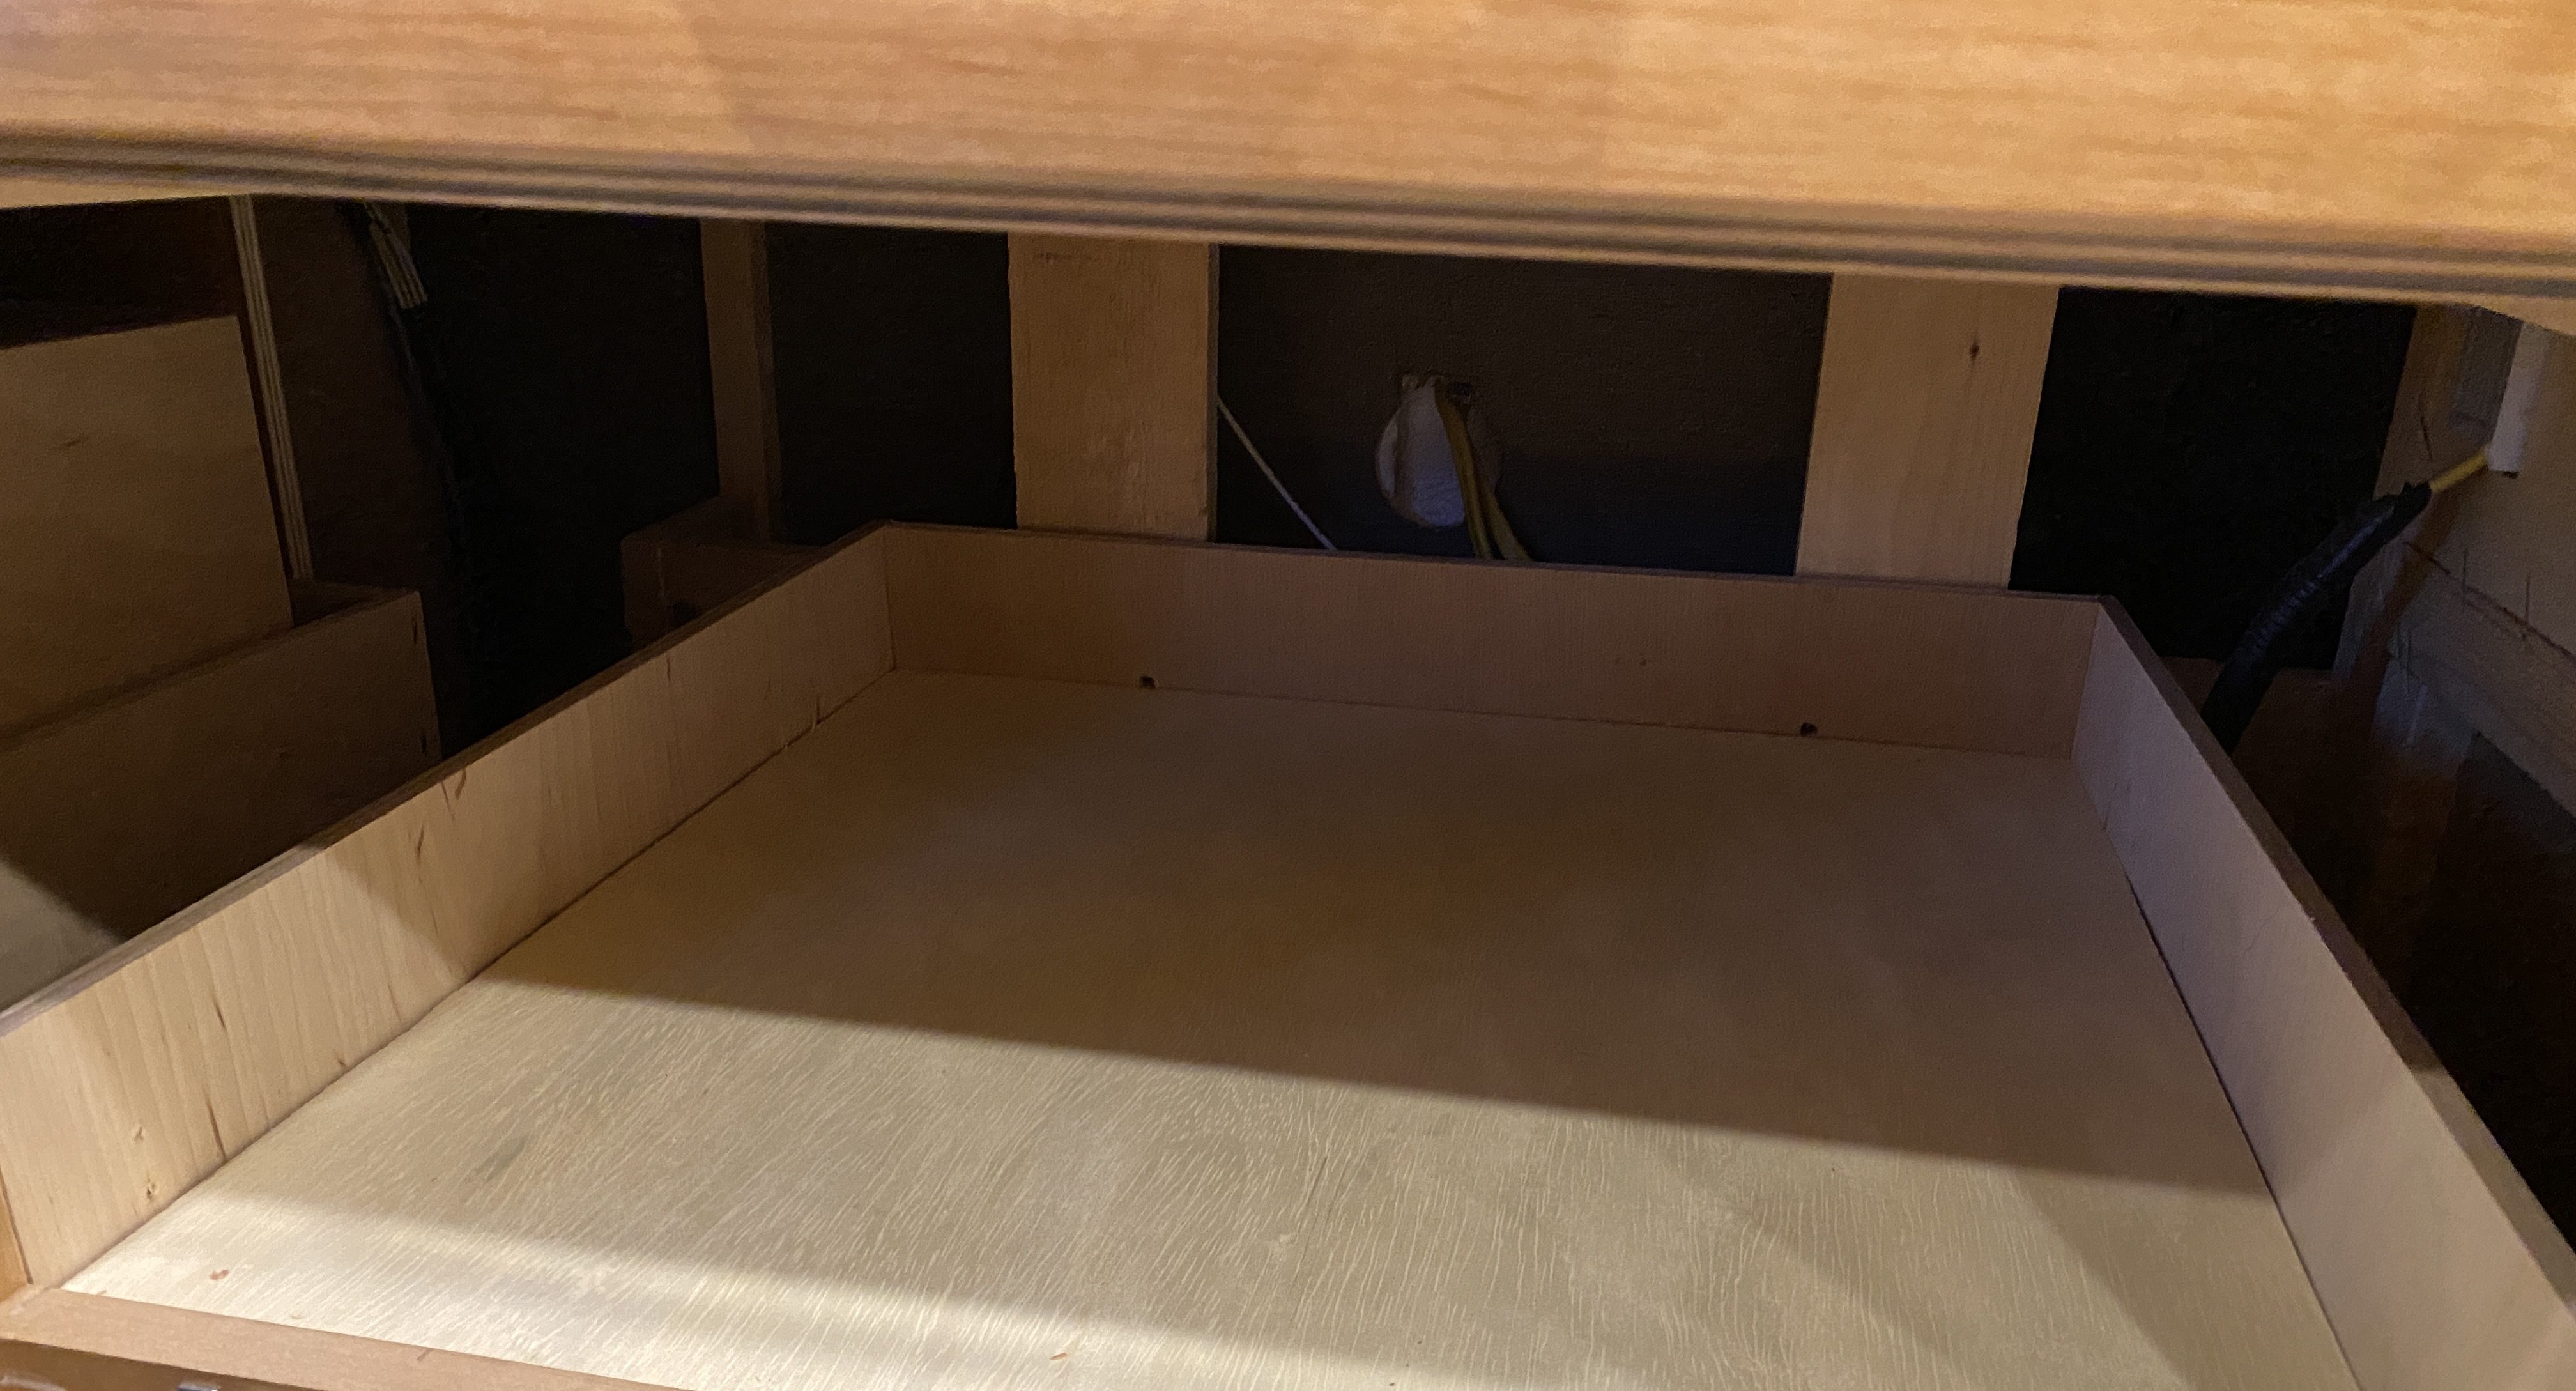
There was a lot of test fitting to make sure that we could get the oven in and out easily.
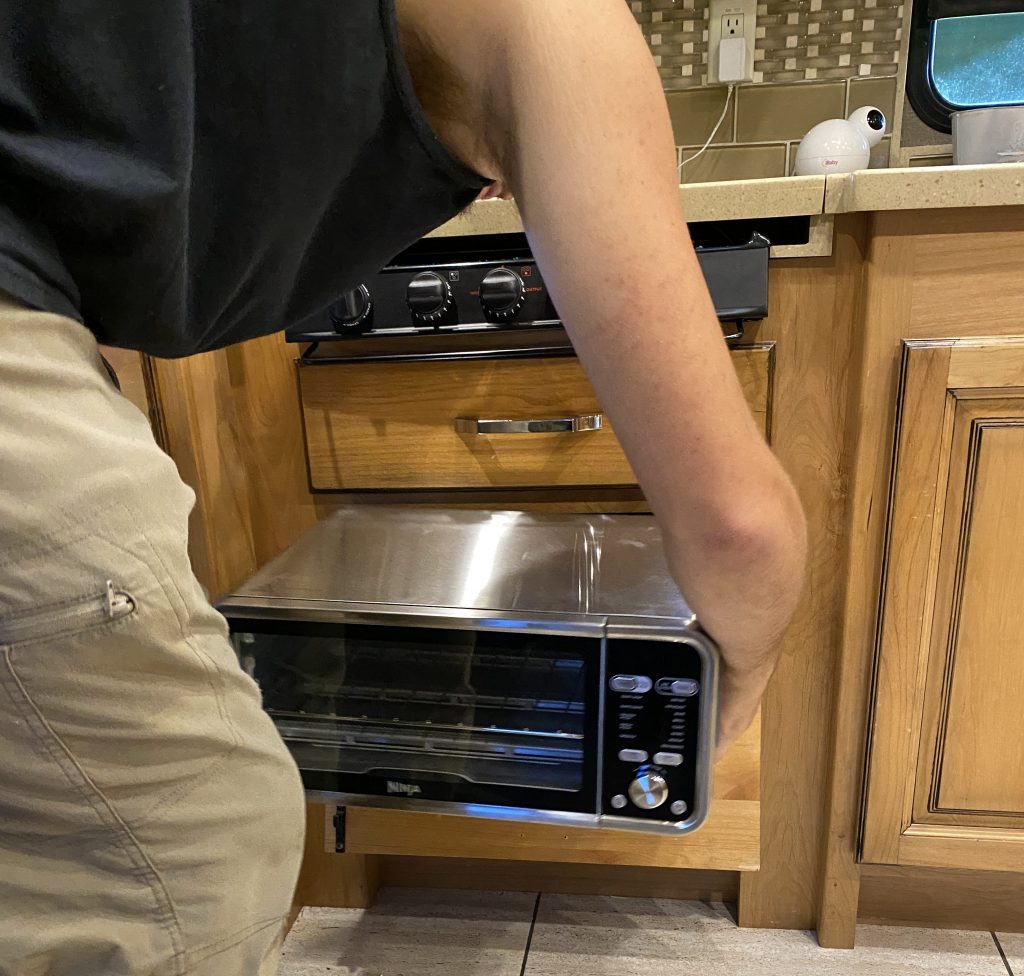
The oven was a little too tall, but luckily the part of the cabinet directly above the drawer space was screwed on so it was easily removed and trimmed to a slightly thinner piece, that would be just the right height to still be covered by the new door we were making for the cubby.
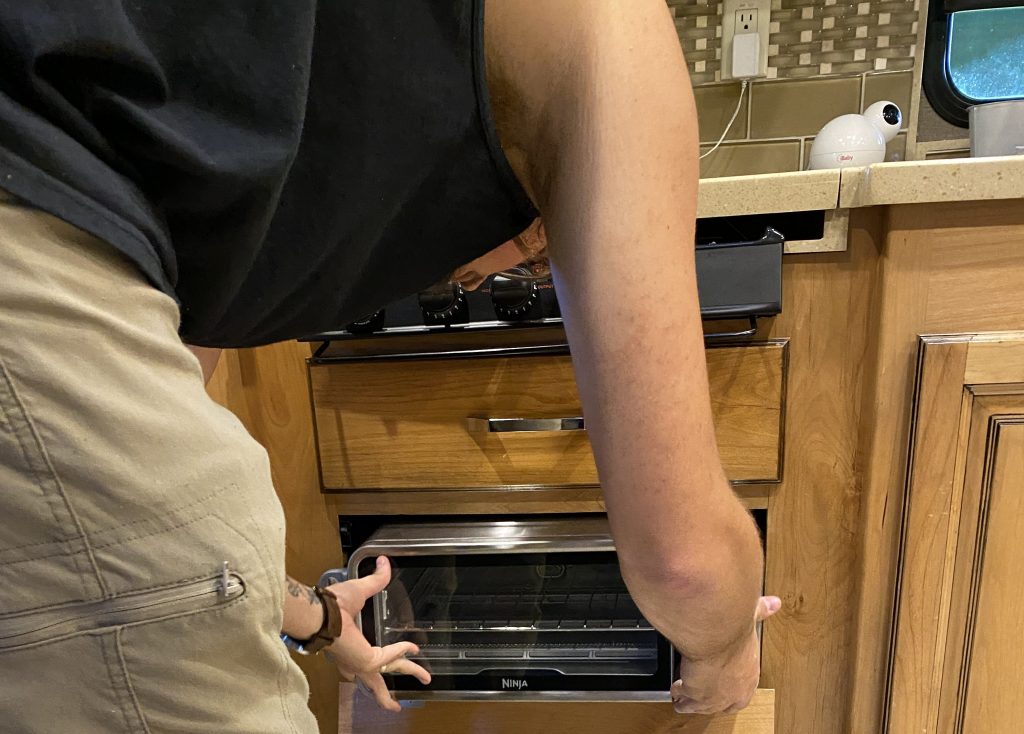
Now it fits!
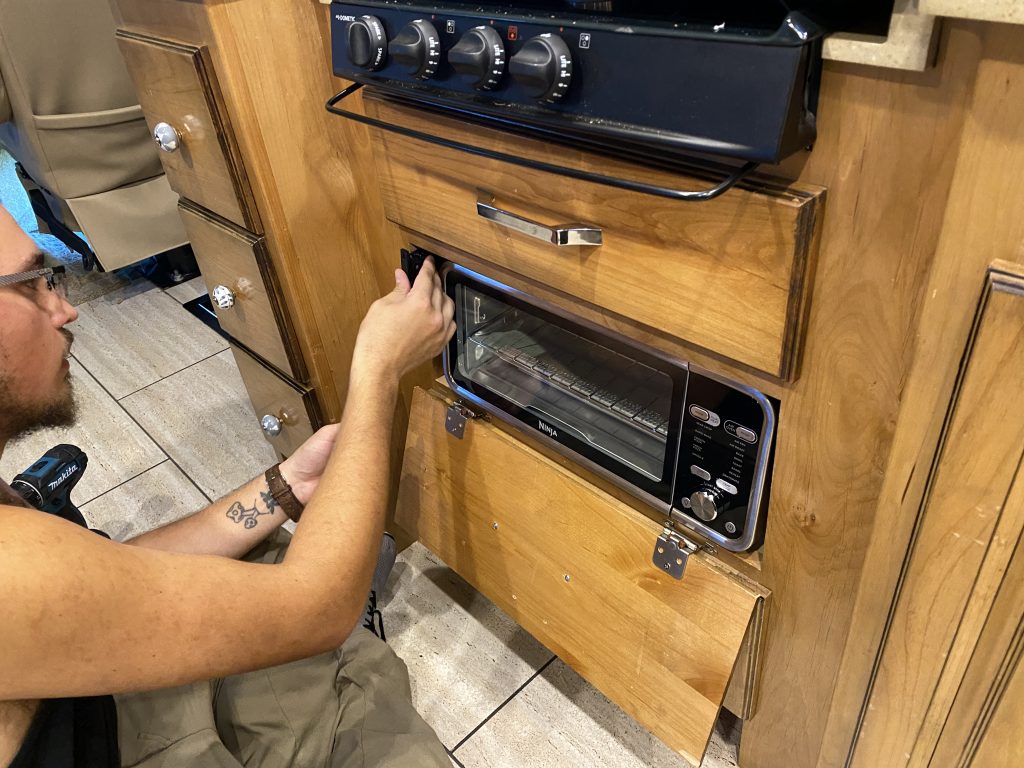
The next part of the process was to carefully remove the front facing part of the drawer. These are generally tacked together. My hubby slide the bottom of the drawer out and gently tapped off the face plate. Then we used that piece to create a “drop down” drawer with hinges on the bottom to cover the oven.
Then it was just a matter of putting on the snap latches (which we had taken from the original drawer) to keep the door closed securely.
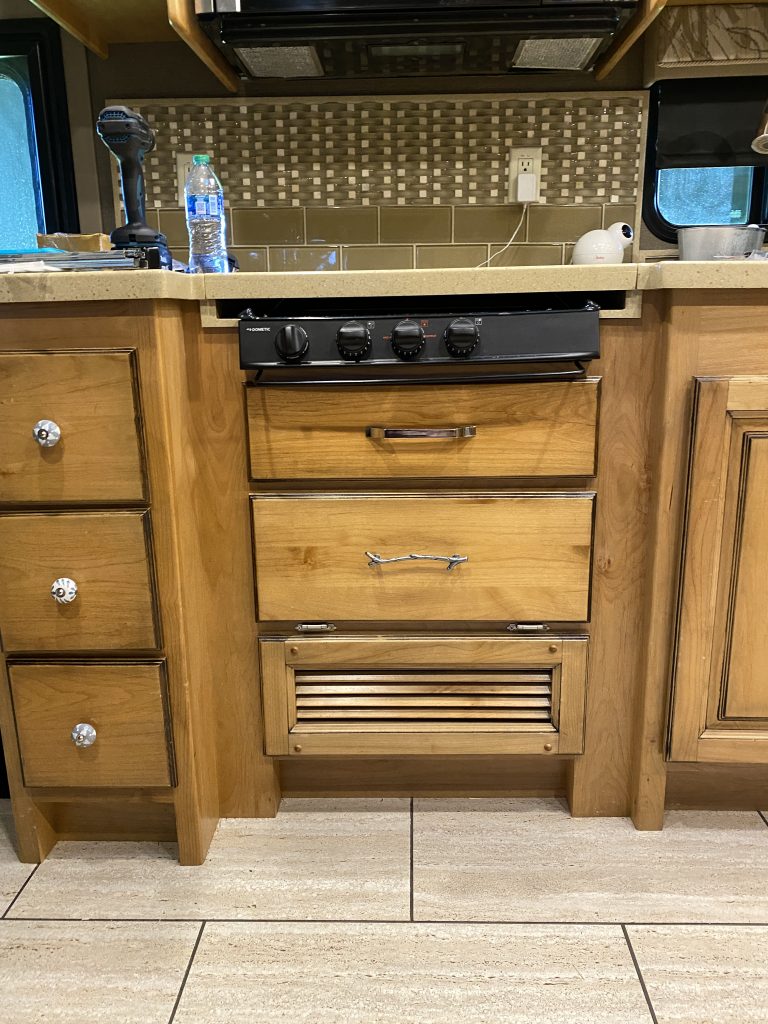
And done! It’s super useful, tucked away nicely and neatly and takes up no more space than it absolutely has to. It looks pretty close to original – the hardware doesn’t match in the picture below yet because we were in the process of changing it over and I was waiting for the rest of the twig pulls to come in the mail. But, we love how our little cubby worked out and it makes cooking much easier.
One additional thing that I had added was a pad under the Foodi to make it easier to pull in and out. At first I ordered some small appliance sliding pads, but they were too small. However, they were very much like a large gaming pad, so I bought one of those instead to use to help slide the toaster in and out and it worked perfectly. It’s not needed, and we eventually stopped using it just to simplify, but it did help slide the oven in and out.