Disclaimer: First, let me make it clear that I am not a seamstress. In no way, shape, or form do I probably sew “properly.”
I was taught to sew many years ago by my great-grandmother who was terrified to teach me on the sewing machine because she feared I’d get a needle run through my finger. That very thing had happened to her mother, who ran it through the bone, and it stayed there for the rest of her life.
No, I sew as she taught me to both sew and crochet – in a free-spirited, patternless, “it looks right” fashion.
Not that Granny couldn’t use a pattern, because she could. It’s just that she hadn’t learned with patterns and in her 80-some years of making things she really didn’t need one. Most things she wanted to make she could eyeball and get pretty close to the goal.
So, if you are a stickler for proper sewing, these instructions probably aren’t for you. I apologize. However, if you are a simple crafter like I am, I hope they help you make something fun!
We acquired Duffy in a special way and he has since then become our travel companion.
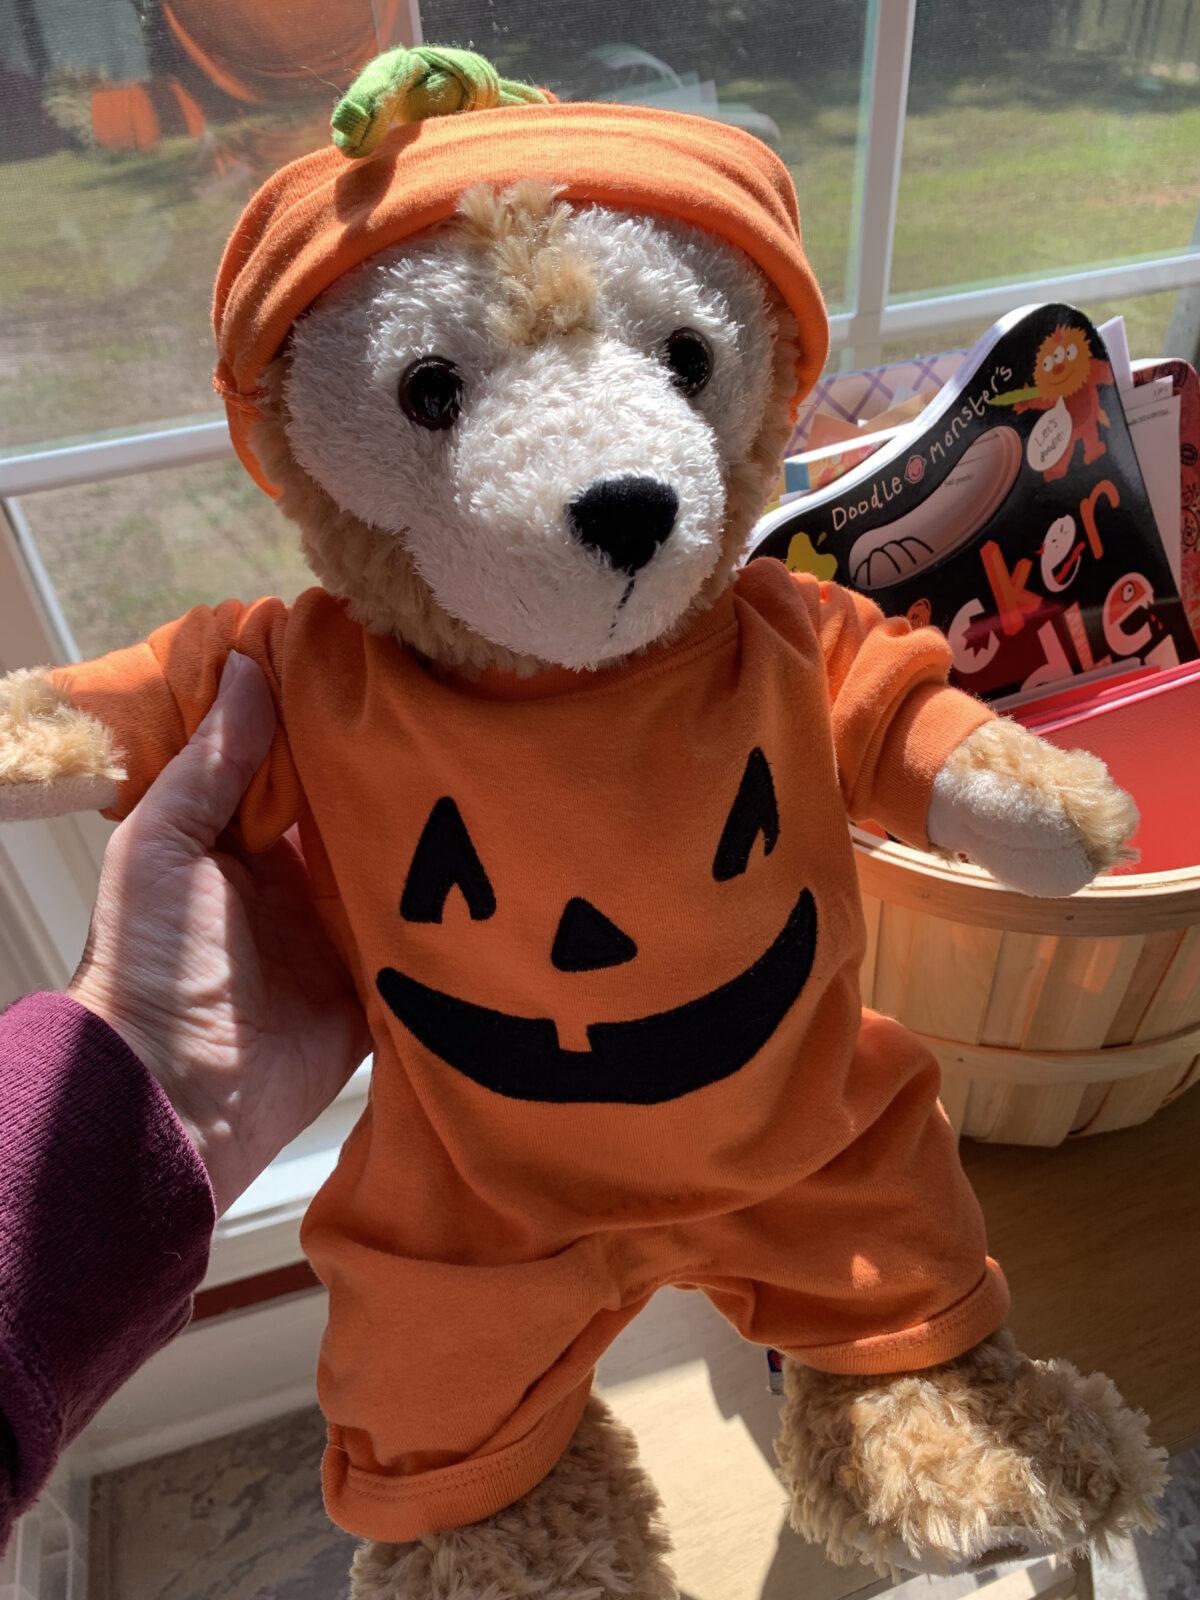
My only issue with Duffy is that, not only are Duffy outfits difficult to find in the United States, they can also get sort of pricey – even the off-brand ones. I ordered a pumpkin outfit on Amazon, hoping for something that Duffy could wear to the Mickey’s Not So Scary Halloween Party with us. It was a little painful paying $15 for an outfit for a bear and when I received it, it was really cheaply made and small. I sent it back, wondering what my next option was because I had run out of time to order anywhere else.
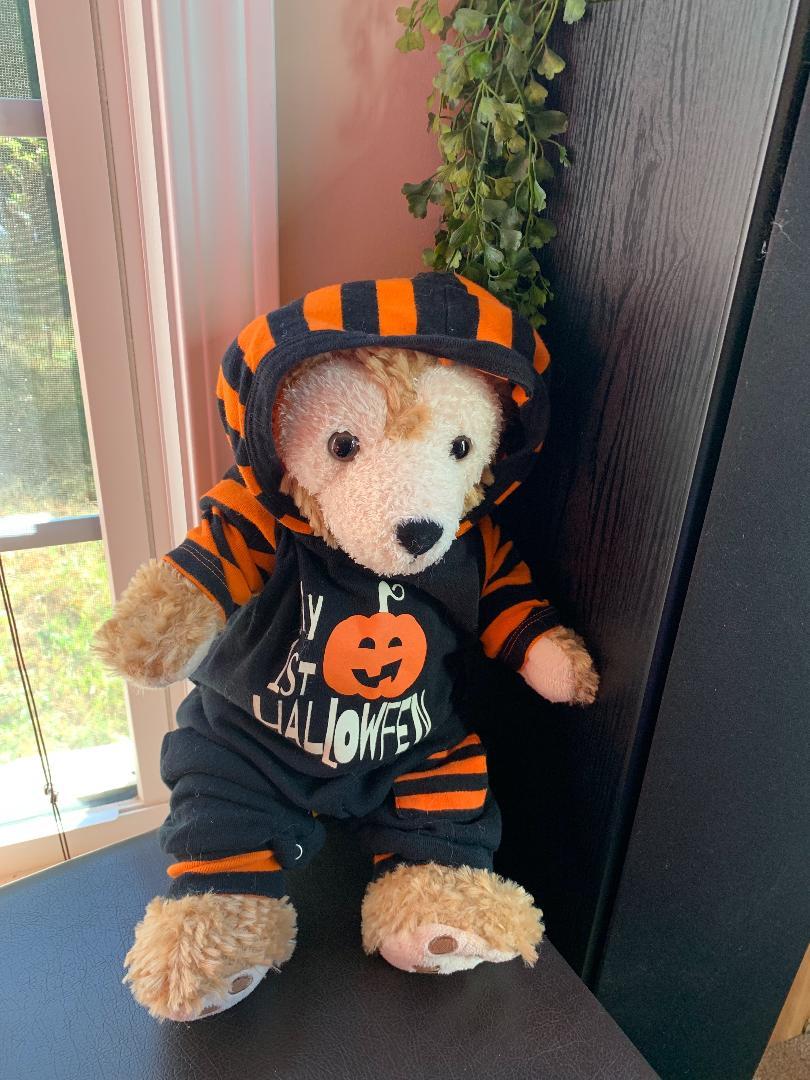
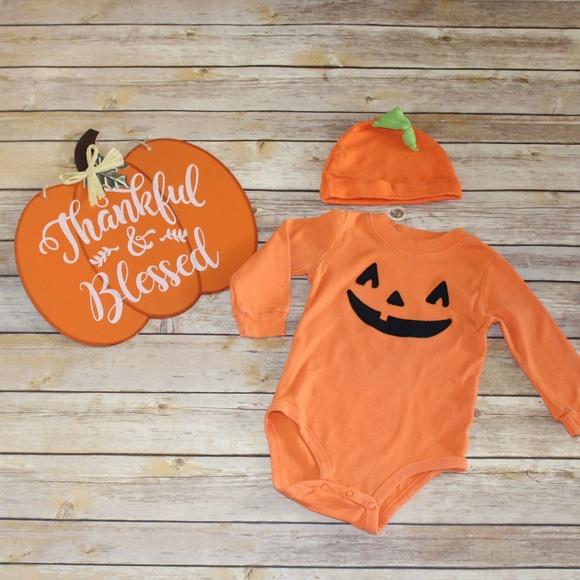
It was at that point that an idea tickled my mind. The baby had outgrown some really cute Halloween outfits that would look super cute on Duffy – would they fit? It was specifically the outfit above that crossed my mind. For this outfit, it was an option to cover the “my first” in vinyl, but instead I chose to take black felt and stitch a cover over it with orange thread to match the patch on the knee.
I sometimes have a hard time parting with Bug’s clothes. I had donated some and set some aside to sell on Poshmark and then packed away my very favorites. I started digging and we started trying on outfits.
Here is what I found for sizes:
Size preemie is too small.
Size newborn is snug.
Size 3-6 months is also a little snug.
Size 6-9 months is about perfect.
Size 12 months is a little loose, but still fits.
Of course, everything depends on the brand of clothes. Most of the baby clothes I bought are Carters brand. Here is what I started with. The Carter’s 2-Piece Pumpkin Hat and Onesie (By the way, I put the link here in case you want to order one for your baby, but Amazon is not always your best price, sometimes it’s cheaper direct from Carters! It’s usually around $12 – $16.) Thrift stores are also a great place to search!
The Halloween jumpsuit I found fit perfectly, but the onesie was size 12 months and was just too long. The easiest thing to do with onesies is to just cut them to length and hem them into a tshirt. But, I really liked the way the jumpsuit looked. Plus, I had an issue cutting a sentimental outfit. So, this is how I fixed it.
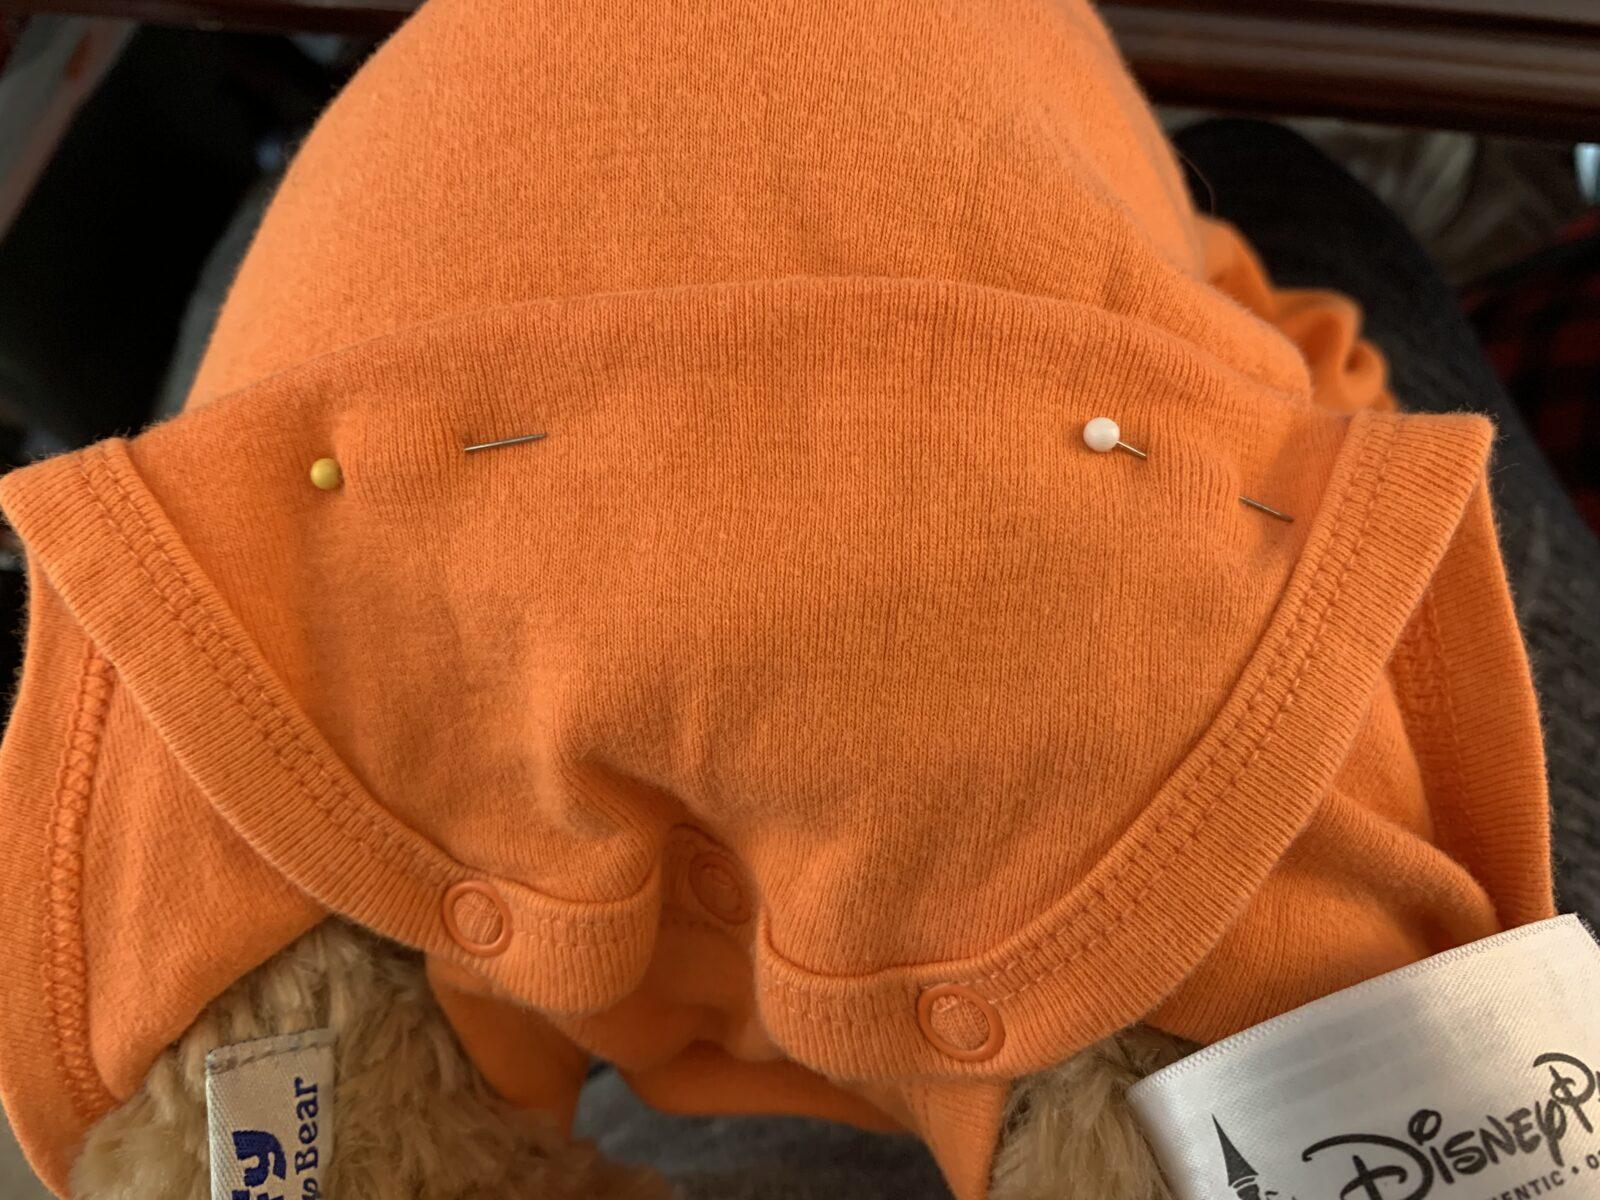
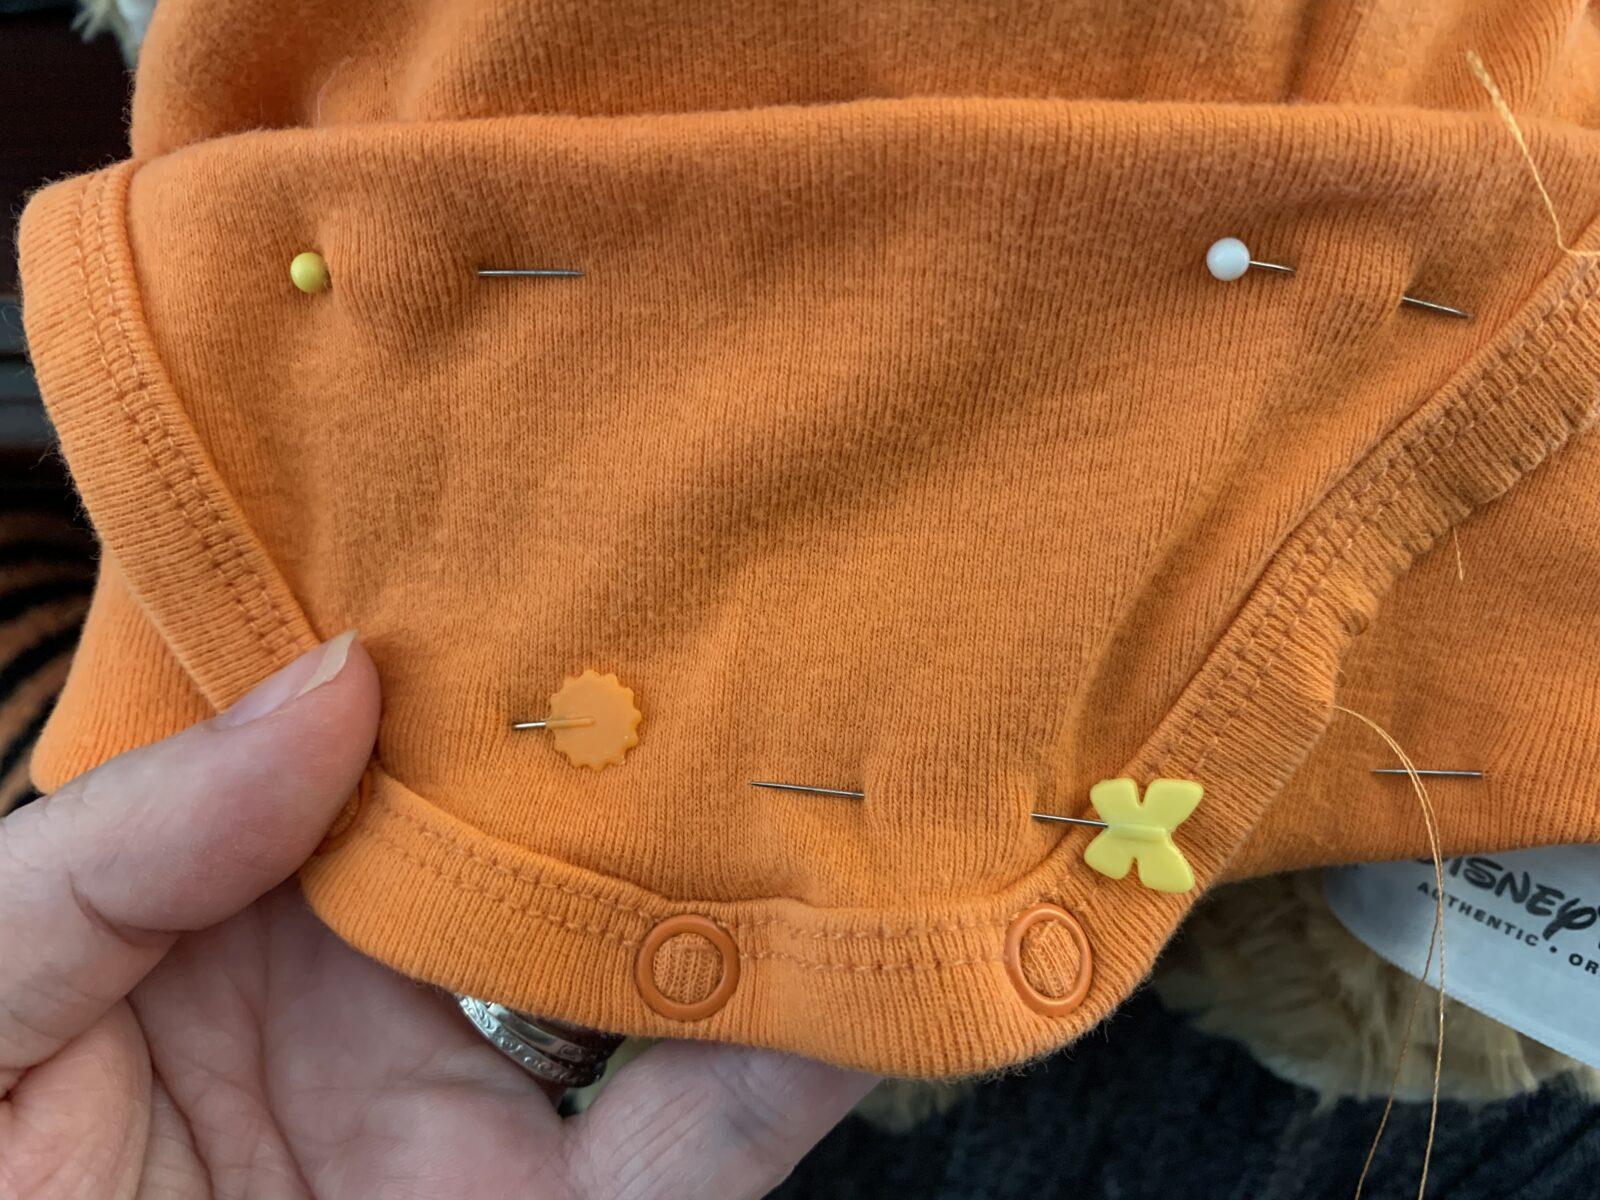
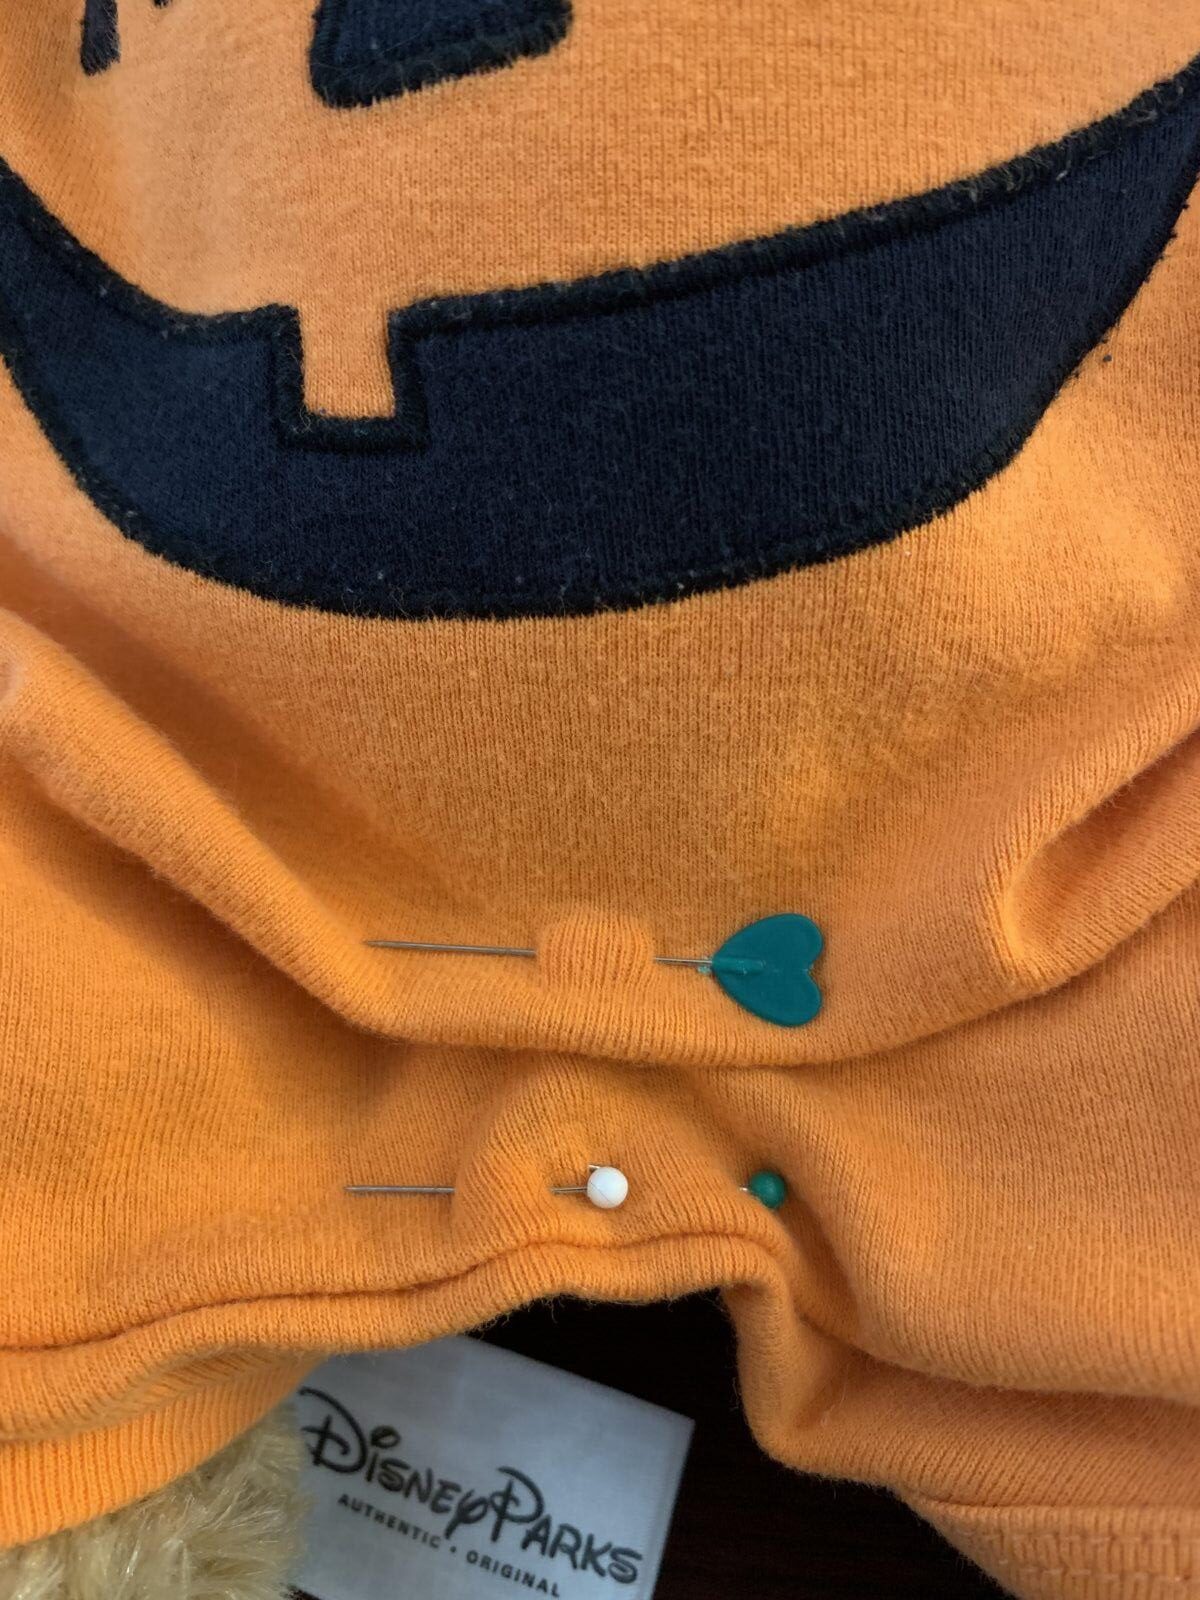
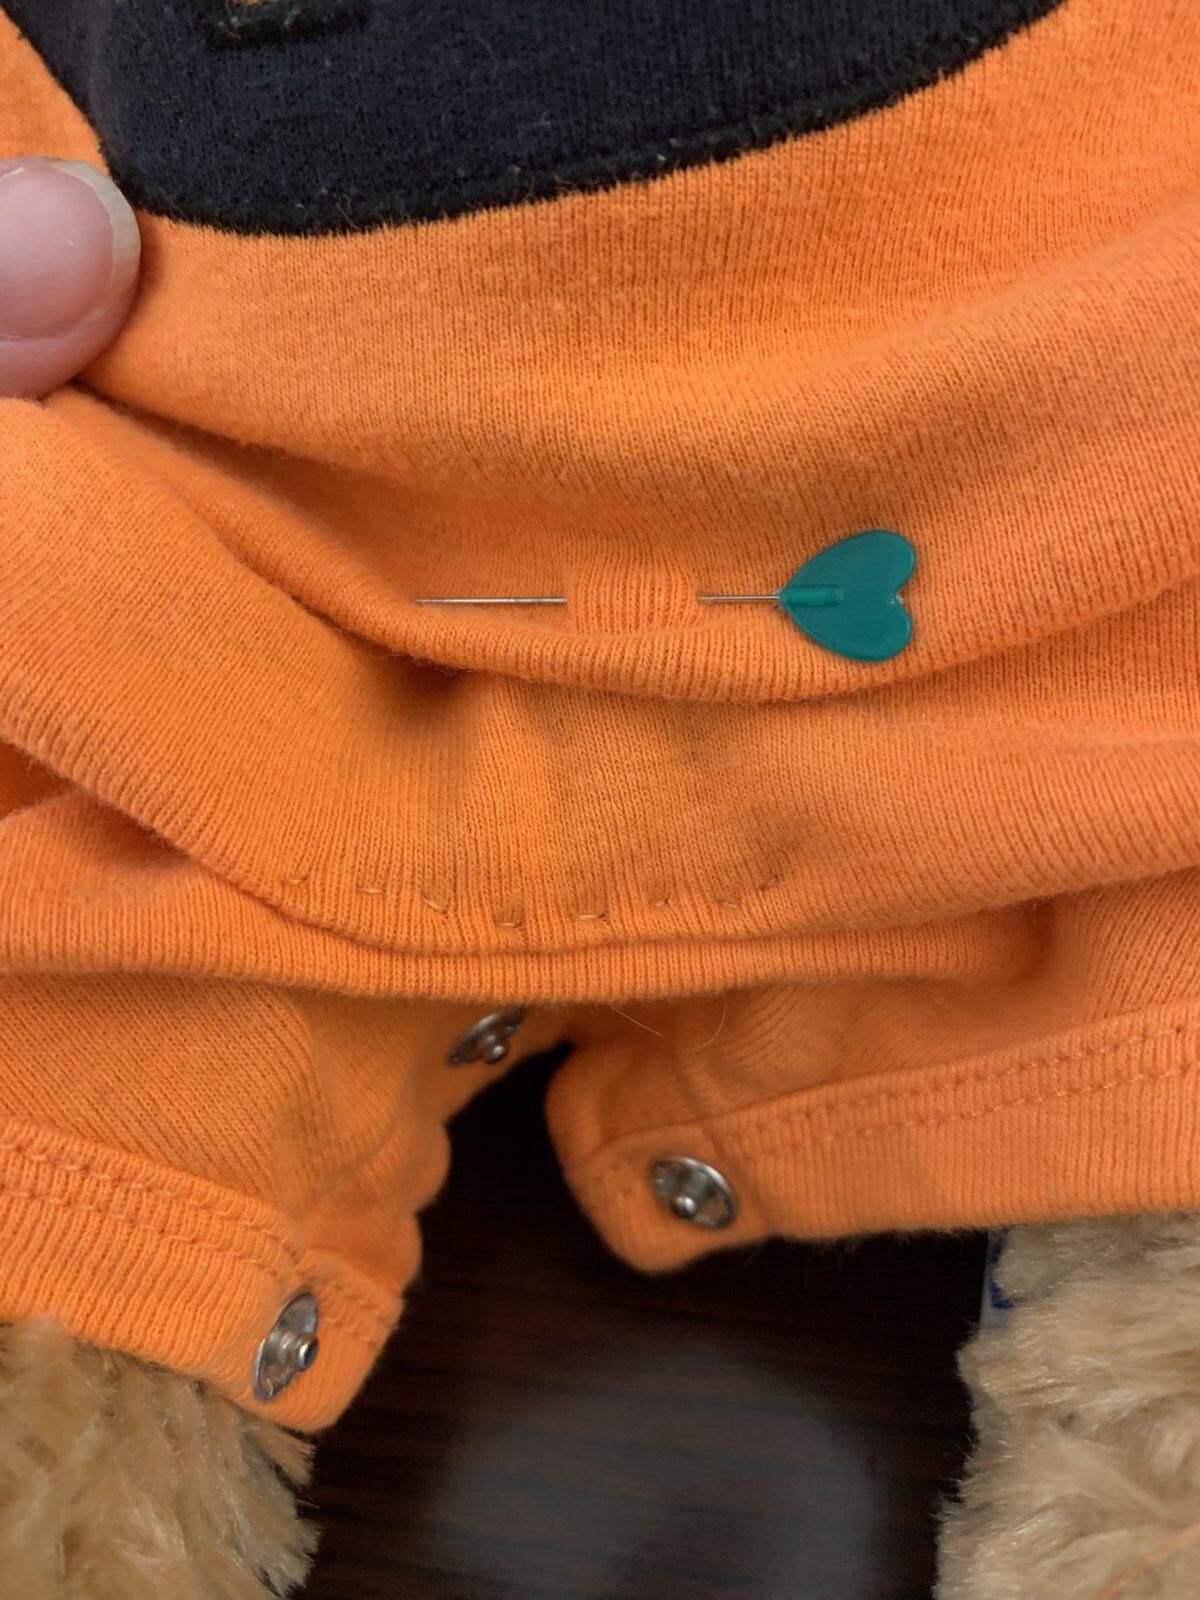
I gathered the back up in the bottom area first and folded it over so it would almost look like a trap door – remember the old long johns with trap doors? Here is a pic of it closer with the pins in place. I put the pins in with it still buttoned.
Then I hand-sewed all edges. There was quite a bit more than I expected.
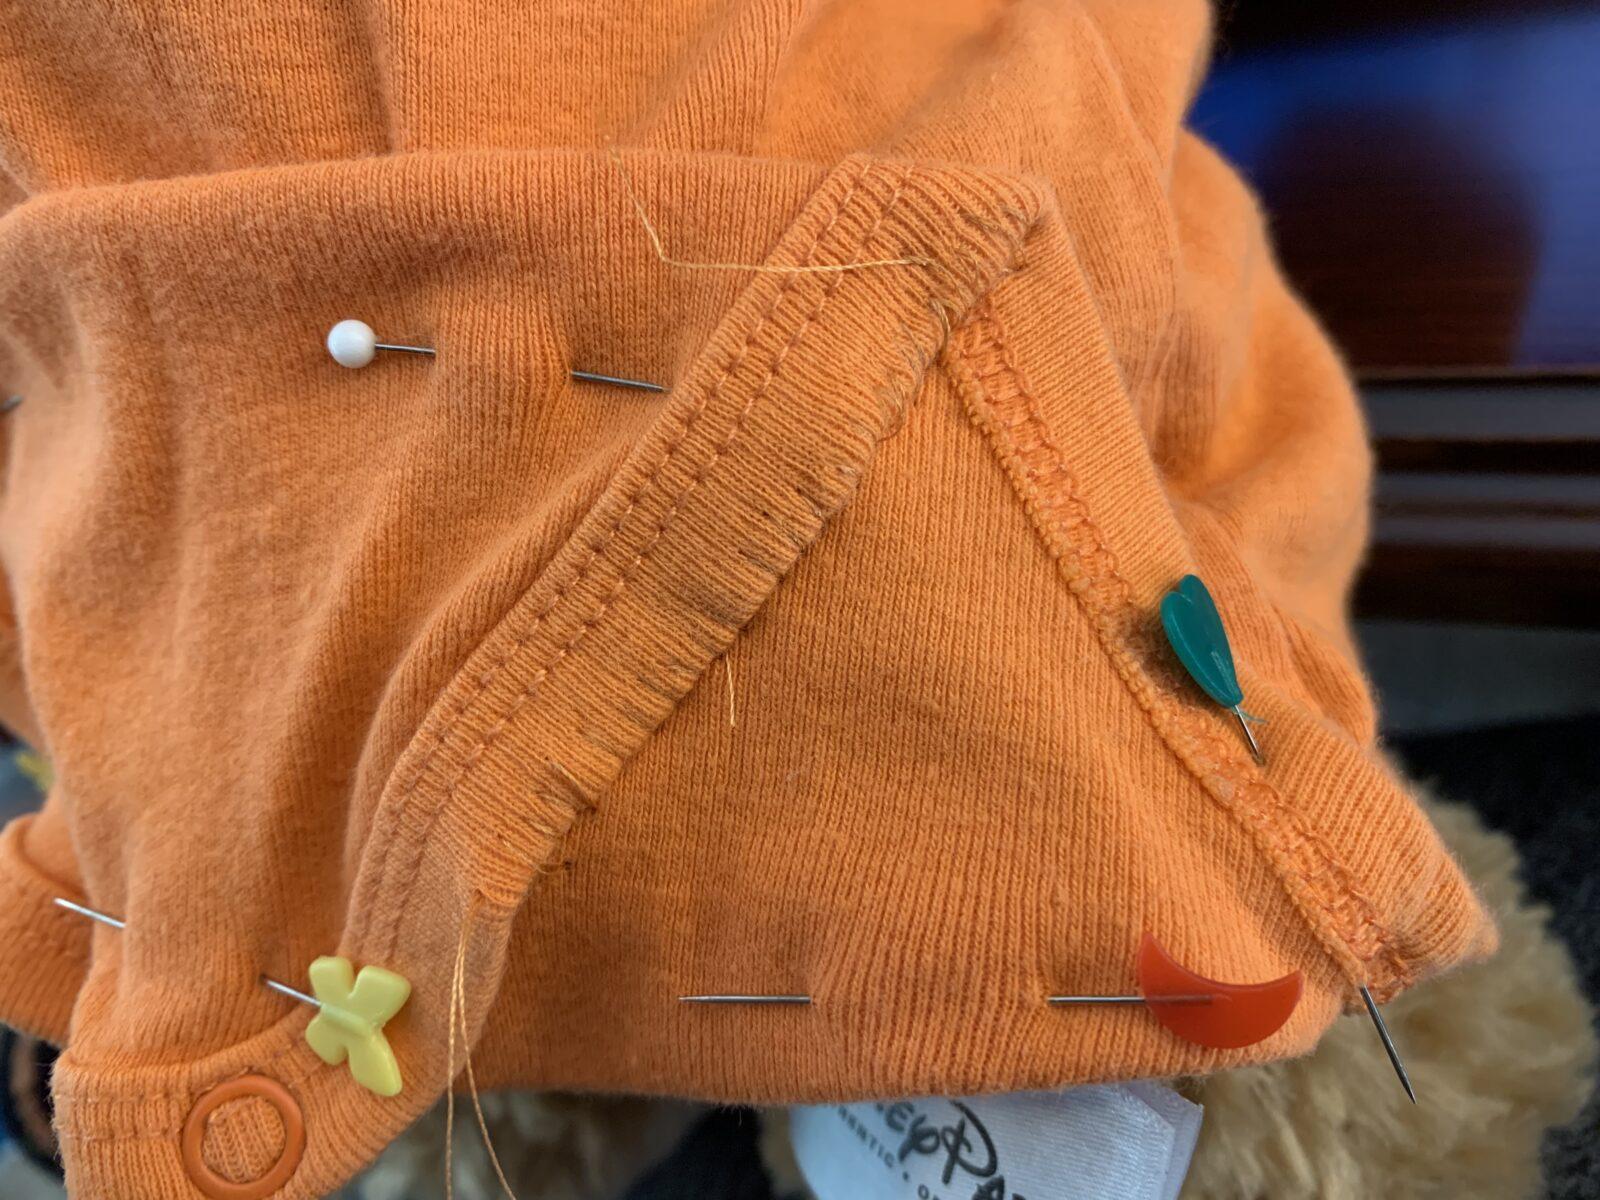
And here we see the butt finished (don’t judge my stitches).

The front was a little trickier, because I wanted the legs to actually somewhat cover his legs like a pair of pants.
So, I had to create like a gathered look in the front. I did the first gather near the crotch (this is going to vary on how far depending on the garment).
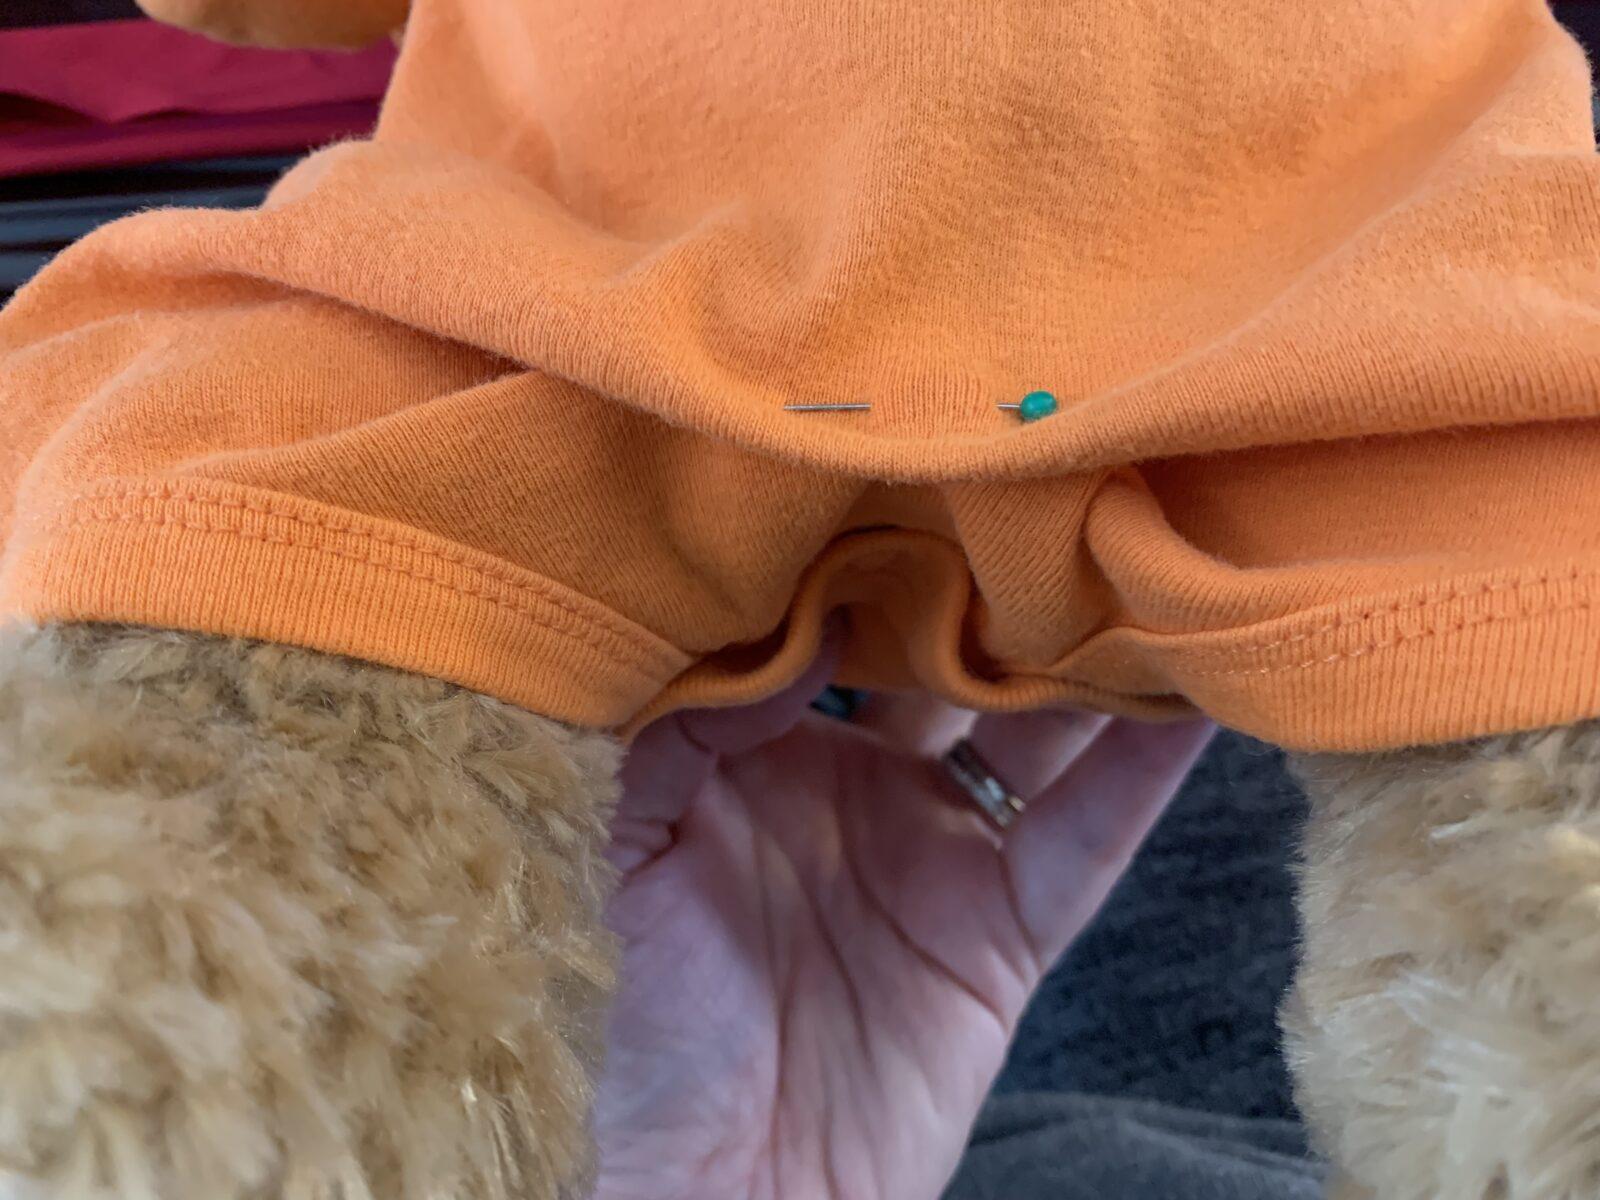
The next gather I did a little higher up on the tummy to smooth out the design and pull the crotch area a little higher.
I did not stitch all the way closed. Instead, I just stitched a line about 1 1/2″ wide and centered.
This is how it looks with him standing (though really he doesn’t stand on his own and it isn’t that visible when he’s sitting.