Step 1:
Measure your roof line BEFORE you go buy the lights. I know lights can be a spontaneous purchase in the store with dreams of how pretty your house will look.
And if you did buy the lights before you measured …. well, we love you anyway. But, you may find that you don’t have enough and there’s a good chance the store sold out of that particular strand before you make it back. It’s just easier to measure first. Take a carpenter’s tape measure and measure your roof line. If the roof line is super tall and you’re short like me and don’t want to climb the roof level yet, measure at ground level as close as you can.
Step 2:
Buy your lights (bet you saw that coming).
Step 3:
Test your lights before you start hanging to make sure they work.
Step 4:
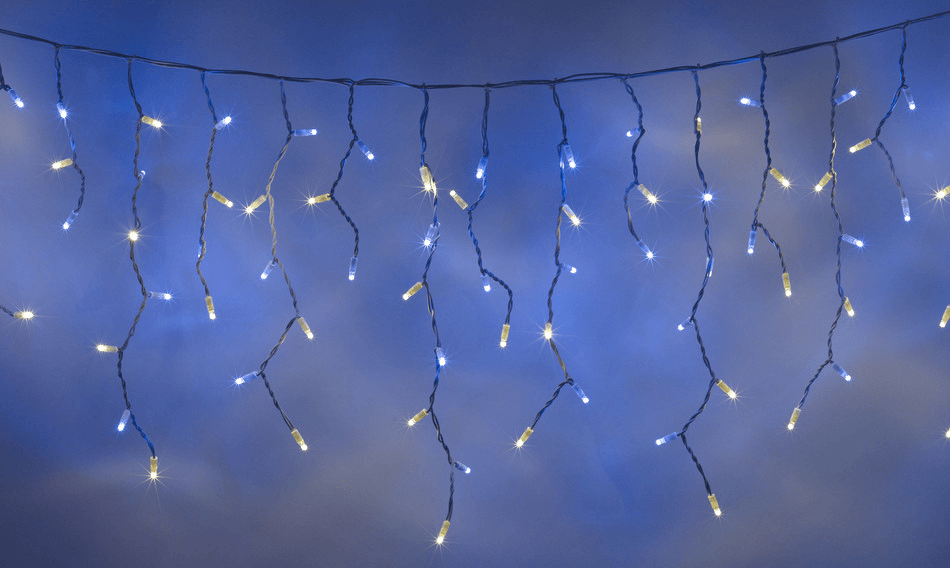
If you have icicle lights and need to straighten them, you can use a hair dryer. Unplug your lights first and carefully apply the heat to reform the plastic – make sure you don’t overdo it! We have a how to video if you need help, below.
Step 5:
Place your hooks onto the roof line of your home. While you can buy the gutter brackets, we recommend using hook and eye type screws like is shown. These will provide a variety of different lighting options for you year round and last for years!. The best placement for these is under the roof line so they are slightly protected from the elements.
Step 6:
Hang your lights (preferably with an assistant – safety first!)

