When I decided to customize our stroller, I went in search of successful attempts online and found none. So, I figured I’d try anyway.
I’m really happy with the results – even long term after months of use.

If you don’t have a Cricut or Silhouette machine, you can buy heat transfer iron on designs in abundance on Etsy, usually for a pretty reasonable price.
My tips for stroller customization are as follows:
- Before you get too far into the project, make sure your hood (or the part you want to customize) is removable in a way that will allow you to iron it. For us, the hood popped right up.
- Make sure you test an inconspicuous spot with your iron before you attempt to adhere the heat transfer vinyl.
- This is best done with an iron rather than a heat press for most stroller hoods, because you may need to squeeze into small areas where a heat press isn’t going to fit as well, but the nose of an iron can squeeze in. However, I was able to use it for my second stroller, which I added the information down below.
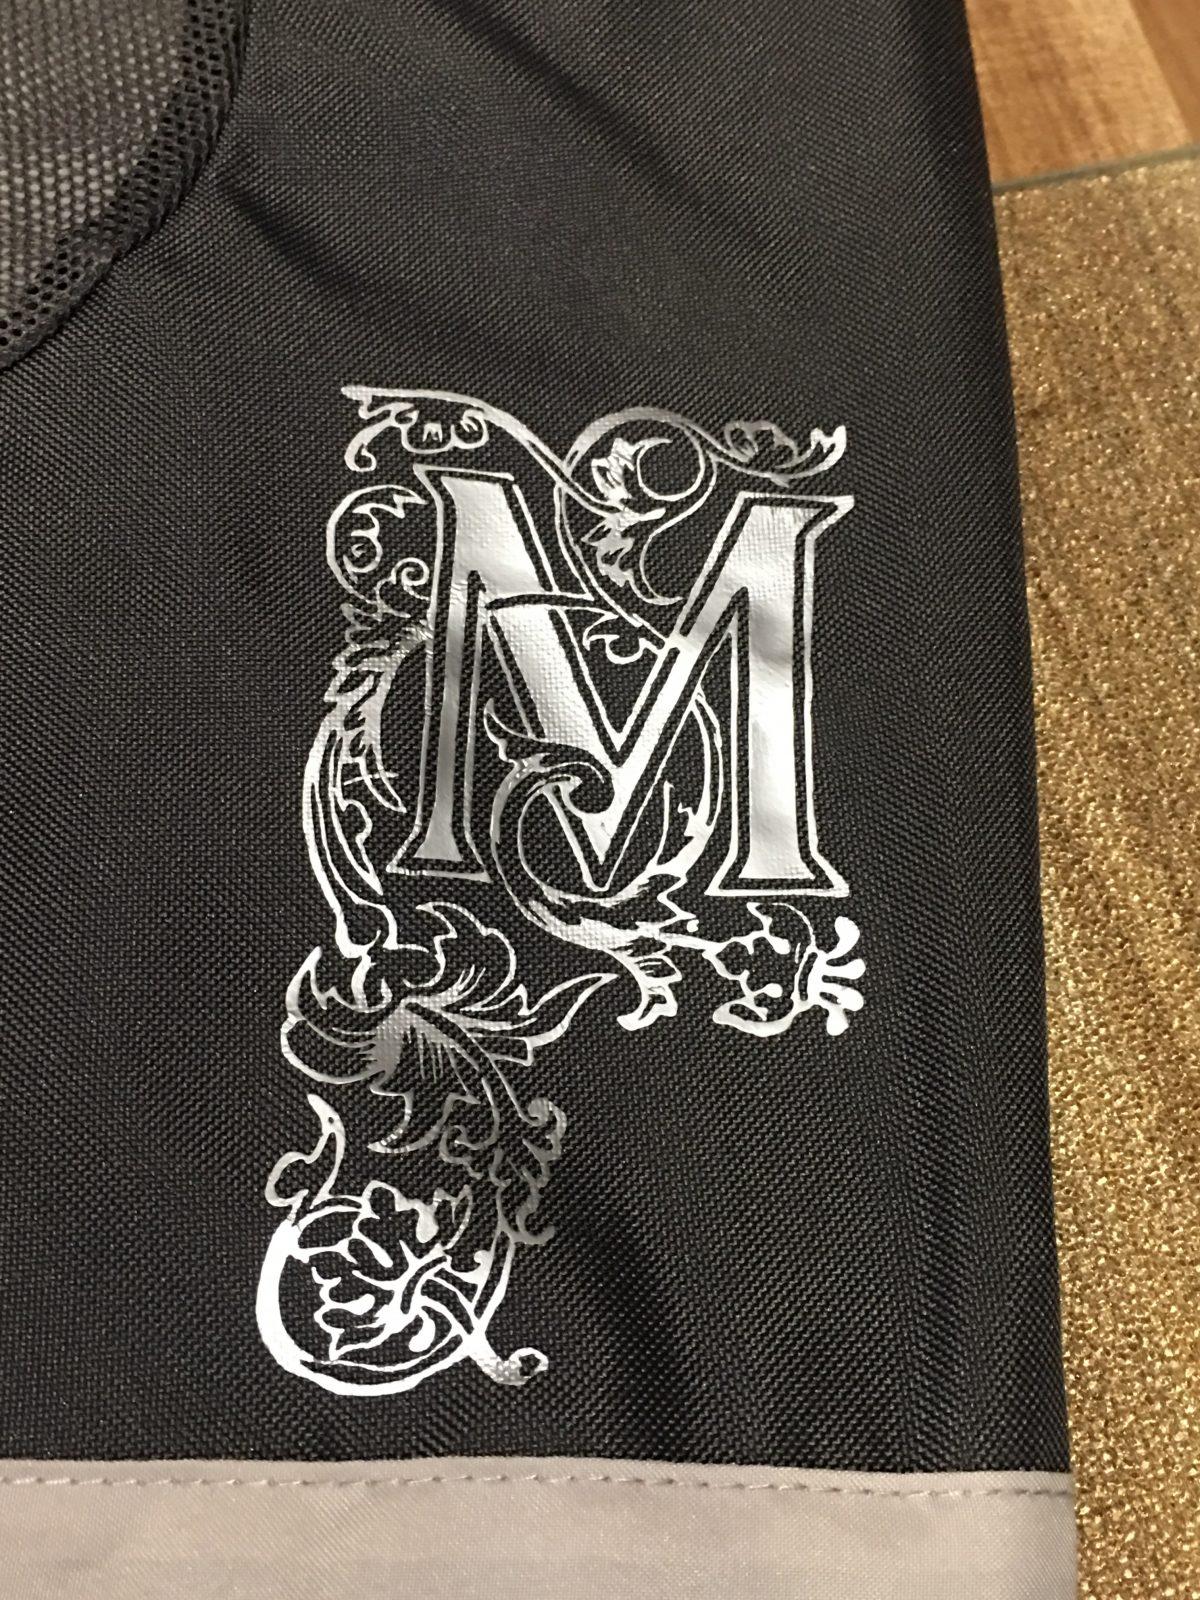
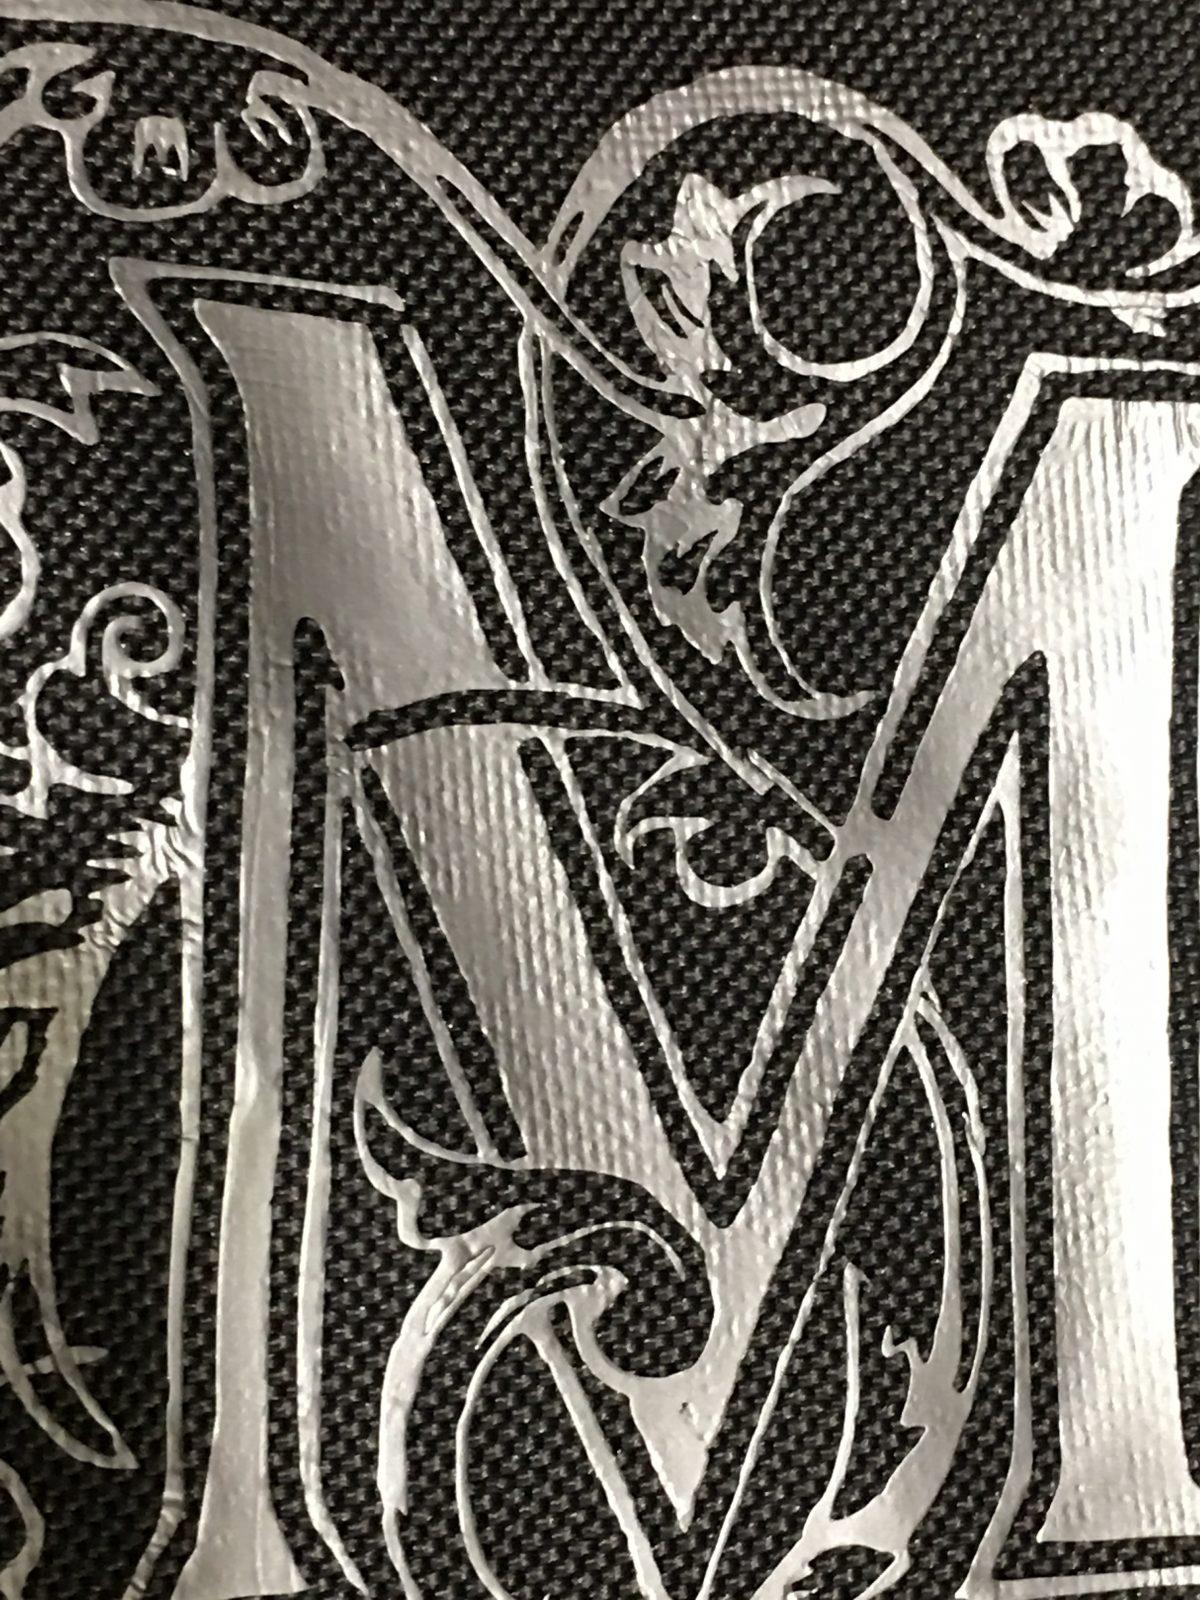
- As you can tell from the picture, the vinyl is going to adhere itself down into any textures on the fabric in a different way than tshirts, so be prepared.
I didn’t have an Easy Press when I made this. I used a glass cutting board over a wooden cutting board as my surface for this first one and a regular iron set to medium/high setting or about 295 degrees. I applied it straight to cold fabric, just with a bit more care for angles. When using an iron, you have to press for about 20-30 seconds, then check to see how the fabric and HTV is doing. I don’t move the iron around while pressing, just hold it in place. Always check the fabric in a test area first. This was the recommended setting on the iron/easy press.
I did go a little hotter at times where the vinyl in a couple of spots that were trickier to get to (the hood on this one had plastic pieces that couldn’t be removed. If you have this sort of situation, I definitely recommend the iron instead of the easy press because you don’t want to damage those plastic supports. In the tight areas, I turned the iron to about 320-350 and pressed it carefully, but didn’t leave the iron on for long – about 5 to 10 seconds as I tested to see if the vinyl was melting into the fabric properly (as above). You don’t want to scorch the fabric or the vinyl.
The vinyl I used was Siser silver, specifically it came from Siser NA EasyWeed Heat Transfer Vinyl Set of 12

Finally, if you want a fancy letter like the one I have, this site has a huge selection. Clip Art Etc. I have no affiliation with the page, other than that I love the selection of letter there.
Happy Crafting!
Update and a New Stroller:
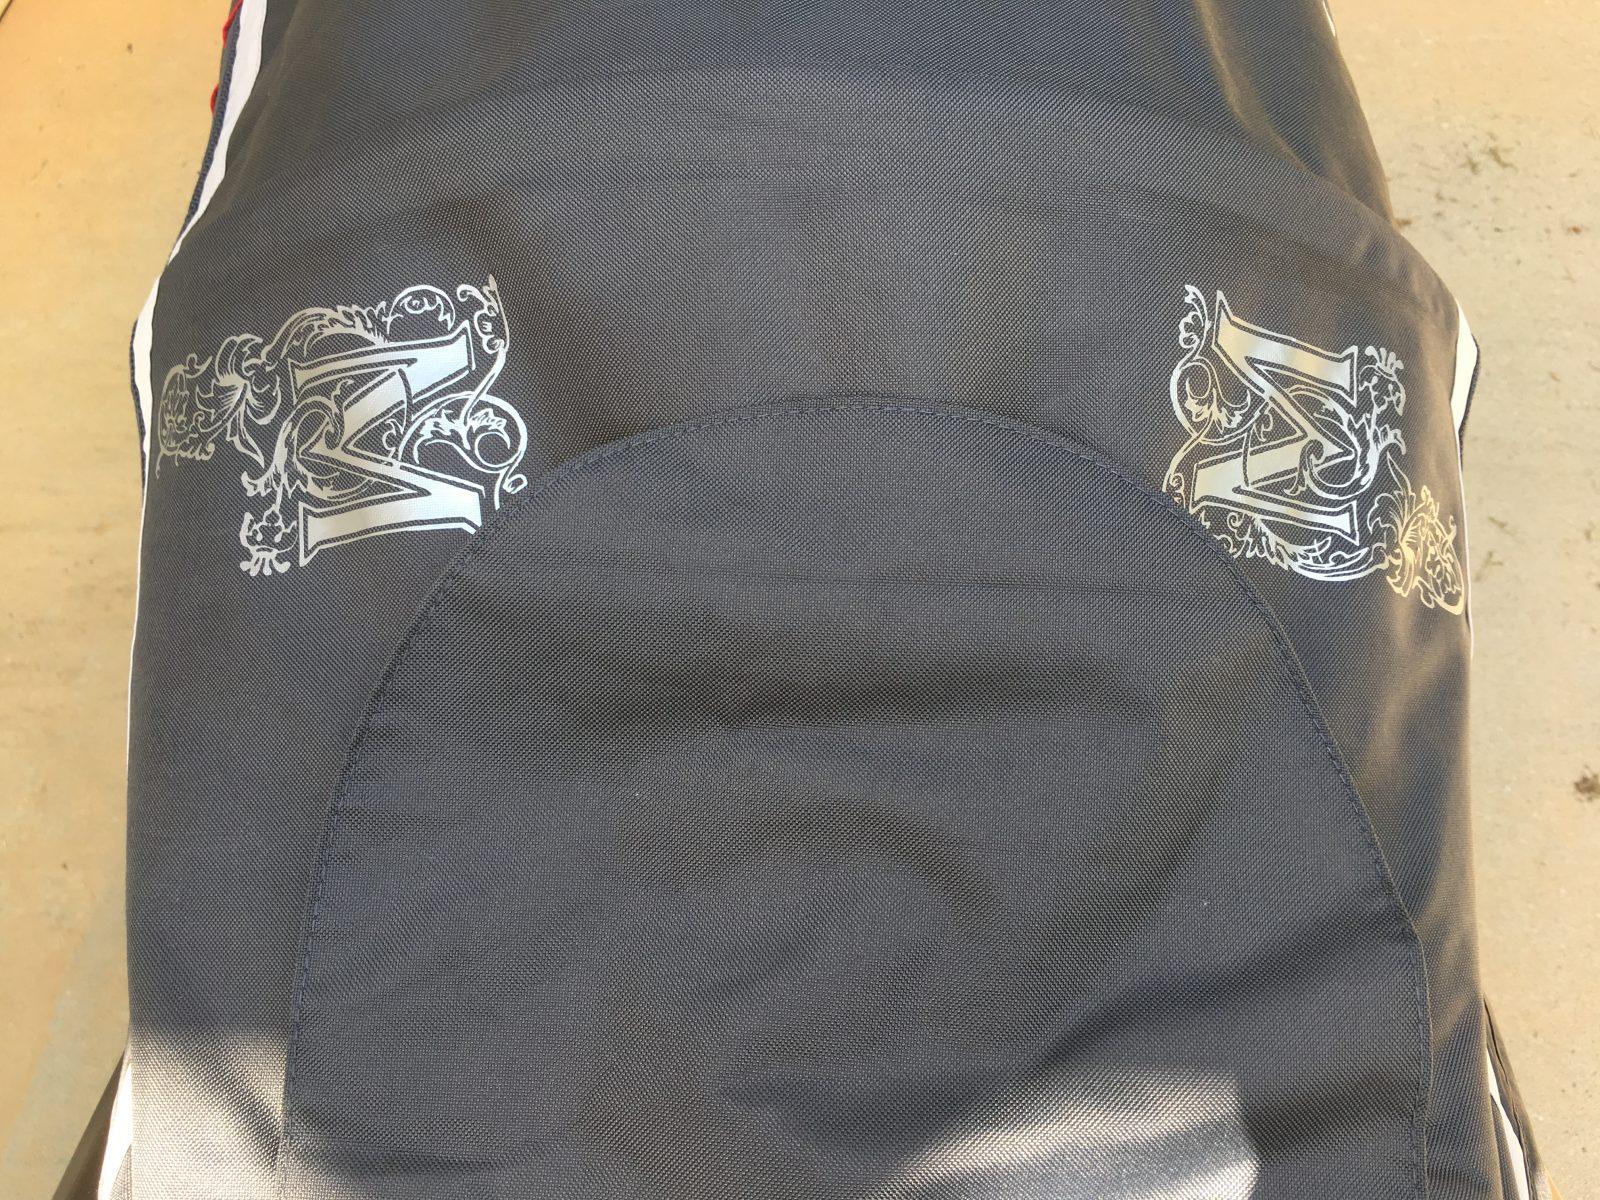
That stroller ended up being a bit large for travel, so I did a second one with our new stroller Baby Jogger City Mini 2 and again used my iron because the support ribs on the hood are even tighter together on this one. You can use the Cricut Easy Press 2
if you want to do an area like the flap that lifts up at the top of the hood or down the side, but if you want it on the sides of the hood like mine, you’ll probably still need to use the iron. For the Easy Press, the recommended setting was 295 degrees. I did NOT follow the normal pattern for t-shirts of heating the fabric first. I just applied the HTV directly to the fabric cold, because of the way the fabric is.
I also ended up adding a wreath with a monogram on the footrest of the stroller with just an iron and the Cricut EasyPress Mat. That part couldn’t be removed from the stroller so I just pressed gently with my iron on the front and the mat on the back, all over until I had the design covered and secured on. It still didn’t wear well because my son is older now and eventually rubbed his feet on that area of the stroller until it wore off.
However, all of the hoods I have completed have performed very well. We live in Florida, so we go to a variety of parks regularly and get rained on frequently. The strollers bounce around in the back of the van when we aren’t using them. The hoods do really well with the personalized areas.
What setting did you use on your press?
Great Question! Sorry I missed that! I did a small test area first that wouldn’t be visible if it burned. I’ve done two of these now (the second one is the Baby Jogger Citi Mini. For both I tried the 280 first, using the Cricut Easy Press and the mat that goes with. I ended up settling on 295 degrees and that worked really well. For an iron, I used the polyester/nylon setting and then added a little heat to it, so it wasn’t all the way up, but the first setting on high on my iron. Remember, the foil HTV itself can also scorch, so start out lower to test to see how it responds. I did a couple spots a little hotter. I updated the article to show the settings I used. Thanks a bunch!
Thankyou you helped me so much help my co worker happy by doing her baby boys stroller!! I love how yours turned out!
Thank you! I’m so glad it helped! I’d love to see your results 🙂