The living room was one of the main things that desperately needed updating. It was that one room which almost kept my husband from agreeing to buy the house. It was dark, heavy, and felt cramped. This is what it looked like when we bought it.
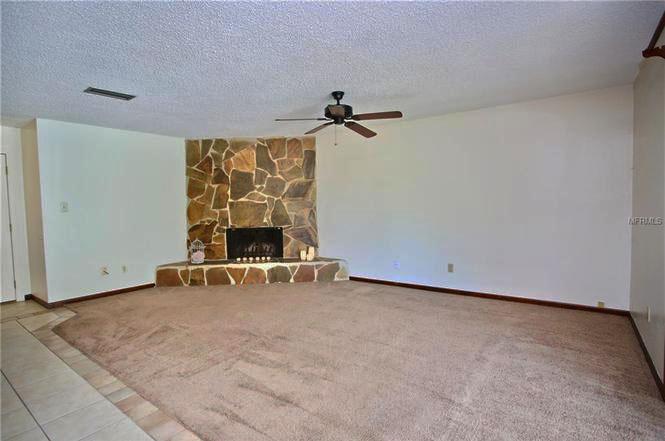
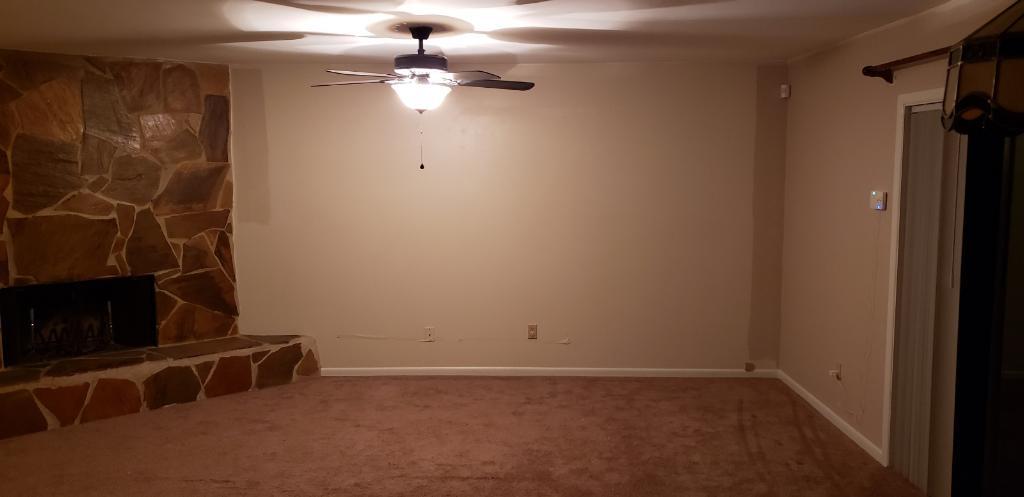
The first step was to have the popcorn ceiling removed and windows added, which you can see details on here and here. Then, my husband changed the carpeting into laminate plank flooring. Next, it was time to deal with the fireplace.
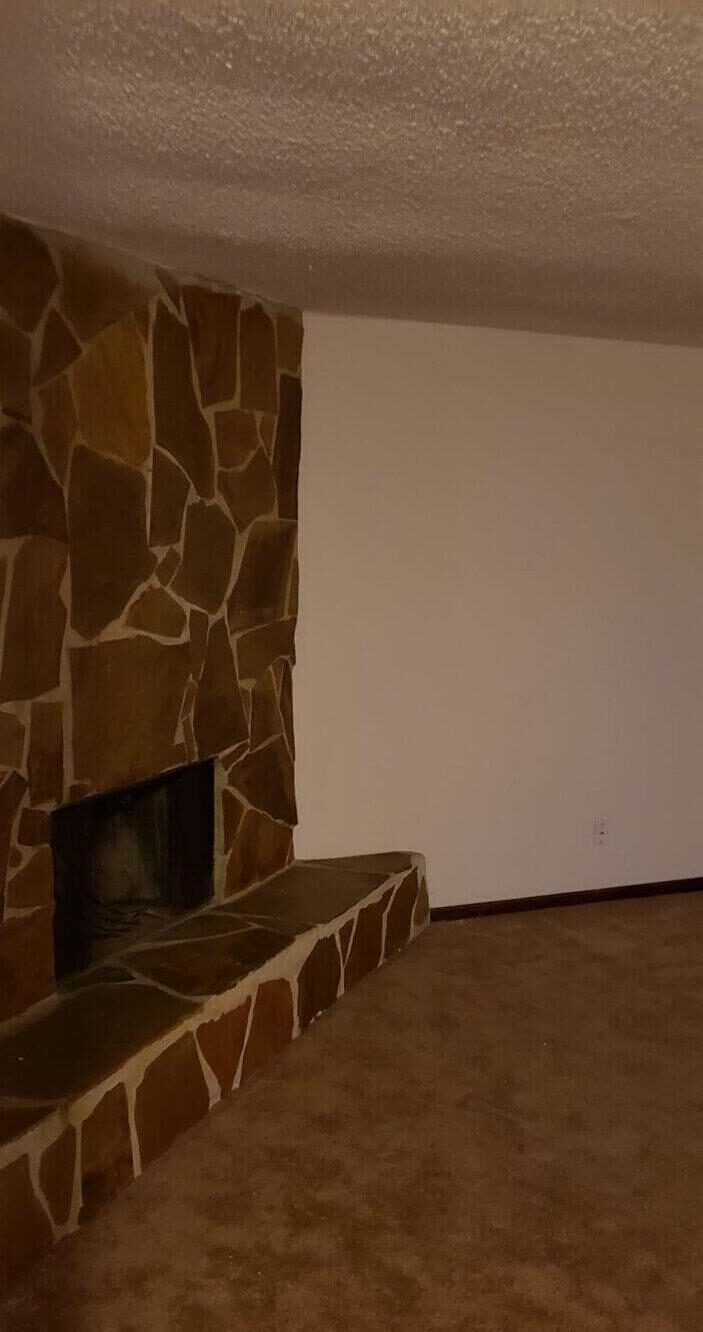
Despite a good vacuuming and wipe down, the fireplace felt heavy, dated, dirty, and – quite frankly – too orange. I wished it was done in a fieldstone or something that was a bit more natural-looking.
I never really cared for the idea of painted fireplaces in my own home. Most of the ones I’ve seen in the past were just coated in thick white paint. But, that isn’t my style. It’s just not me. I like the natural look.
Despite my reservation with painting, there was no other option other than tearing it all out or covering it. Neither seemed reasonable. So, I started exploring options on what could be done.
I knew that I definitely didn’t want to go monochromatic and first thought I would have to buy several colors of paint to maintain the integrity of different colored stones. I kept searching for inspiration.
 I had tested the top of the hearth here.
There were surprisingly few projects that I could find that had stone anywhere near the weird flagstone 70s looking fireplace in my living room. I did, however, find some really pretty remakes of other types of fireplaces.
I was inspired, but I was skeptical. I was so chicken, in fact, that I cheated a bit before I actually took the plunge into painting. I bought some washable kids paint and experimented with it. I thinned it with water and tried plain white and also white with a tint.
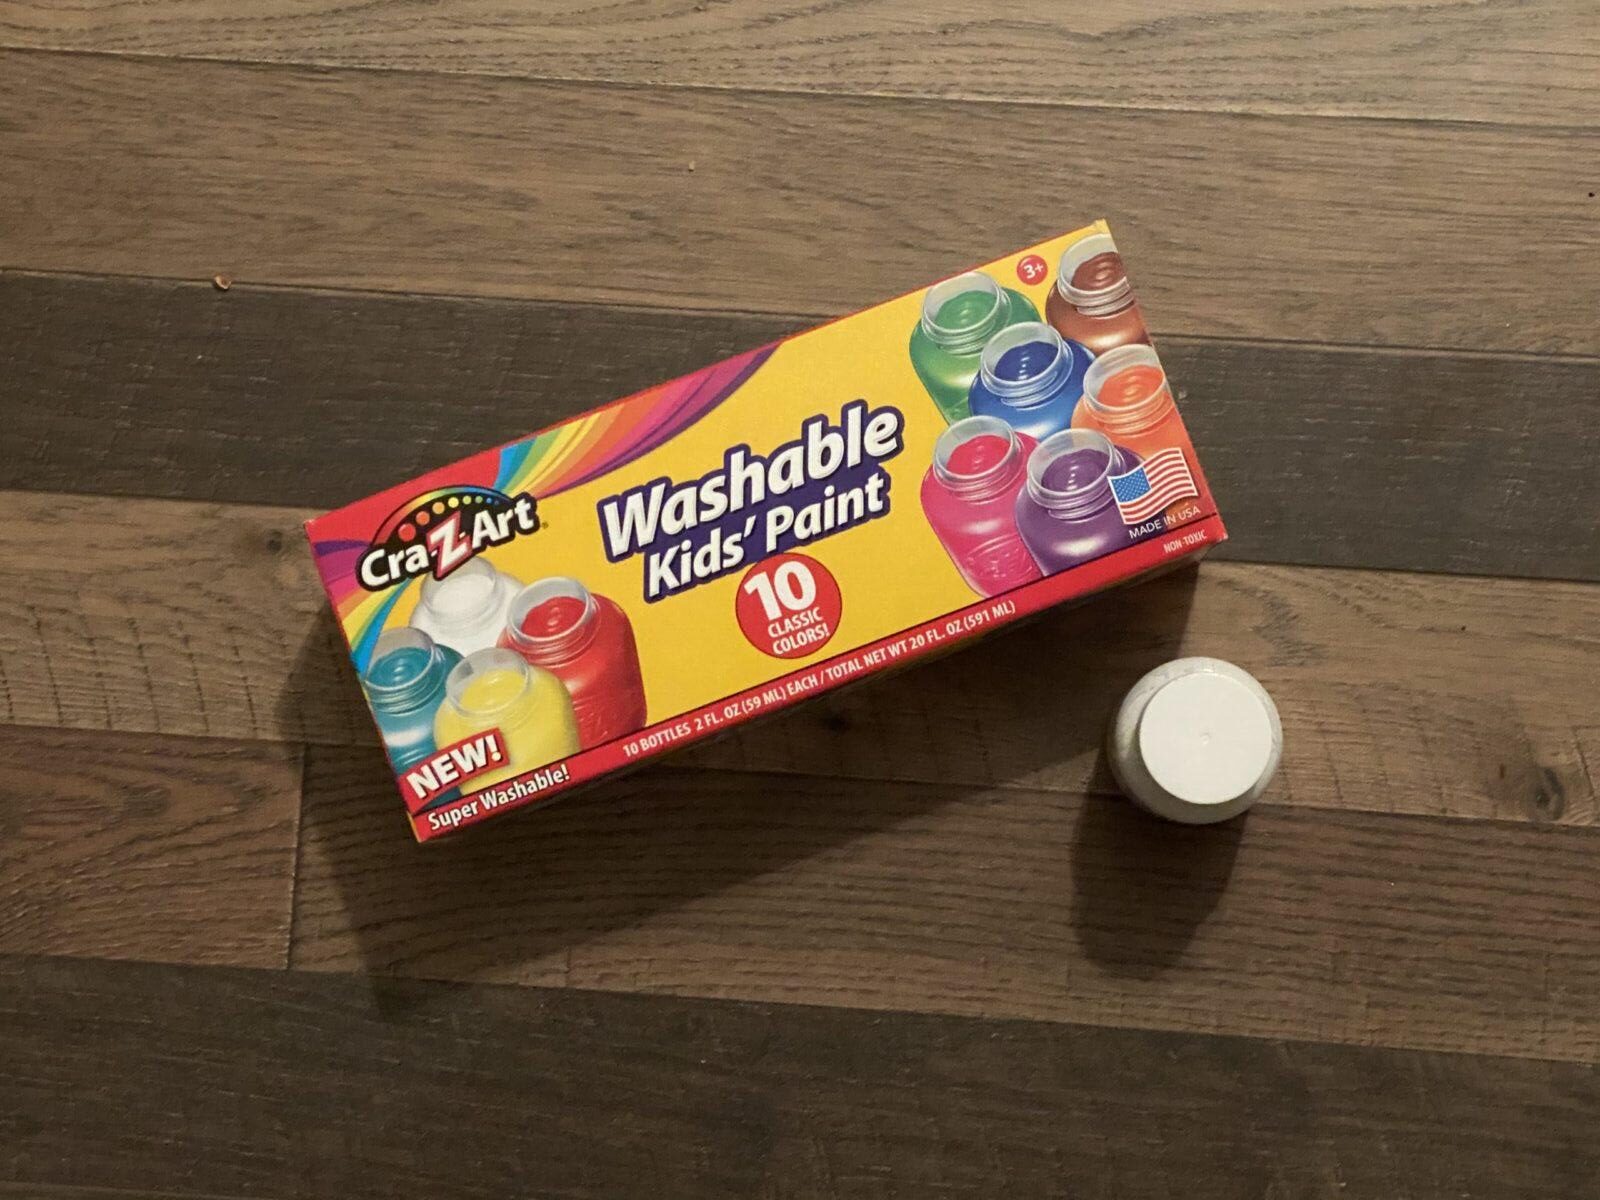
All of the tints I tried looked weird and unnatural, usually gaining a pinkish cast when applied. I settled on a whitewash. The paint washed easily off the stone with just water.
I had purchased a 3 Piece Chalk Paint Brush set from an earlier project that I had never used. They were perfect for this endeavor.

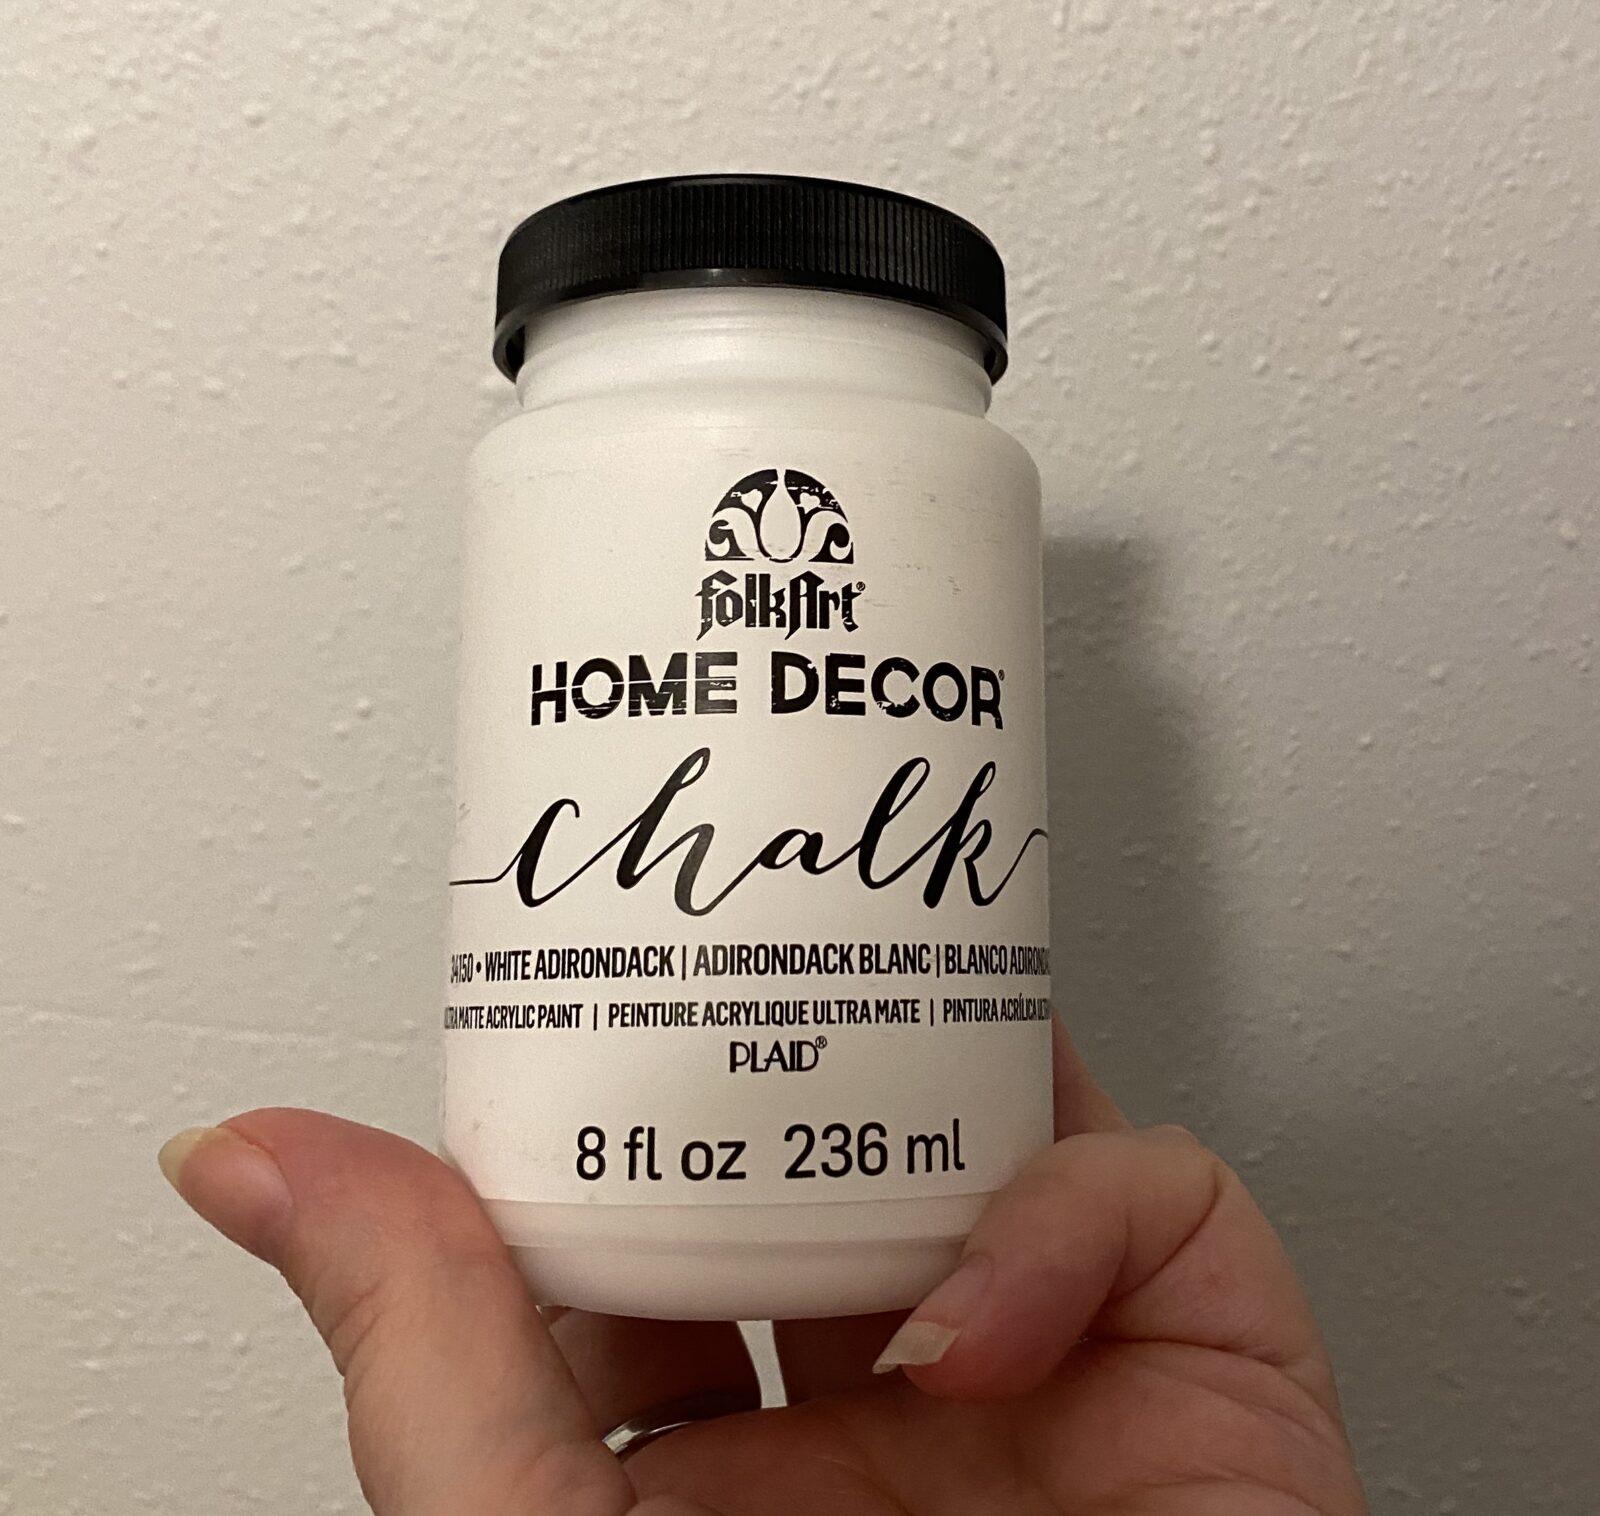
The paint that I used was FolkArt Chalk Furniture & Craft Paint in Adirondack White. I bought the 8 ounce, but
I didn’t use most of it.
I started on the flat part of the hearth because it was the least noticeable part if I didn’t like how it looked. I painted one stone and a line of grout. The first mixture was about 50/50 with paint and water and was too thick. I tried again.
This time I did a ratio of 2 1/2 parts water to 1 part paint. Perfect. The mixture was extremely thin – almost like milk. I gently brushed it on the grout, then dabbed at it with a shop rag because grout is so absorbent. The rocks I painted completely, then used the same shop rag to “polish” in a circular motion. At times the rag was pretty saturated with paint, so I could skip the “paint the rock” step. This seemed to both rub the paint into the stone and wipe away excess. It worked great!
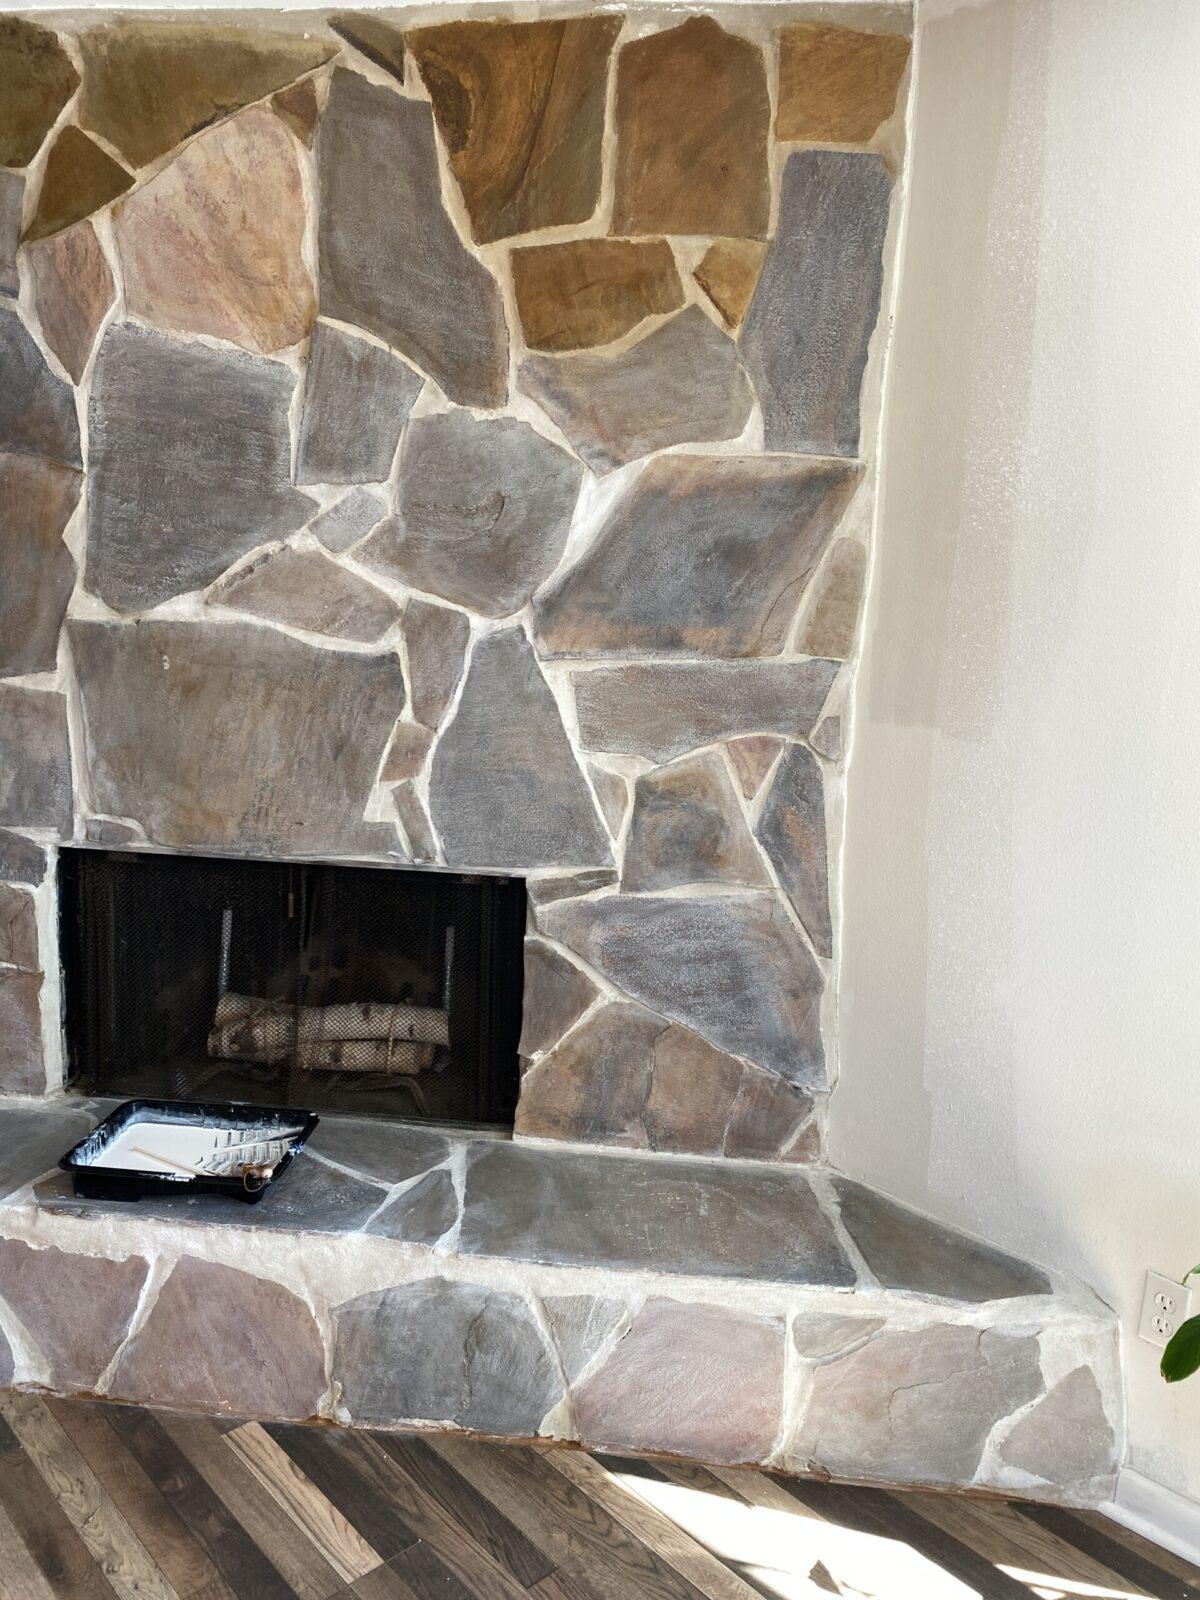
Don’t mind that the wall isn’t painted yet.
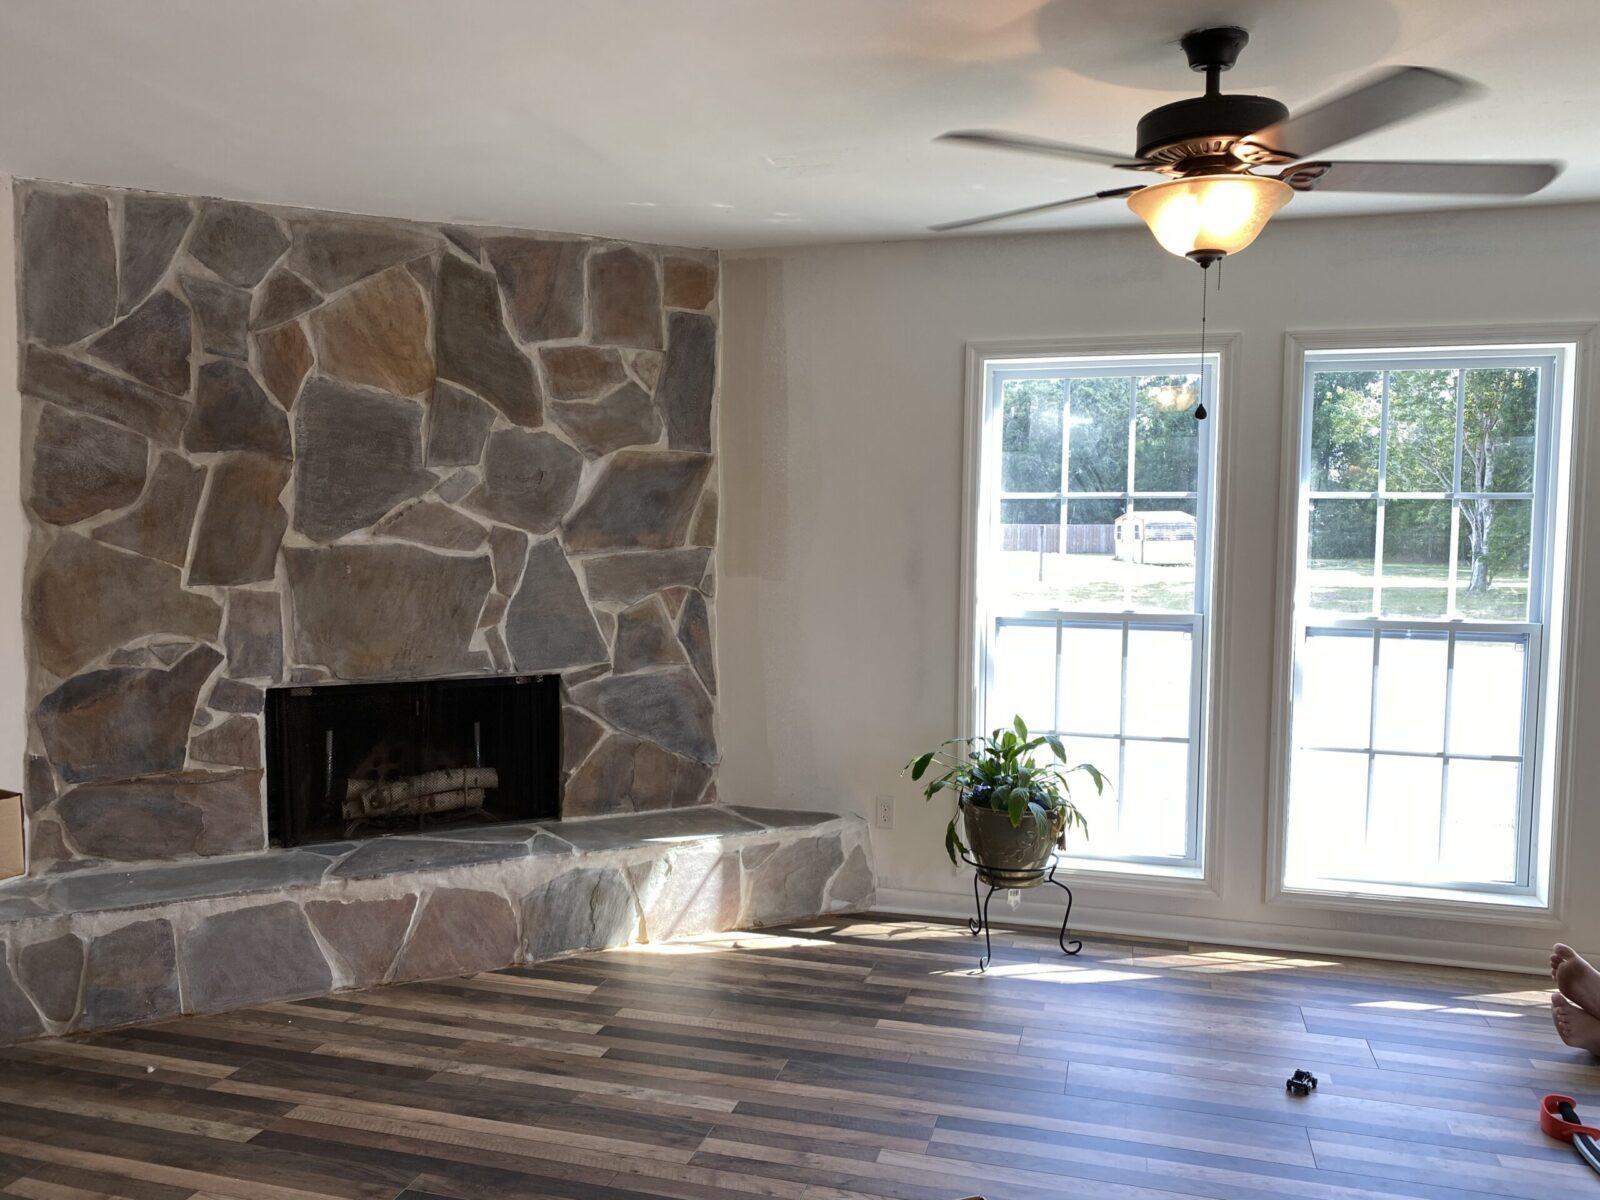
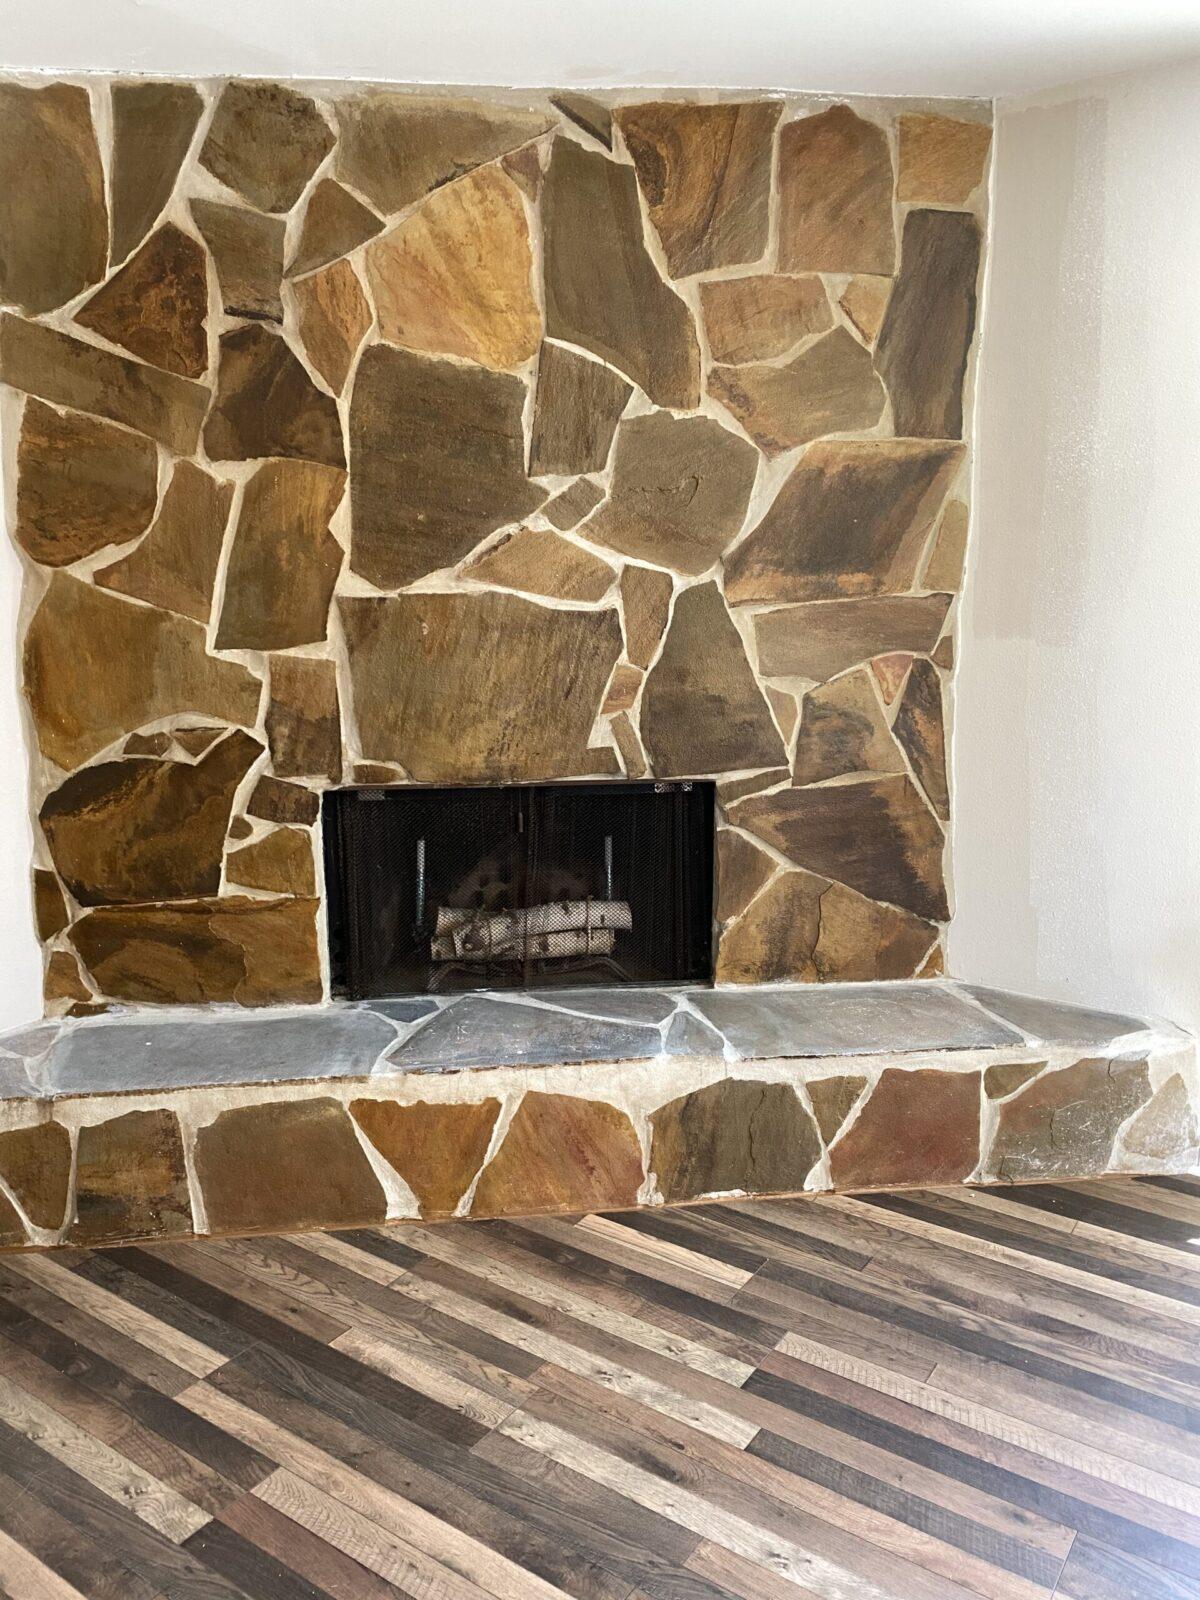
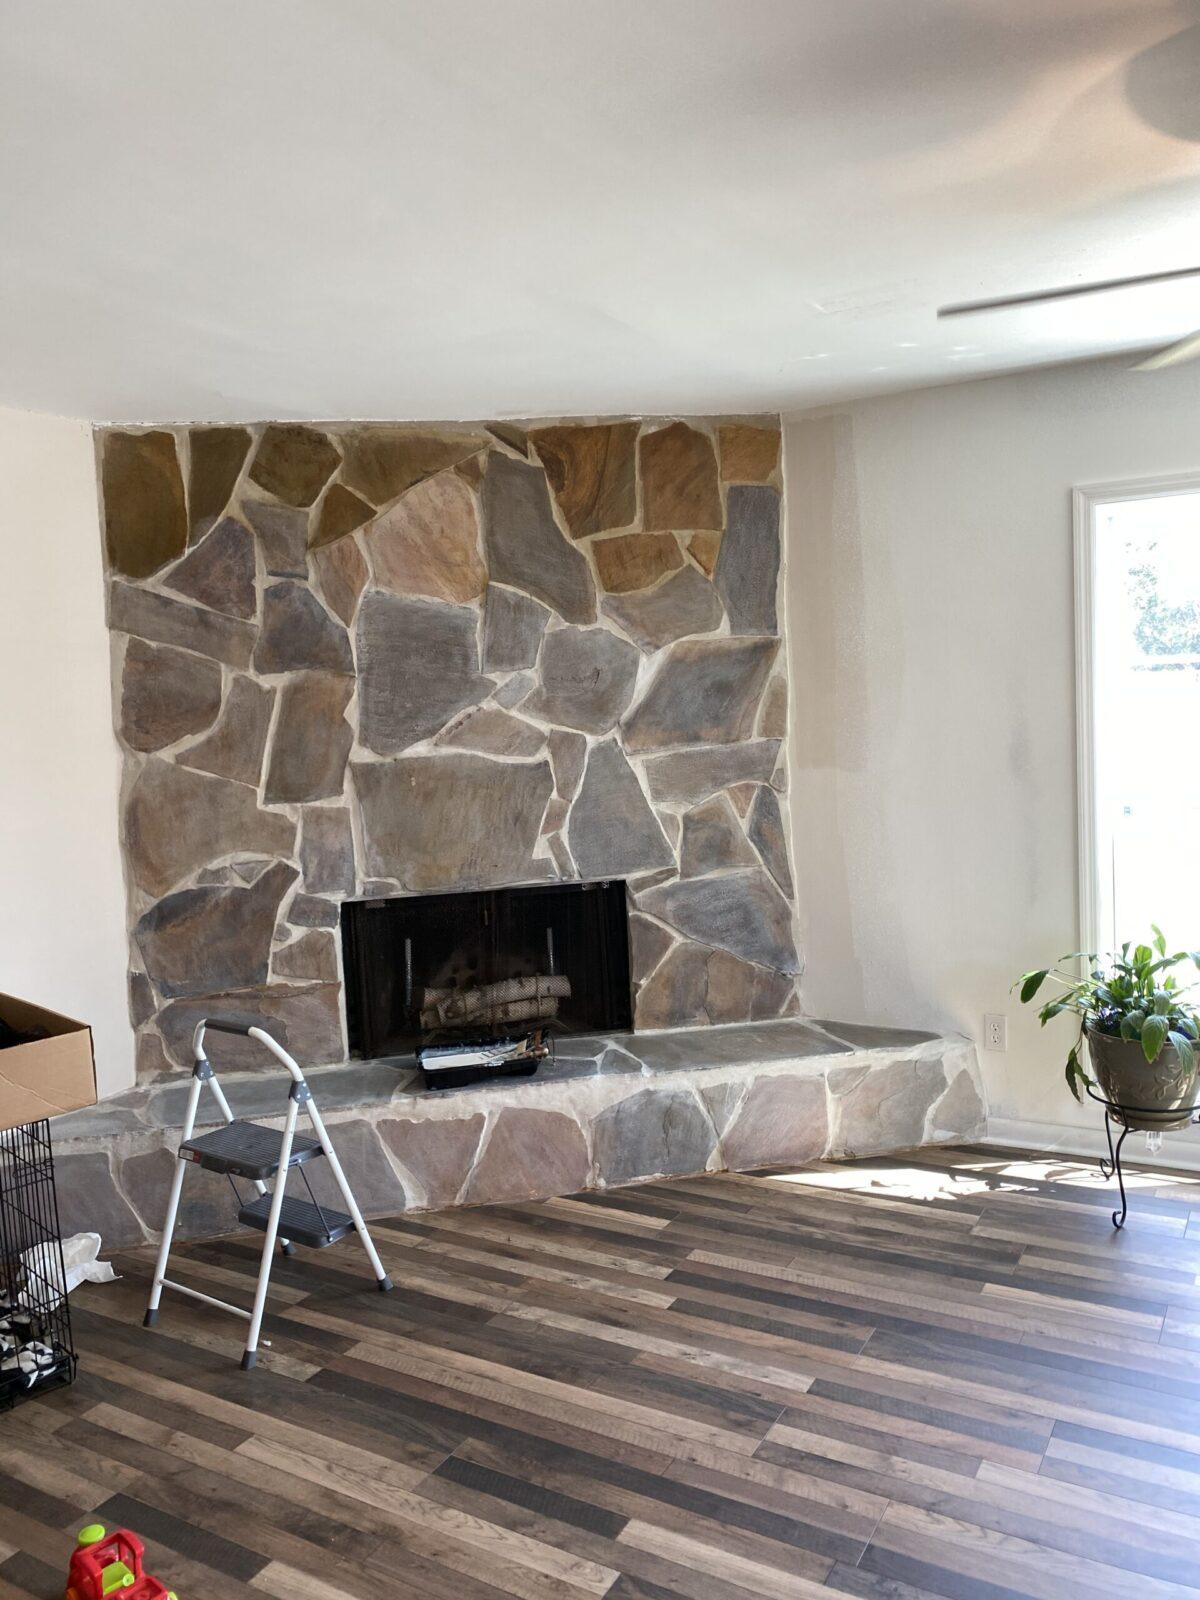
And, finally, it was complete in much more muted and natural colors. My aunt thought it reminded her of river stone.