A long time ago, when I had an uncle fighting cancer, my mom asked me to make him a large pillow to make him more comfortable. Years later, when she herself was battling lung cancer, I thought of that when I saw this pillow from Sugarboo.

I am a huge fan of Sugarboo. Unfortunately, I can’t always afford to purchase everything that I want from there. Sugarboo isn’t cheap. The quality is amazing, though. This pillow is filled with feathers, made of a high-quality tweed/burlap-type fabric with a canvas insert and printed letters. They have several pillows like this. AND it’s enormous! It says in the description that it is 24″ x 24″ but seems much larger and it’s heavy and sumptuous. If you want to just buy it, it’s called the “Angels are Watching – Patch Pillow.”
But, it’s $100 which was not in my budget at the time.
So, I made my own.
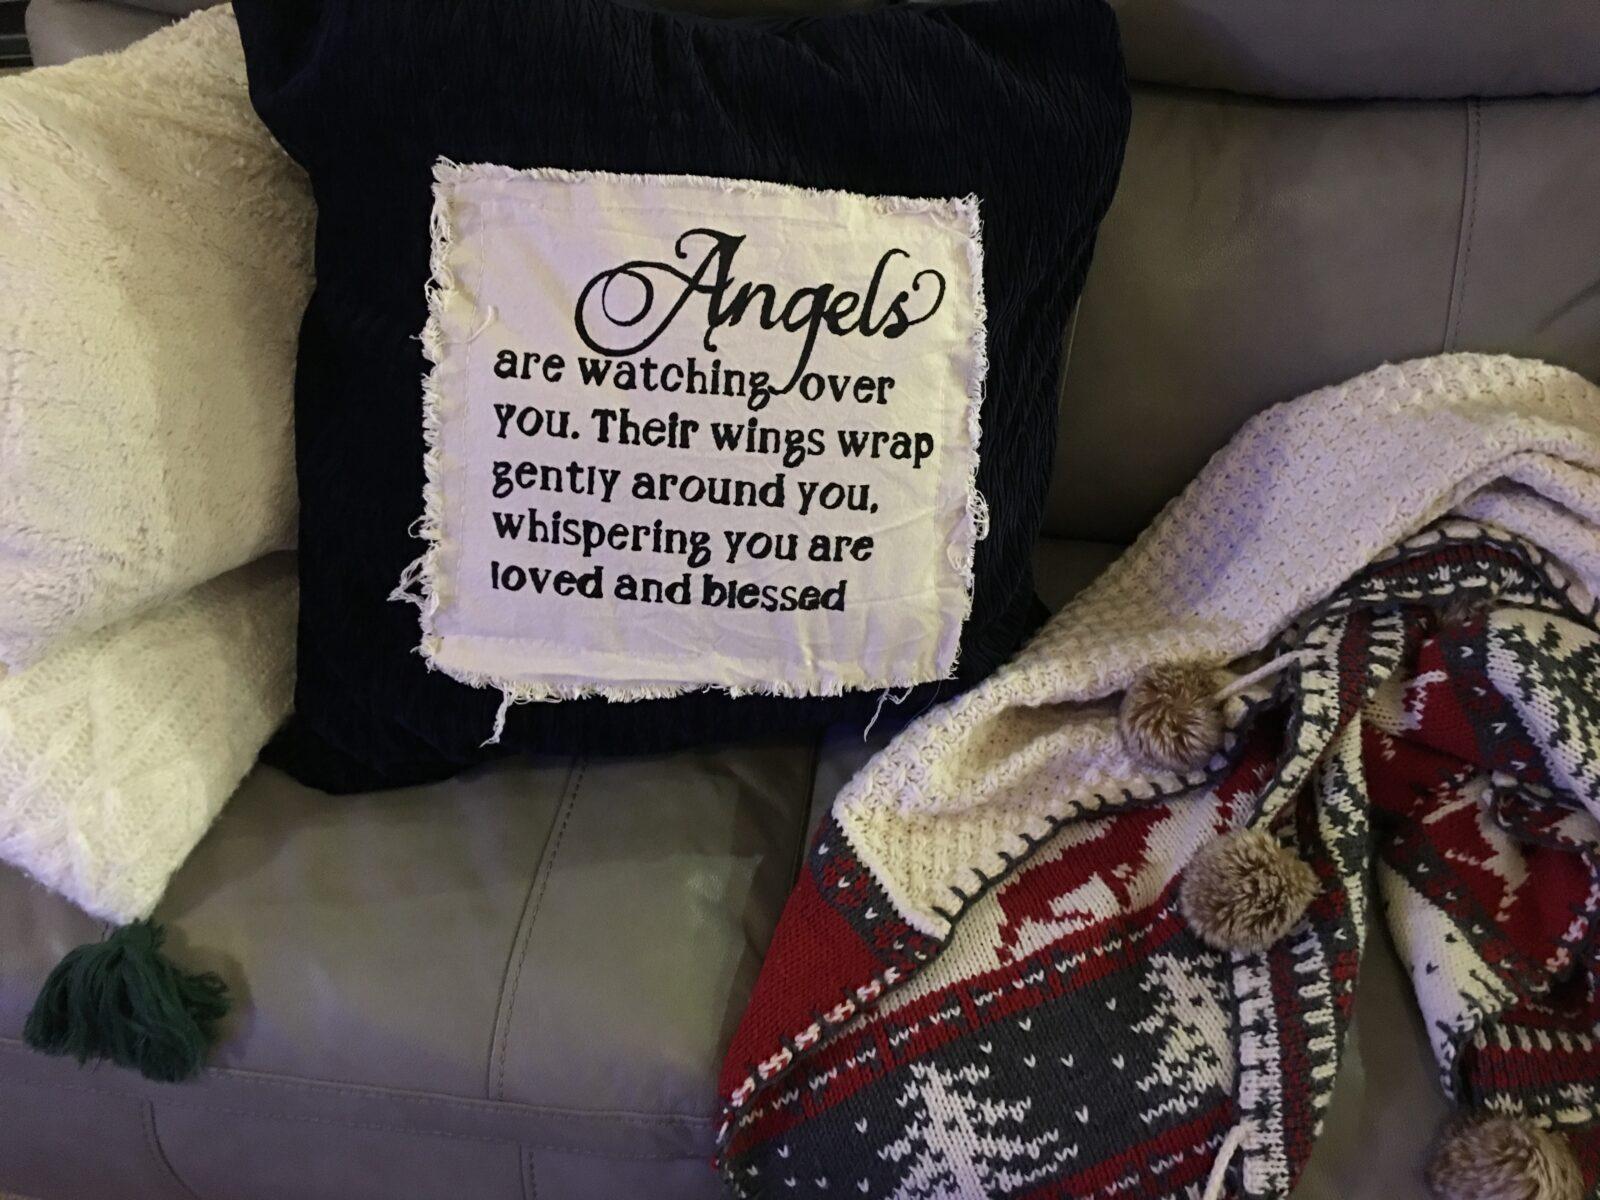
The pillow itself is a navy blue (one of my mom’s favorite colors) and I figured the velvet would be comfortable to lay on.
All of the materials came from Amazon. You can join Prime and get free shipping on a month to month basis now (which is pretty awesome) by clicking here.
Here are the materials that I used to make my pillows:
Total cost was about $40 for two pillows.

These Down Pillow Inserts which gave a really luxuriant feel

This Canvas Duck in Natural which was way more than I needed.

This set of FolkArt Fabric Paint though these can be purchased separately at most craft stores if you just use one color like I did.

You’ll also need:
- a paintbrush for the fabric paint
- either stencils OR
- a Cricut
or Silhouette Cameo
, wax paper, and an iron (which is what I used)
- needle and thread
First, I cut the canvas to the size I wanted by measuring from the side, cutting a line, then folding the piece over into a triangle to keep the piece fairly square. I tried a few different sizes, because I intended to wash the fabric to make it fray and wasn’t sure exactly how much would fray off.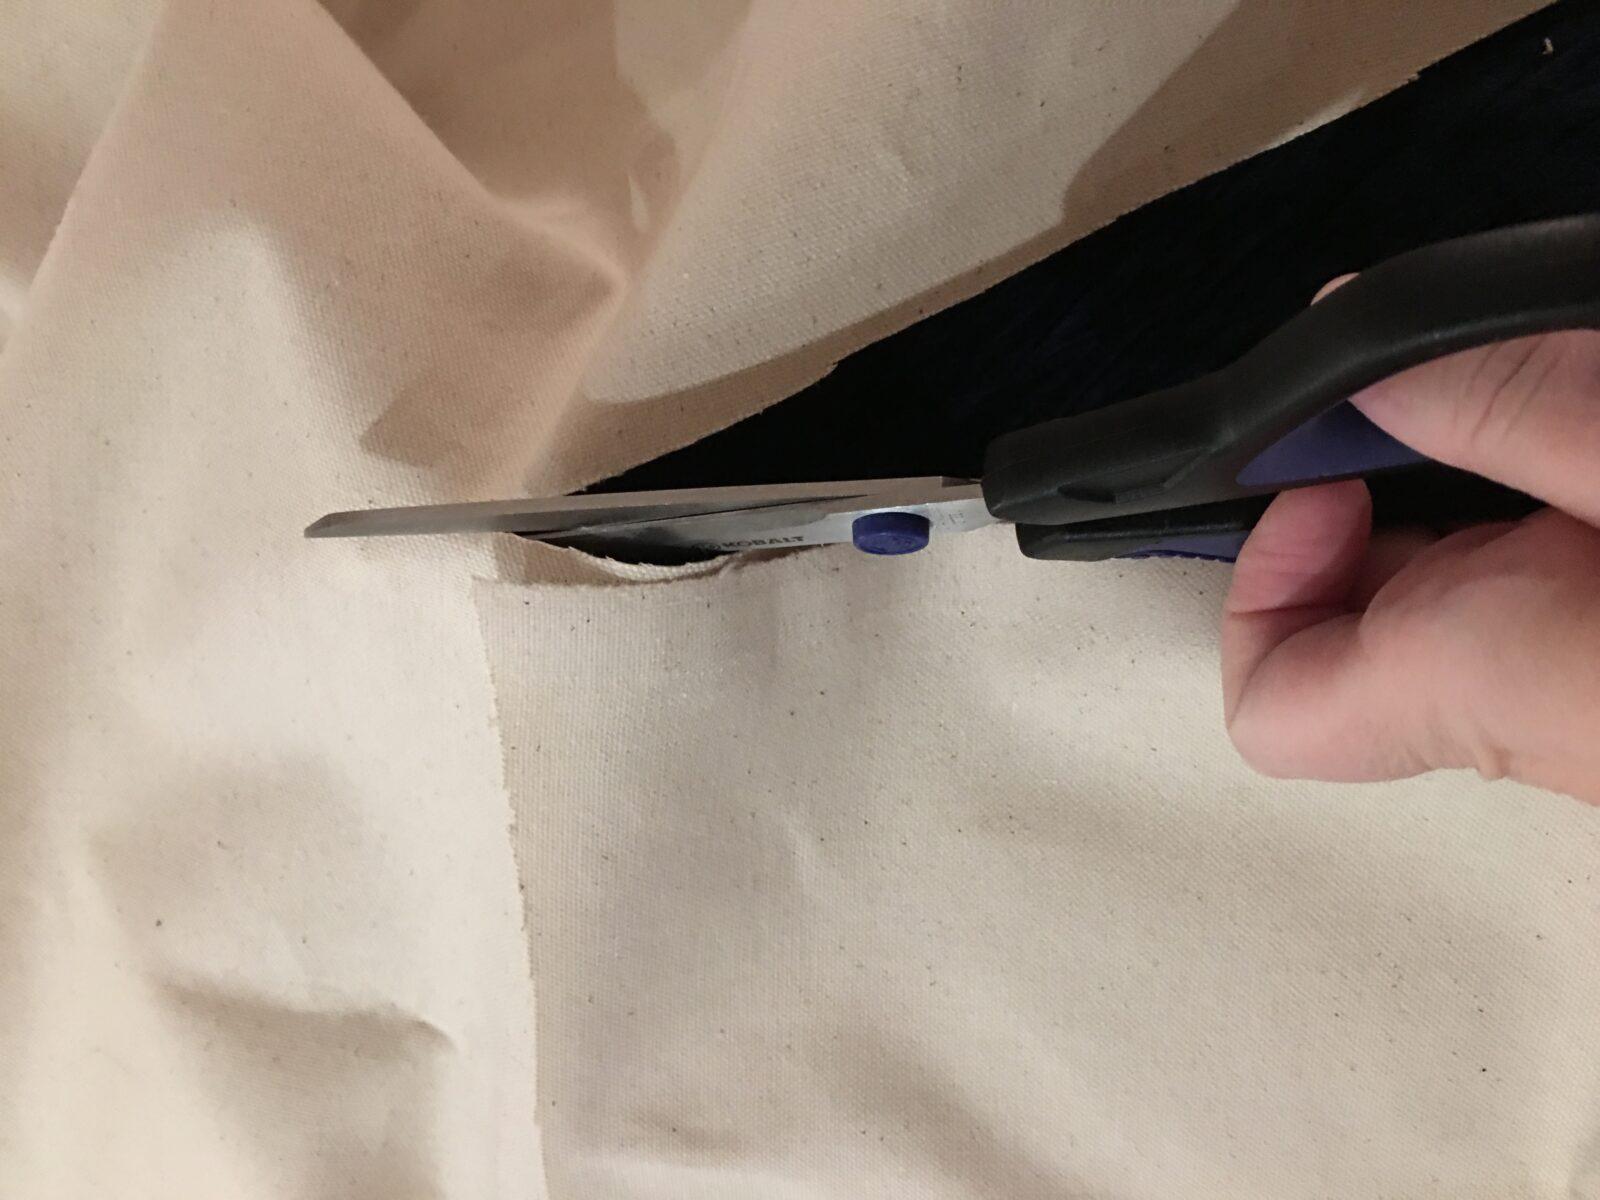

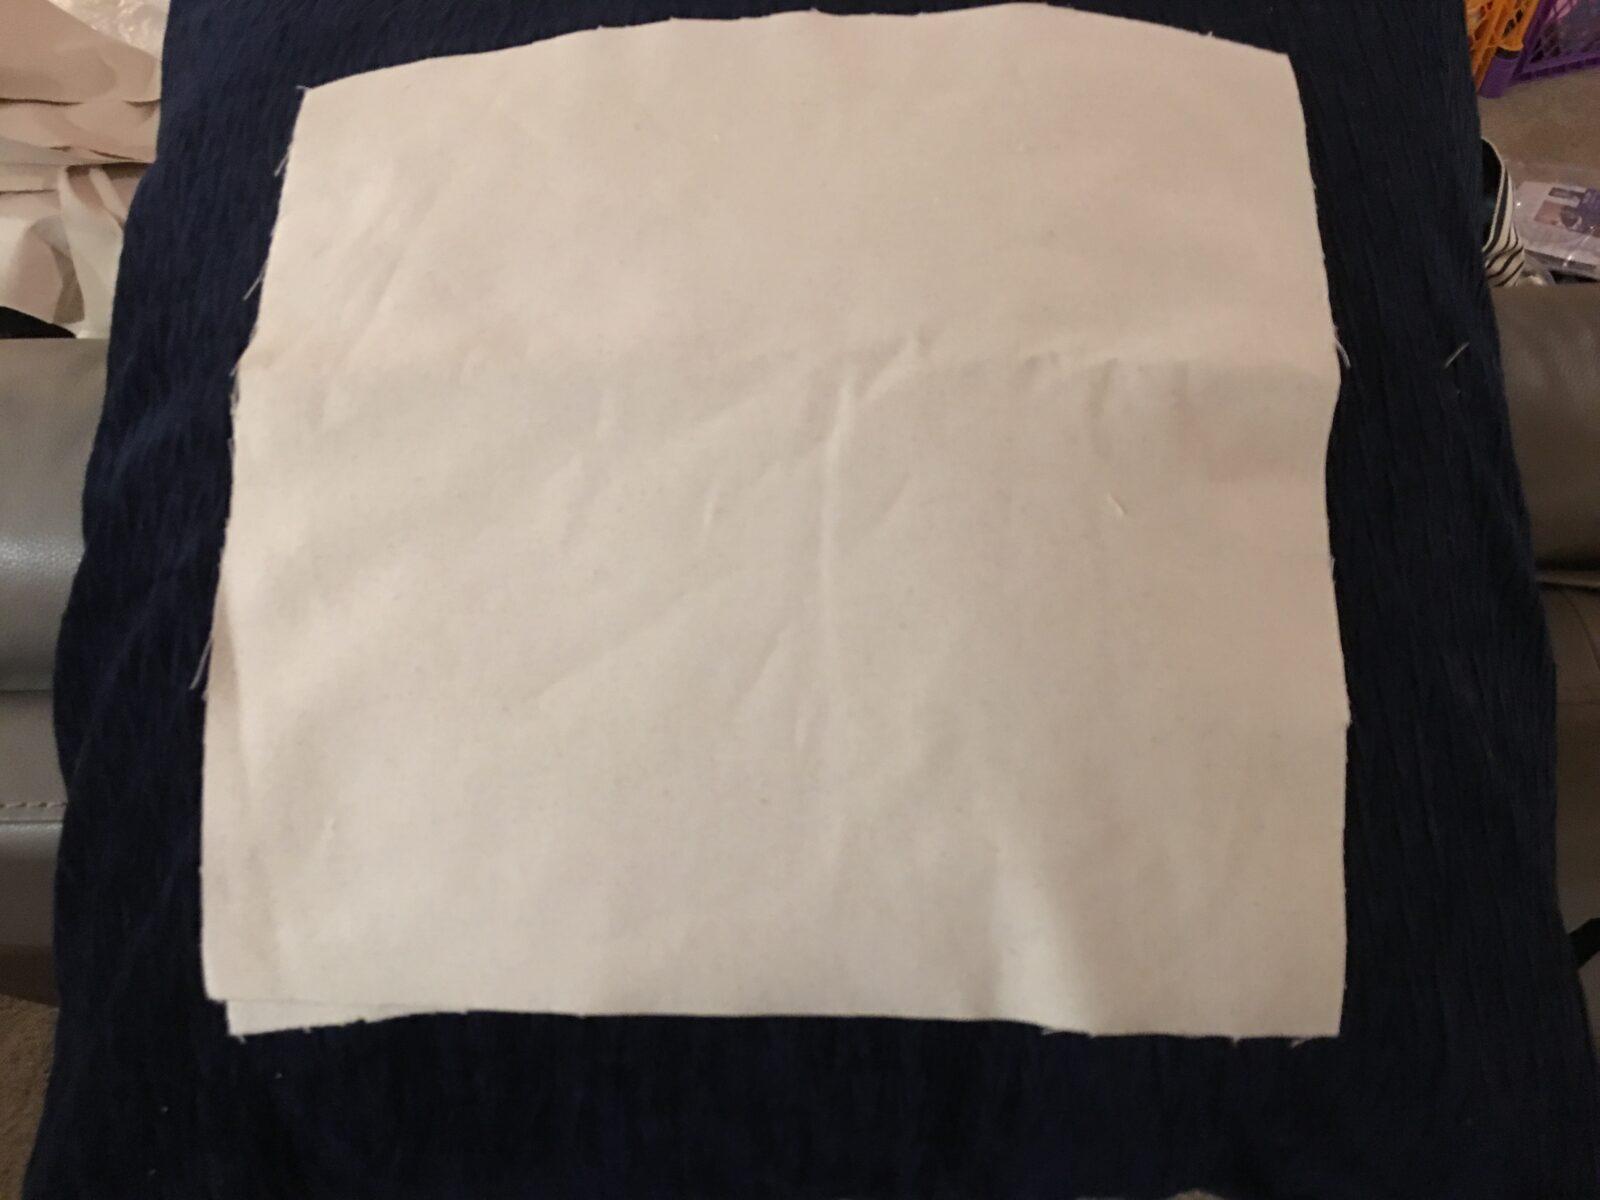
What the piece I used looked like before washing.
Next, I washed the fabric pieces on a heavy soil setting to try to encourage the fraying. I dried on a normal setting. I did have to pull a few strings afterwards to get the degree of fraying that I wanted, but it was close.
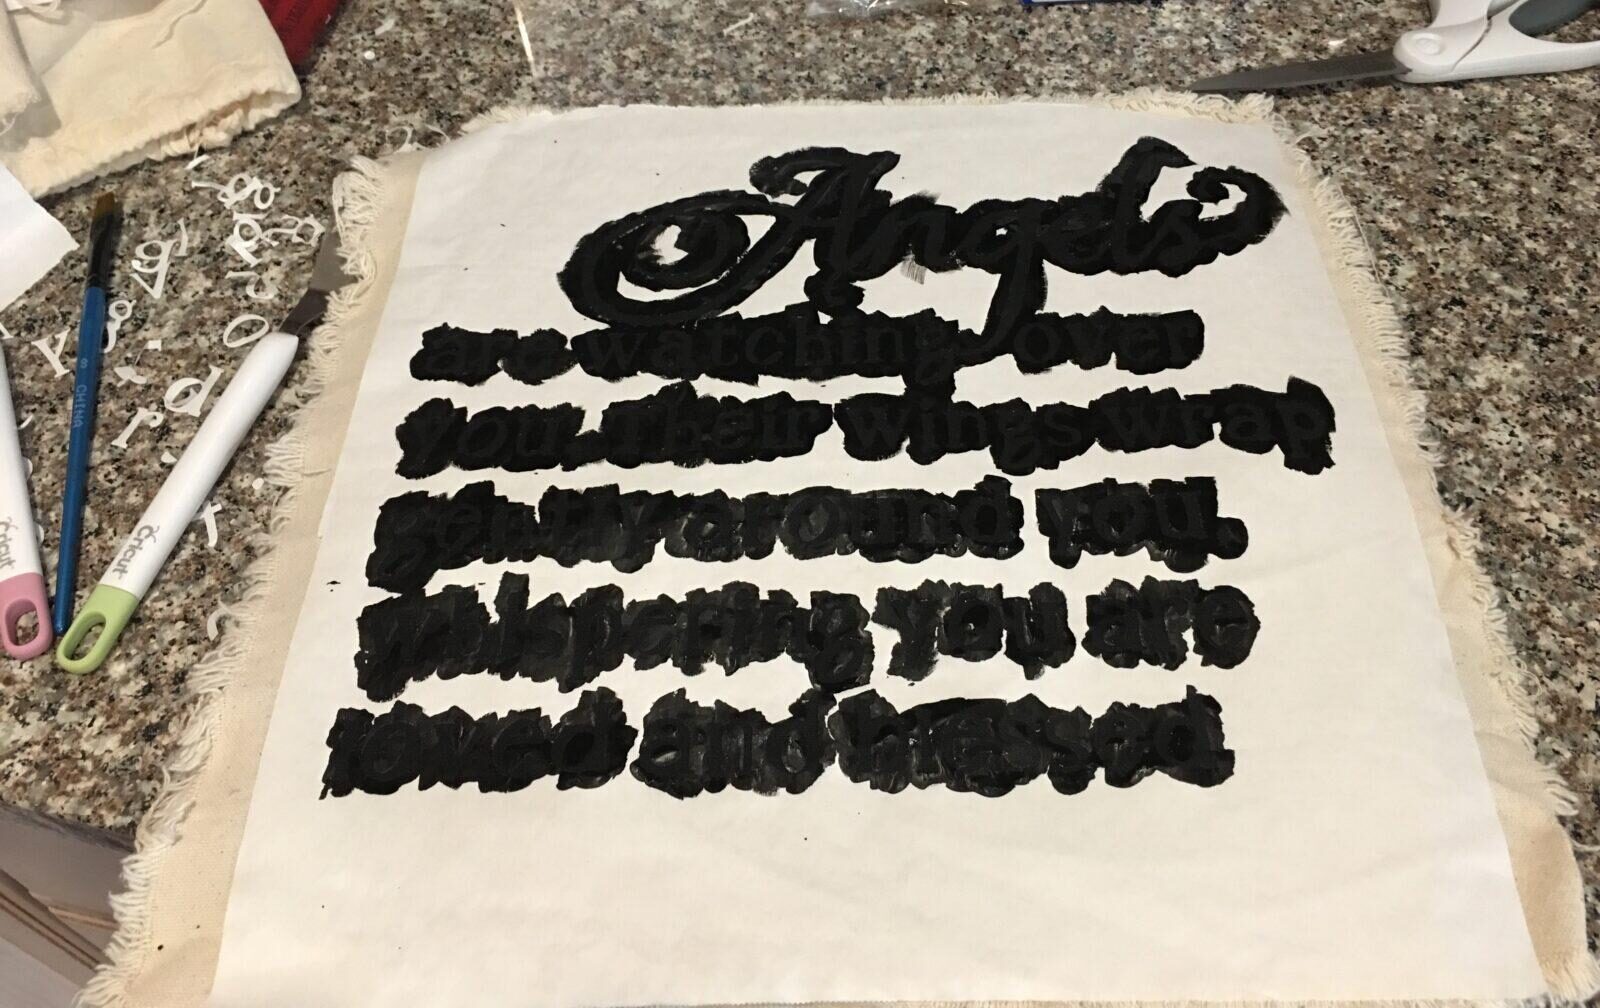
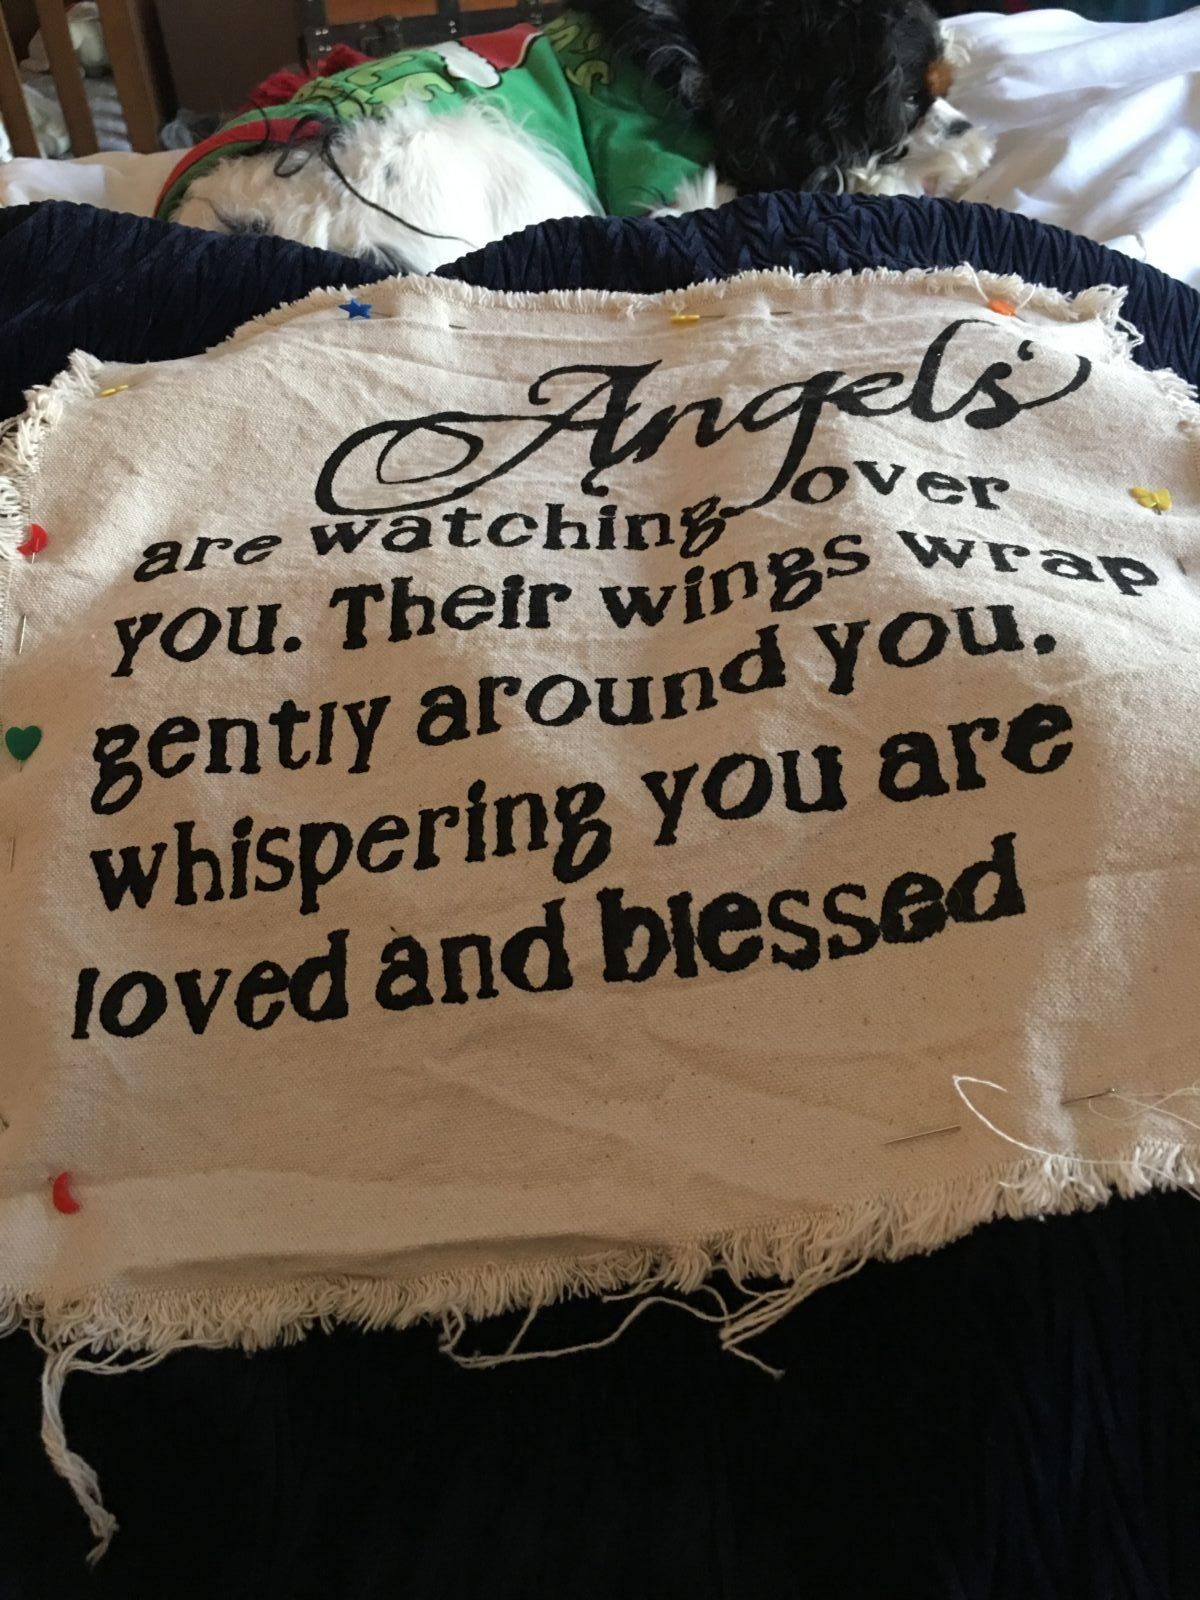
To make the stencil with the cutting machine and waxed paper, I used Samantha font for “Angel” and “A Child’s Year” for the rest of the text.
I ironed the fabric before applying the stencil, then positioned the stencil that I had made on the Cricut. I ironed it with the wax side down so it would stick to the fabric while I applied the paint.

Then I applied the paint fairly liberally. I like this particular paint because it doesn’t get stiff. Don’t make it too thick or it will bleed. I got a little too sloppy at the end, but it was still acceptable. This this was sort of a pain to weed and iron on so I wasn’t sure I’d do much better on a second attempt.
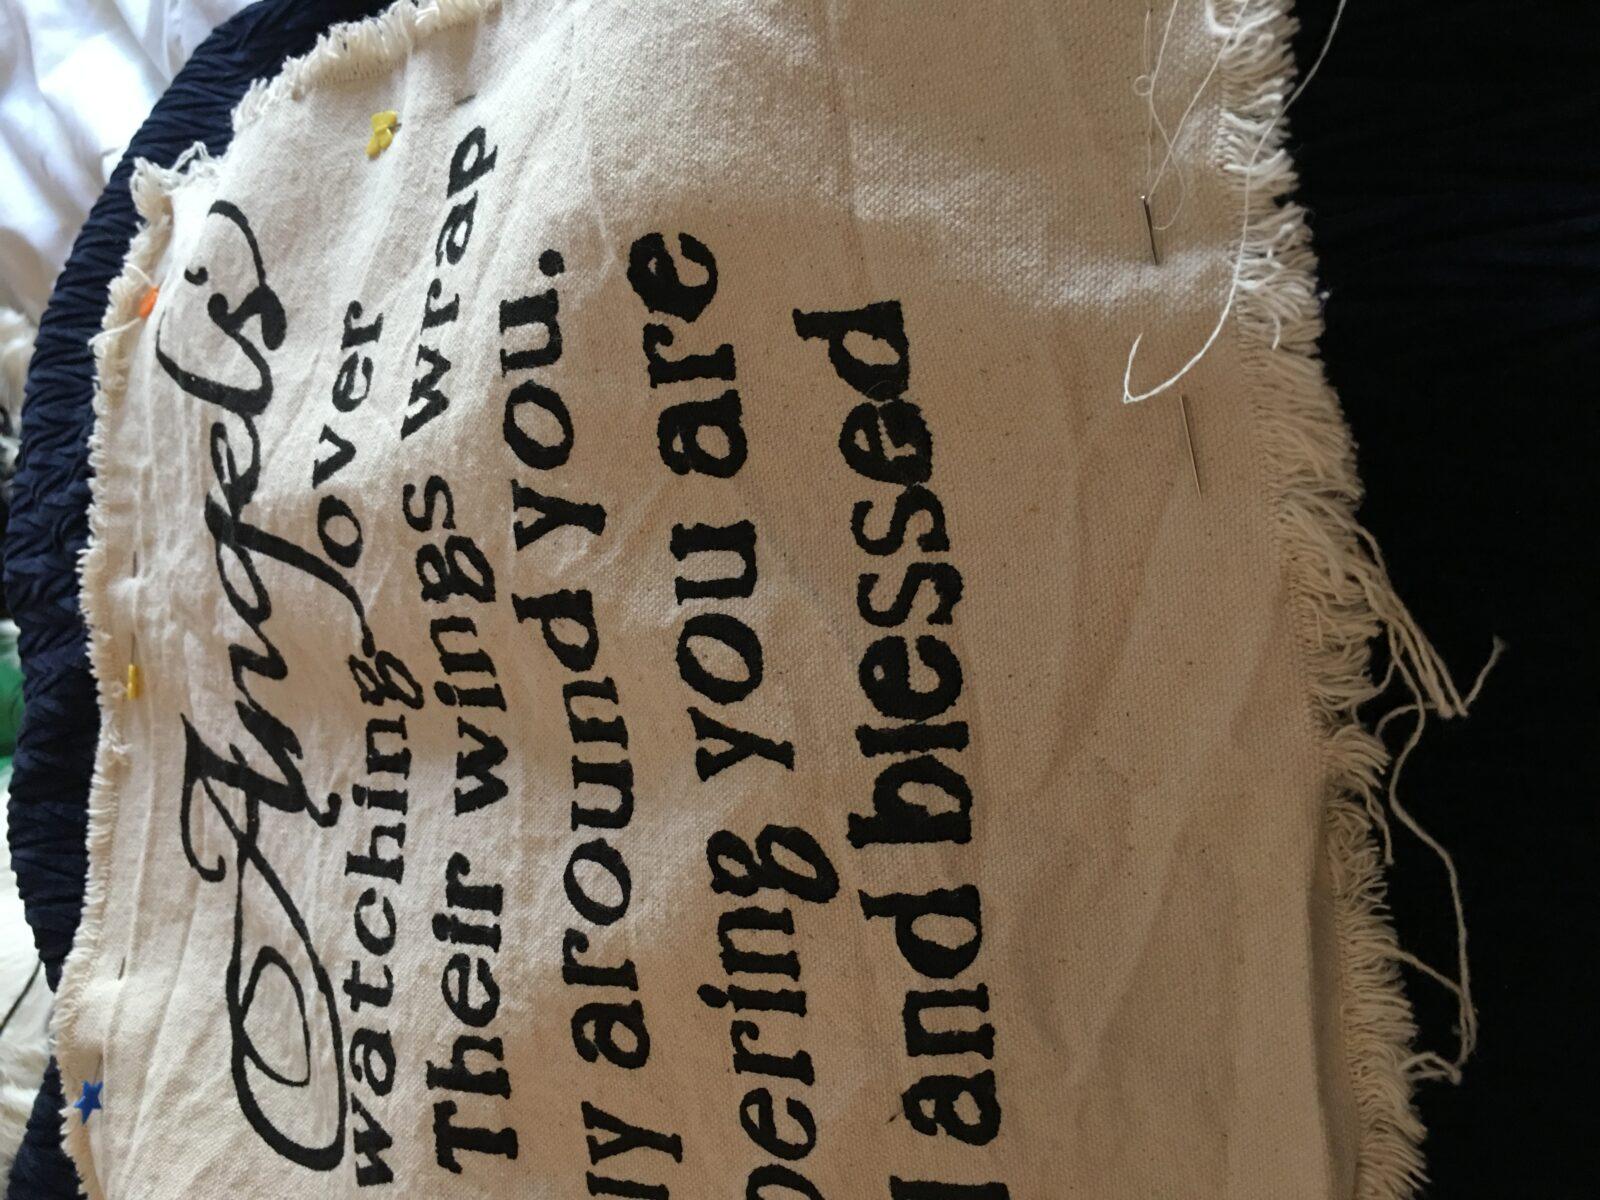
After allowing the paint to dry, pull the wax paper off.

The paint did bleed just a little bit because of me being a little too free with the paint.
After that, it was just a matter of pinning this piece into place and hand stitching it to the pillow. I didn’t have a machine available at the time, but that would have worked just as well.
Finally, all that was left was putting in the inserts and it was ready to go.
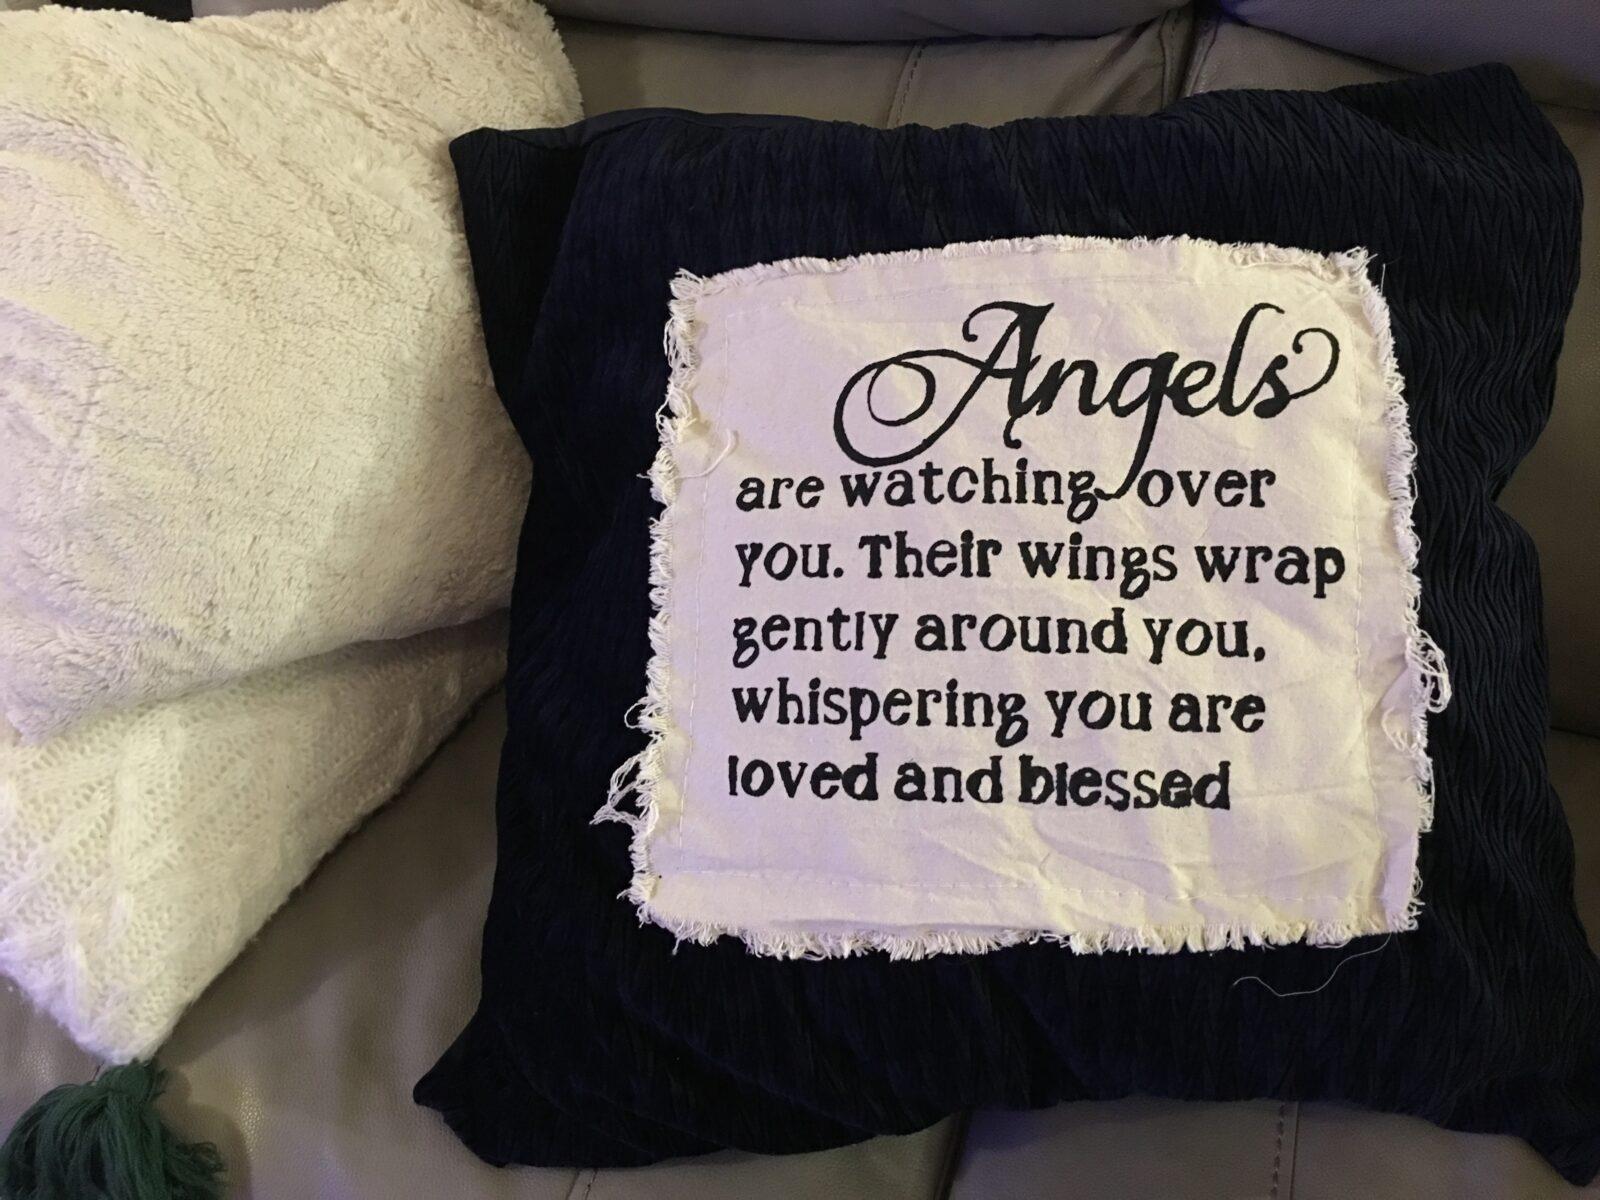
Mom loved it. She took it with her everywhere, even in the car.
The hardest part about the project was definitely piecing the stencil onto the fabric. It’s not hard to weed, but all of the centers of the letters are tedious to iron into place. It was definitely worth the effort, but it is time consuming. So, if you’re in a hurry or low on patience, you might want to just order the pillow from Sugarboo.