Bug loves hats of any kind, so I knew he’d be cooperative with whatever I decided to dress him in for our trip.
Everyone fawns over the lovely little girl’s dresses and crowns when planning their Disney trips, often planning them weeks and months in advance. The older boys get super-cool makeovers at Pirate’s League, but Bug’s way too little for face paint. I wanted Bug (and I) to be able to participate in all the fun of dressing up for events, plus I needed a costume for his costume for MNSSHP anyway. Finding a costume was a piece of cake, but it didn’t have a crown, so what to do for a crown for my little prince?
The girl’s crowns with their glitter and glam are lovely, but are too…. well, girly. The boys don’t really have crowns unless they are those cheap plastic shiny things or the crowns with the plain black elastic on the back which look weird and uncomfortable. Trust me, I searched and searched for days.
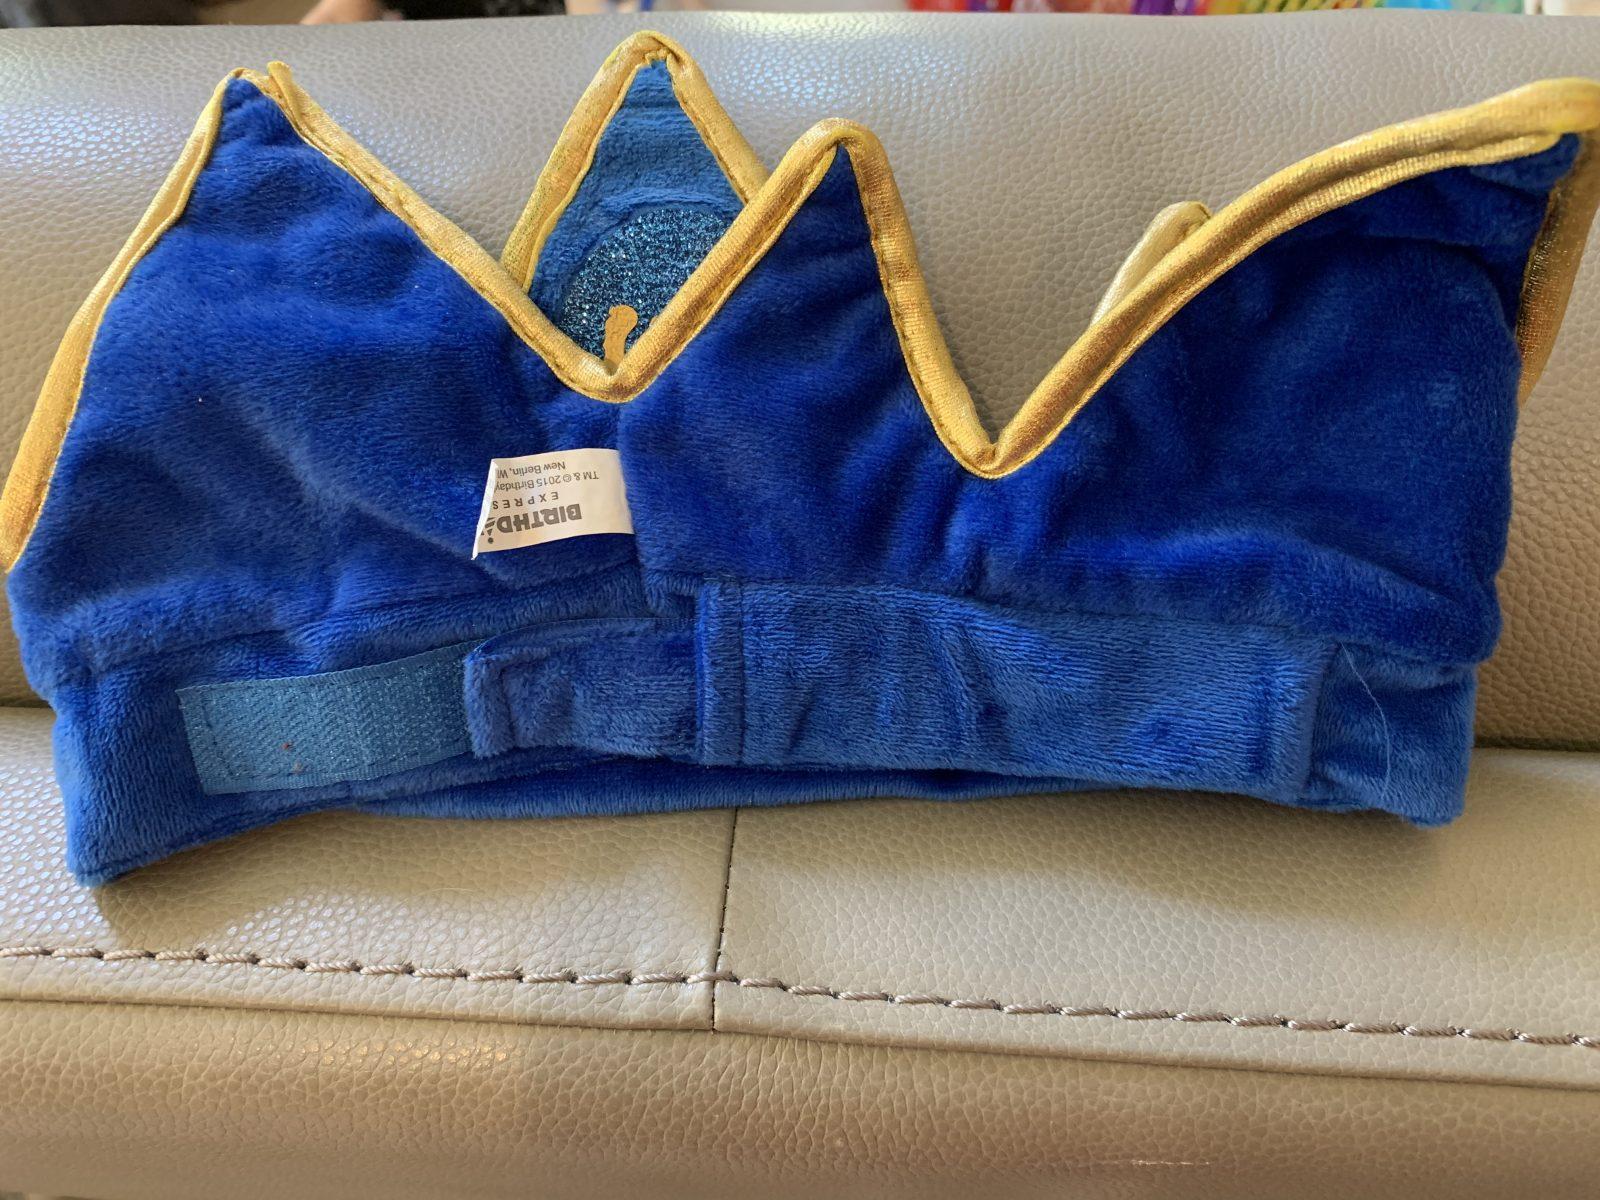
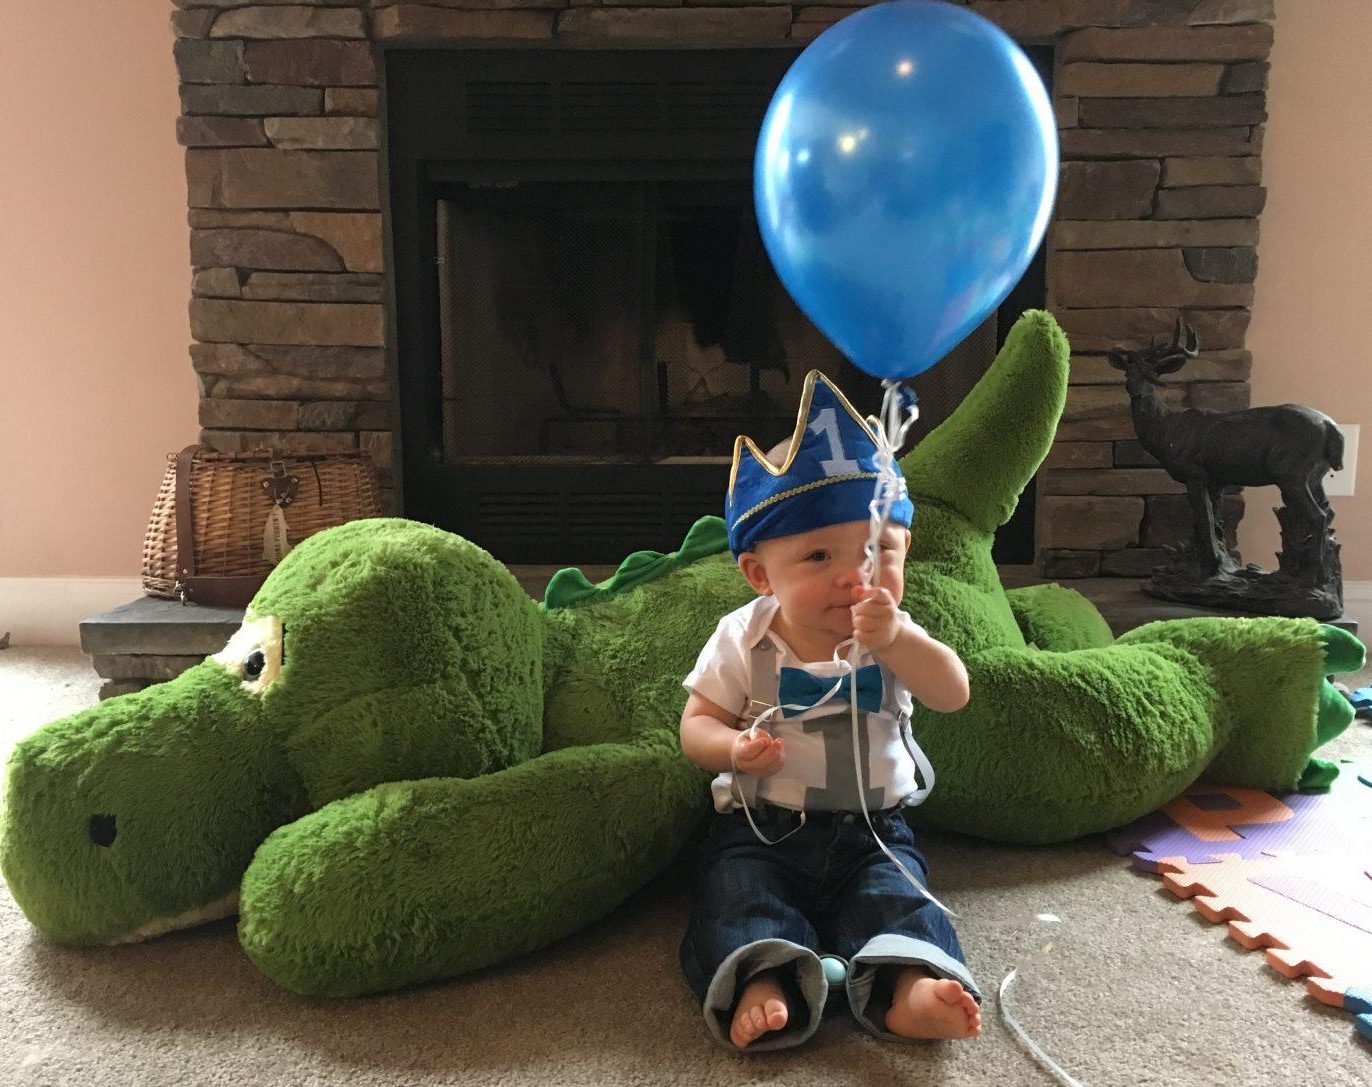
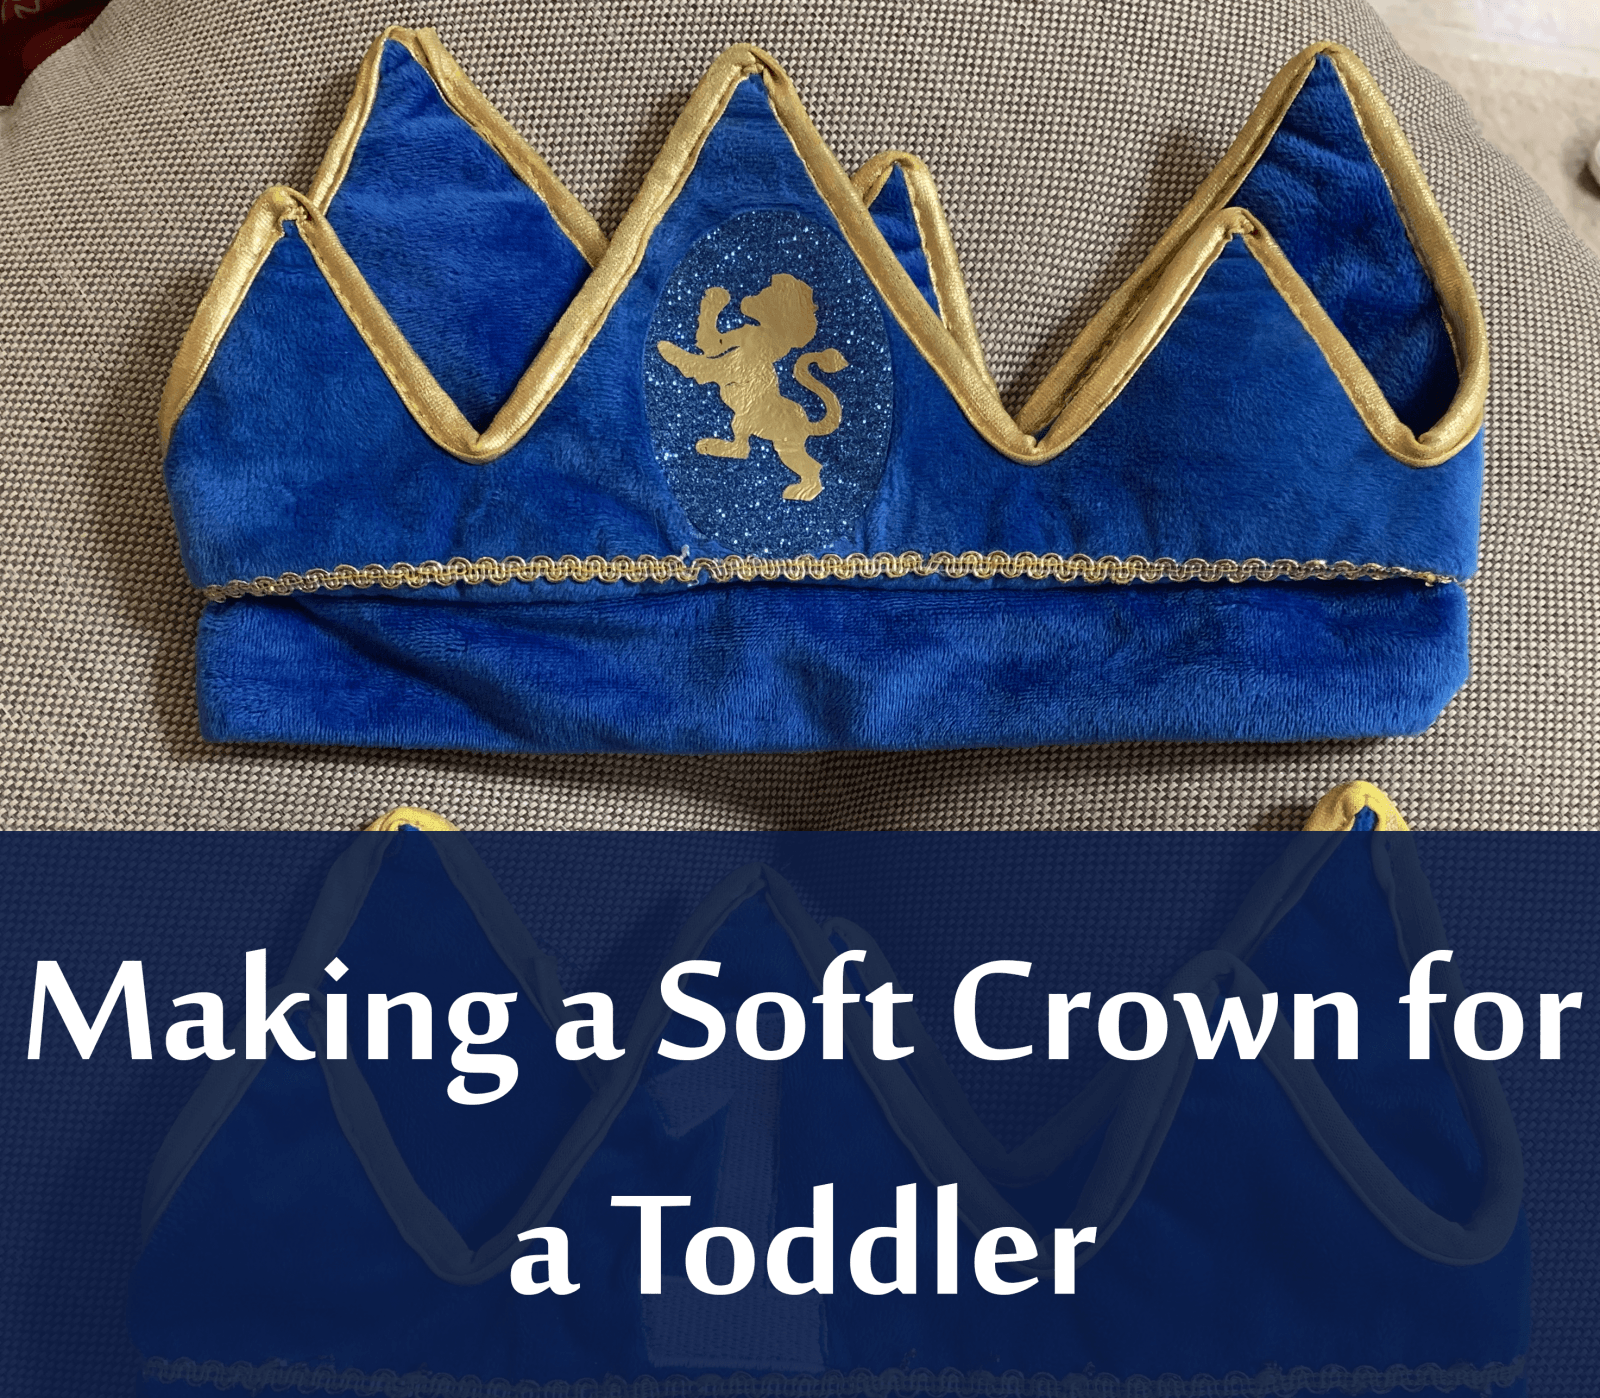
Then, I realized that what I was looking for was something that I’d seen before – the same type of crown that I’d had for his 1st birthday. It was soft – sort of a velour – adjustable, and easy to take on and off. The problem with that crown is that it had a big “1” embroidered in the middle.
I combed Amazon and checked at places like Hearthsong and Magic Cabin, but there was nothing at all like it.
Bug was still wearing the first birthday crown from his birthday on pretty much a daily basis (often upside down). He apparently liked it too (and still does). So, I borrowed it during naptime to examine. The “1” stitched onto the front of the crown was extremely well done …. unfortunately. Picking out the threads was an option, but it would still have an imprint of a “1” on it. No other colors or patterns were available, as this was made by Amscan (owned by American Greetings) for the sole purpose of a first birthday crown
. BUT, the crown is very adjustable through a clever velcro design in the back and it fits him even now at age 2. So, I decided to try to cover the “1” with vinyl. I ordered a second one in case I ruined it during my experiments.
I had debated making the crown myself, but they generally cost $10 or less and seem to be in plentiful supply. I’d have that into materials alone. I may do that at a later date if I decide to make an “older” version of the crown once he outgrows it.

Knowing I was going to be Cricuting a lot for our trip, I had ordered this HTV variety pack to make our shirts. Included in the bundle was an awesome gold that was sort of a metallic color. I had also bought
this set of glitter HTV for my own shirts and found a really nice blue glitter in it.

I measured the embroidered 1 on the crown, then made an oval large enough to cover it at 3″ x 2″ (thereabouts).
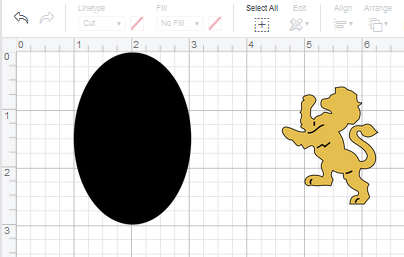
I used the “lion rampant” pattern in Design Space to use for the center and did him in gold vinyl. The design is part of their Cricut Access plan or can be purchased from them for about $1. If you have trouble finding the lion, search for “shield” in Design Space and it should pull him right up.
Below is the “before and after” crowns. The one on the bottom looks a bit different just because it’s been so played with. The gold has worn off.

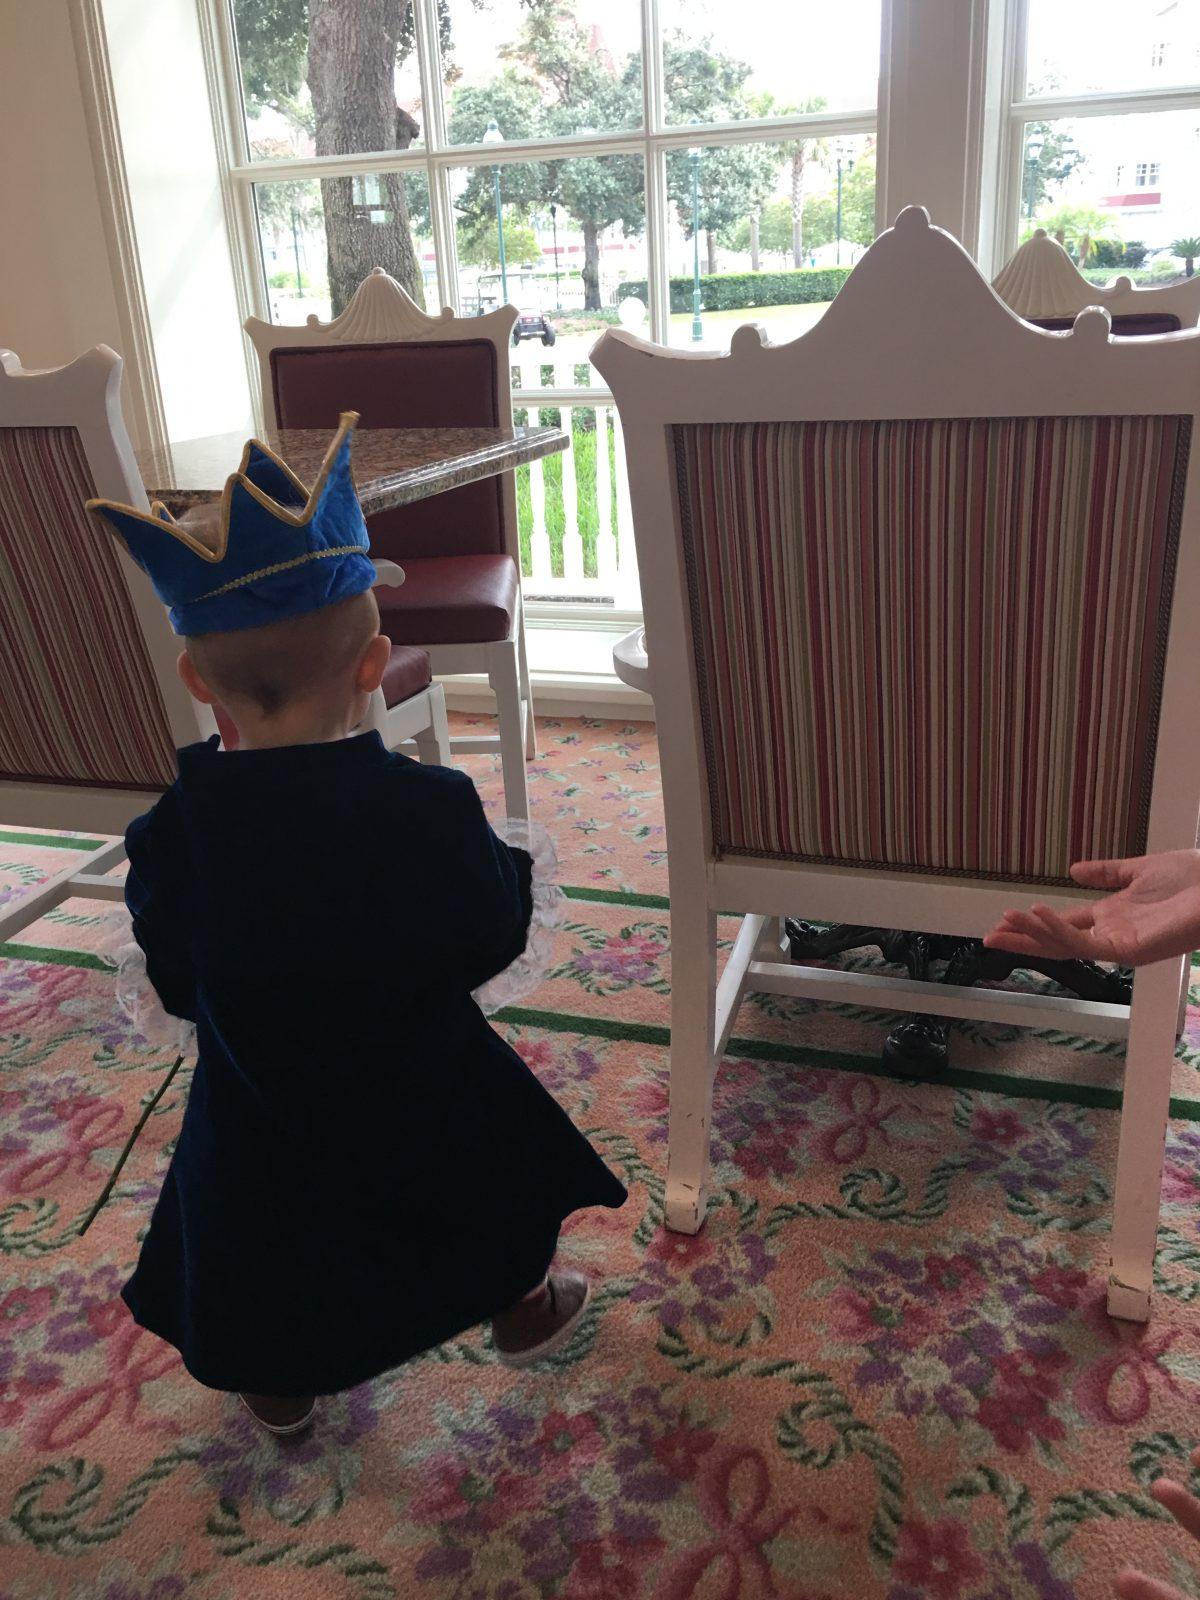
And he’s still wearing it.

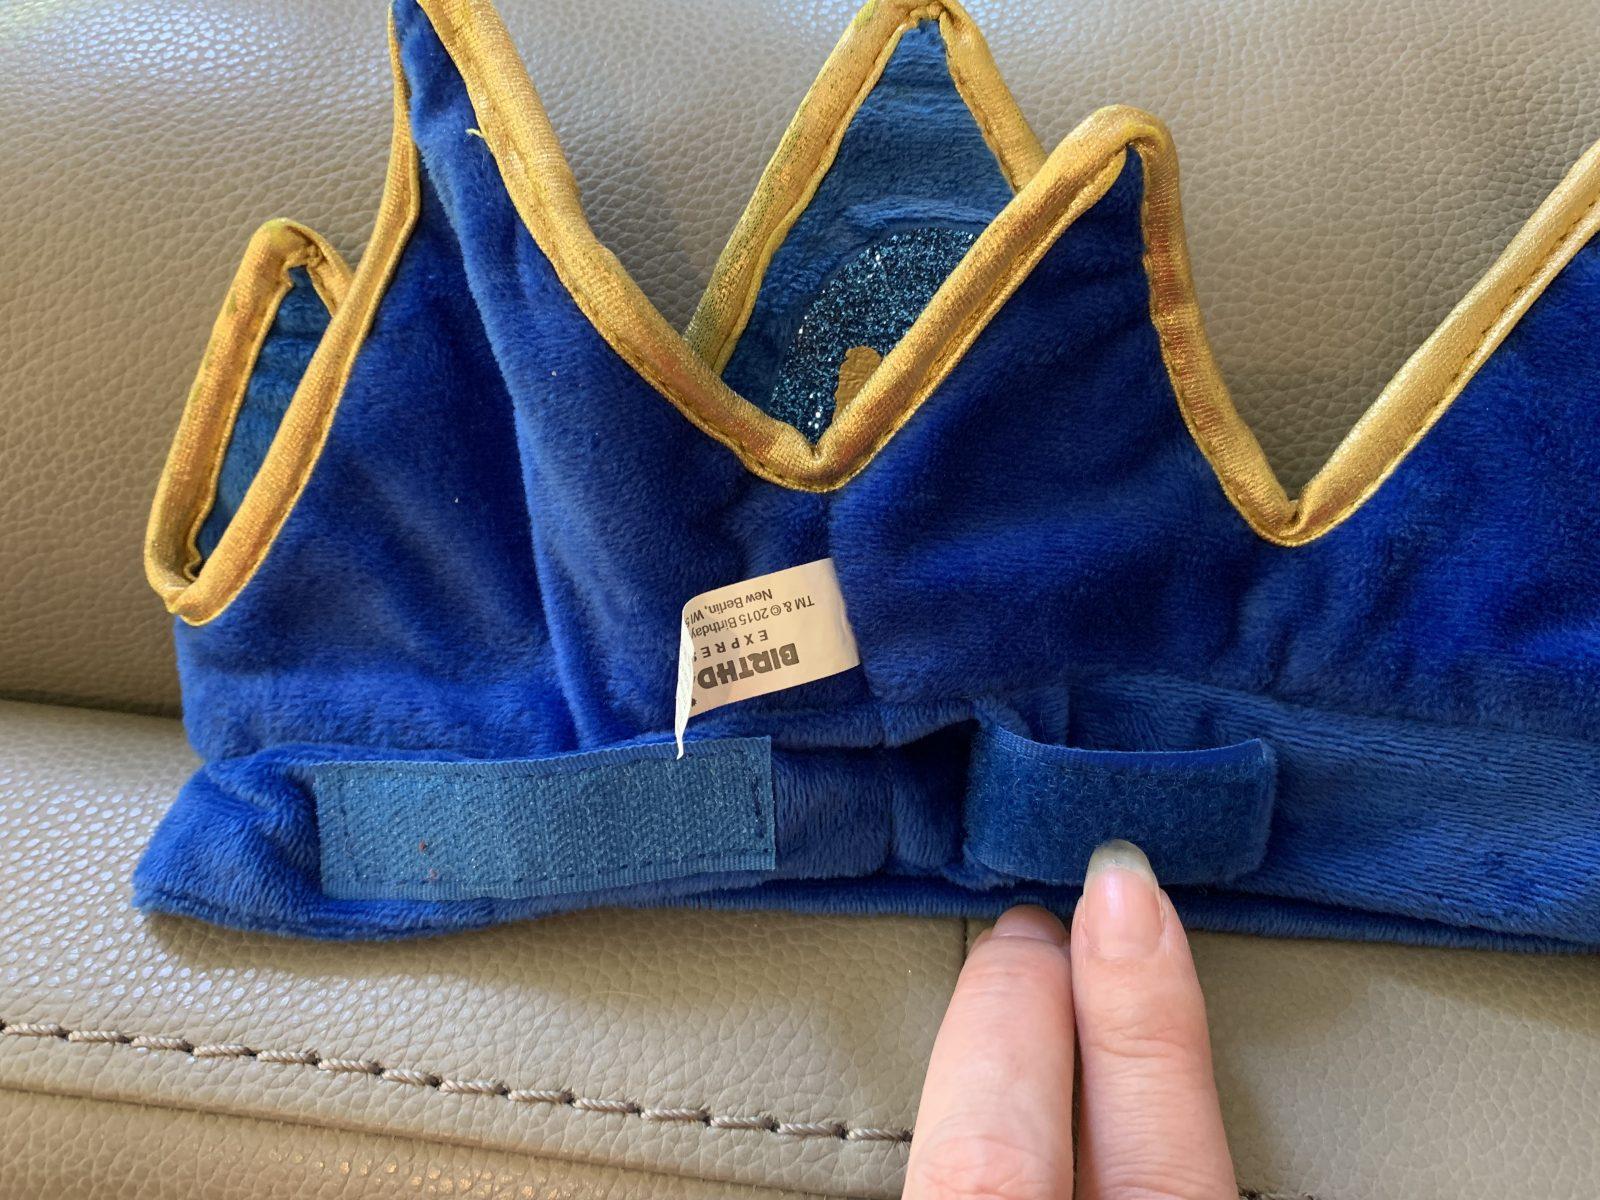
As a final note, for those curious about how the adjustment works, I’m including a picture below. I think it’s pretty clever how it works. There is a tab extension above the band that slides through a tunnel seam to velcro on the other side.