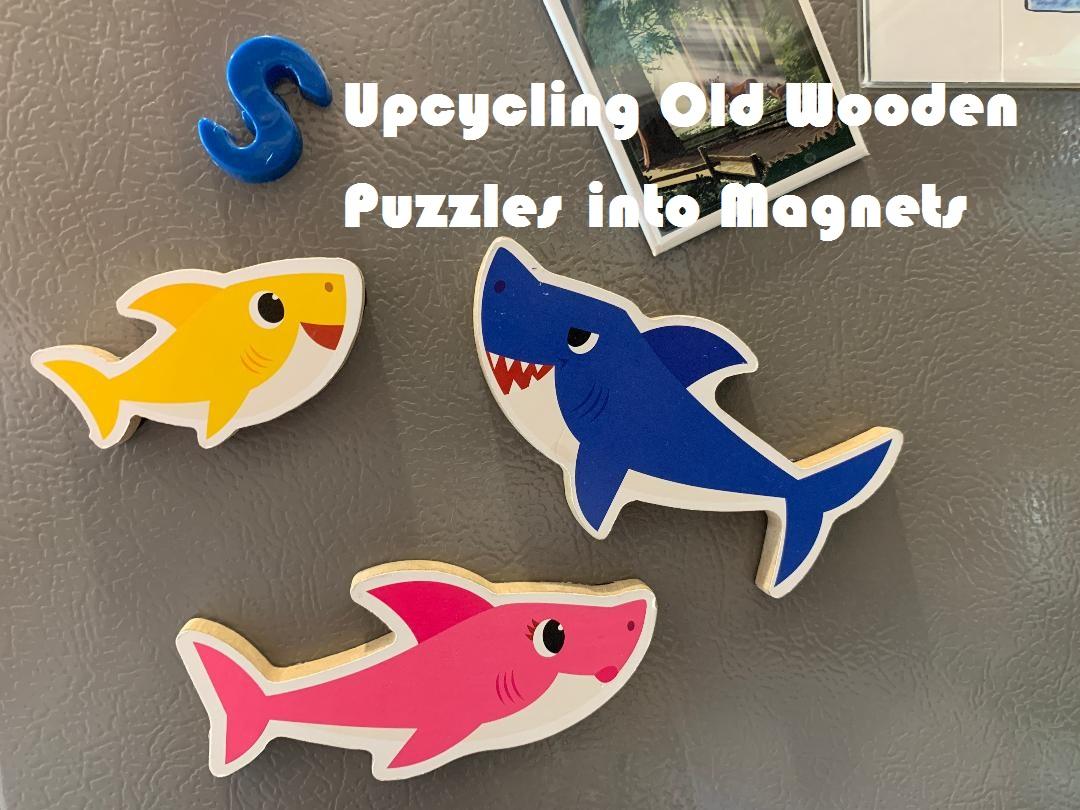
It’s a pretty simple craft that you can generally do in less than an hour.
It all started with a puzzle that Bug had outgrown. I was going to donate it and couldn’t find Grandpa Shark.
Specifically, it’s this puzzle:
Needless to say, it was a little frustrating and finally, I threw my hands up and gave up on finding Grandpa Shark. It was a bummer because I knew the puzzle was pretty close to worthless without him for the donation place. Then I started thinking about how cute the pieces were and how neat they would be as magnets. Bug’s still into Baby Shark and still enjoys magnets, so why not?
I checked and the pieces weren’t magnetic on their own, just wood. But, it really doesn’t take much to make magnets out of them.
There are two different types of pre-adhesive magnets you can buy for this project – Magnet Sheets or magnet circles
. I already had some of the sheets to use from a previous project, but the pack shouldn’t cost more than about $5.
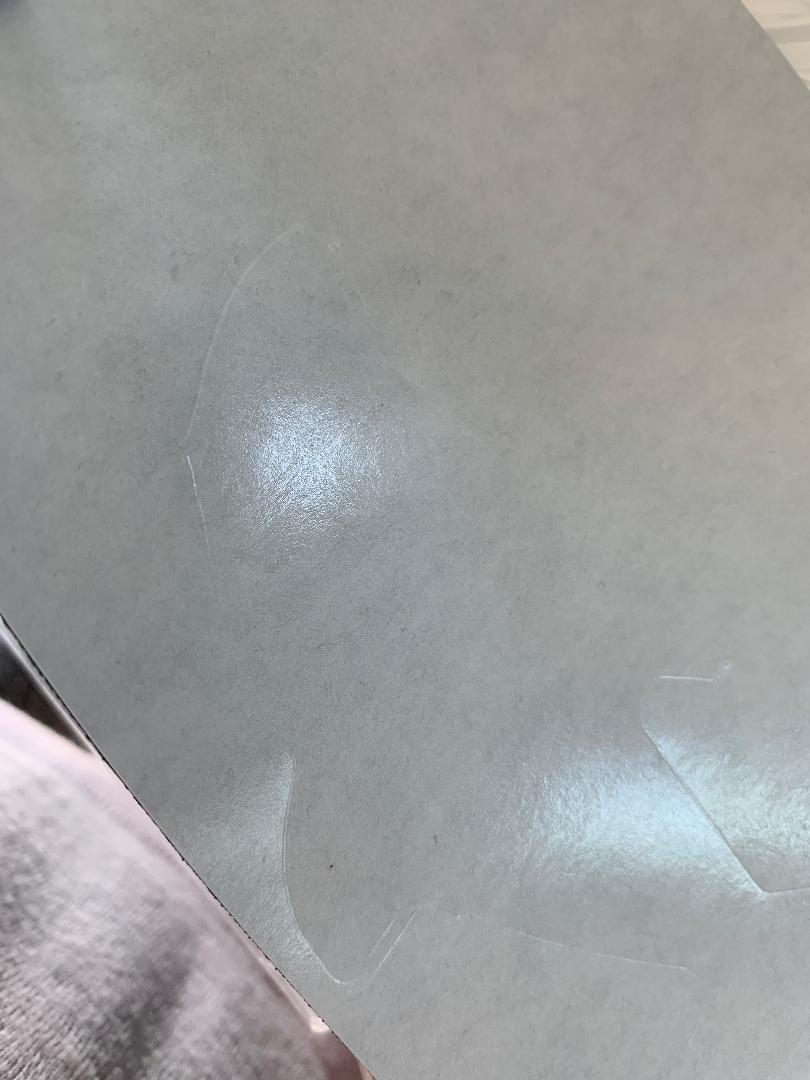
Pens don’t generally write well on the paper, so if you’re doing this the way I did it, pick a nice, sunny day. You’ll see why in a minute.
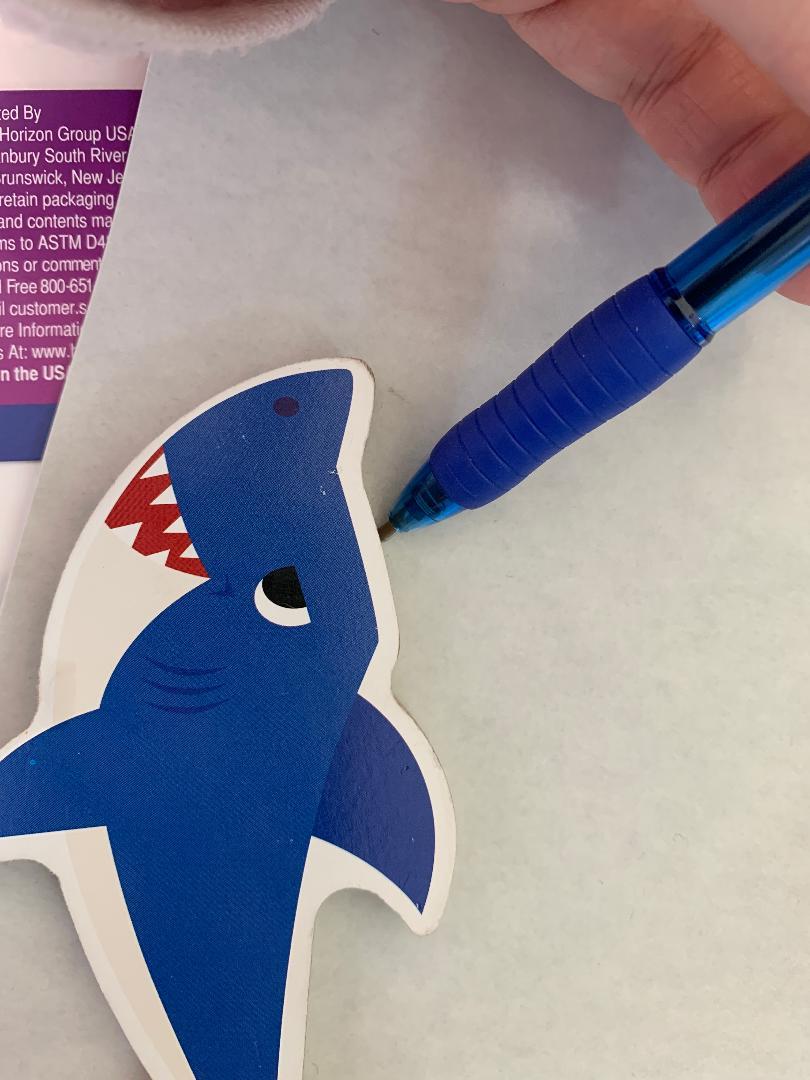
I used a pen to create the pattern with an imprint on the sheet and just traced. You can use a marker, but you are running the risk of marking the wood. If you press hard with the pen, the imprint should show pretty well with good light.
Cut just a little smaller than your imprint. This isn’t going to fit perfectly. It’s not an exact science. The idea is just to make sure you trim enough so it doesn’t show from the front.
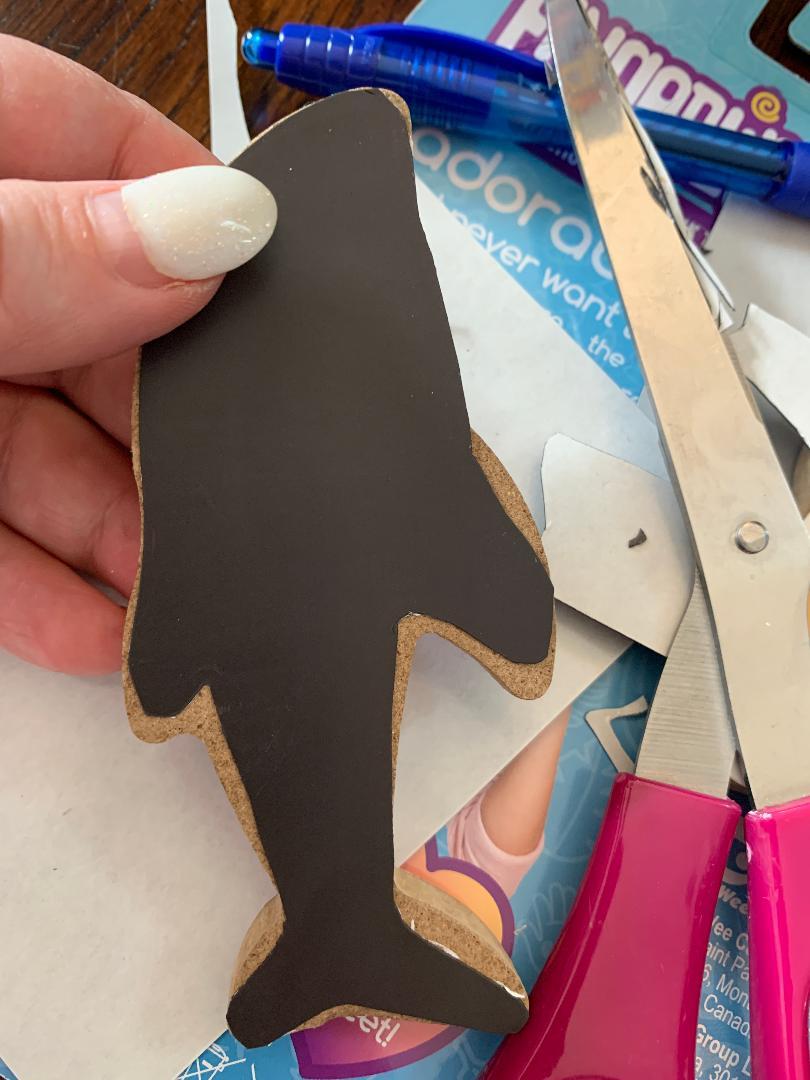
After you cut the shape, hold it up to check and trim it appropriately.
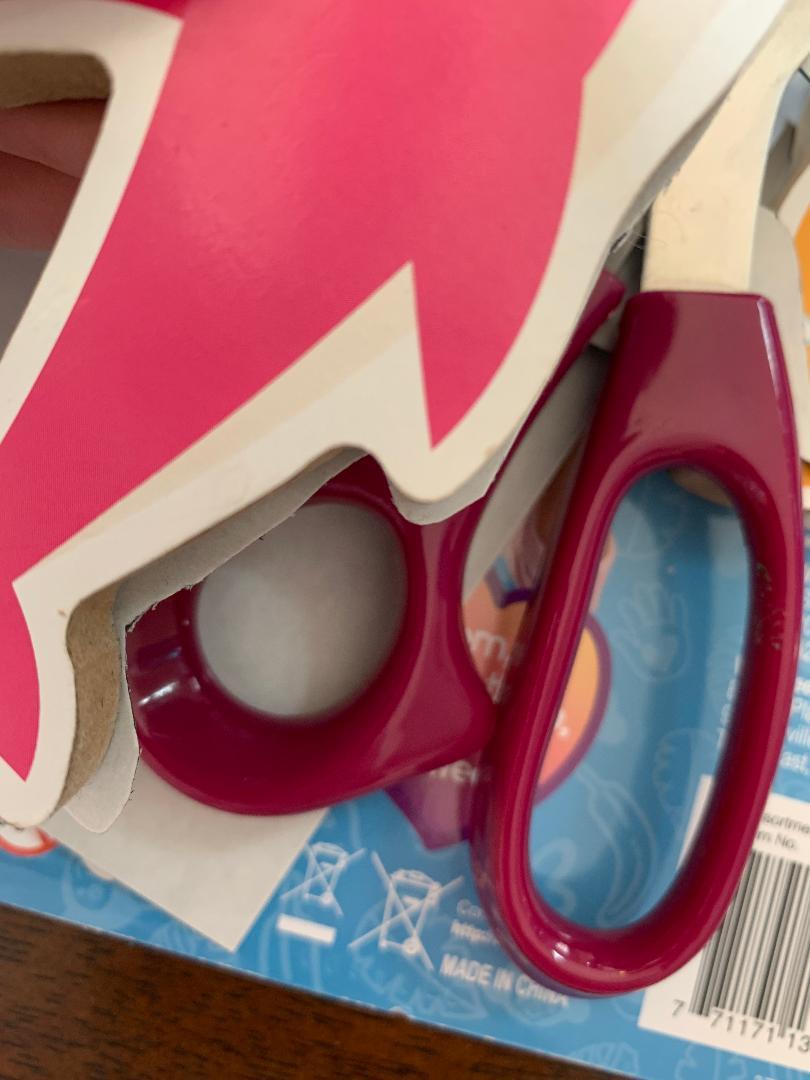
Then peel off the adhesive strip and stick it on the back. Super simple!
If the puzzle you are using is simple shapes, you can just glue the magnet to the back and cut around it. If you use shaped magnets, then you can just stick them on the back.
I did them while Bug was napping for him to find when he woke up. He was pretty happy with them and has played with them more than he did when they were a puzzle (go figure).
