This is inspired by an activity we did in Tinkergarten. If you haven’t experienced Tinkergarten for yourself, I highly recommend that you check them out! The meetings last about 30 minutes and are wonderful for socialization especially with the whole pandemic thing. Prior to that, Tinkergarten classes were outside in a group usually at a public park.
My son has definitely grown from our experiences at Tinkergarten. It helped him to learn to use his imagination more with what’s around him. It’s really been a blessing and a lot of fun to experience.
One of our experiments with Tinkergarten involved snow and ice play. In fact, a few days centered around that. It was a little harder for us, being in Florida, because we couldn’t make the beautiful ice mobiles outside like the kids in the other areas of the country. Tinkergarten has a ton of fun activities like that though. Still, we made do and he had a lot of fun.
After class, they always give a sheet that suggests related books and activities for the week. One of the activities was ice painting which was essentially freezing colored ice then painting on an old sheet. We decided to put our own spin on it.
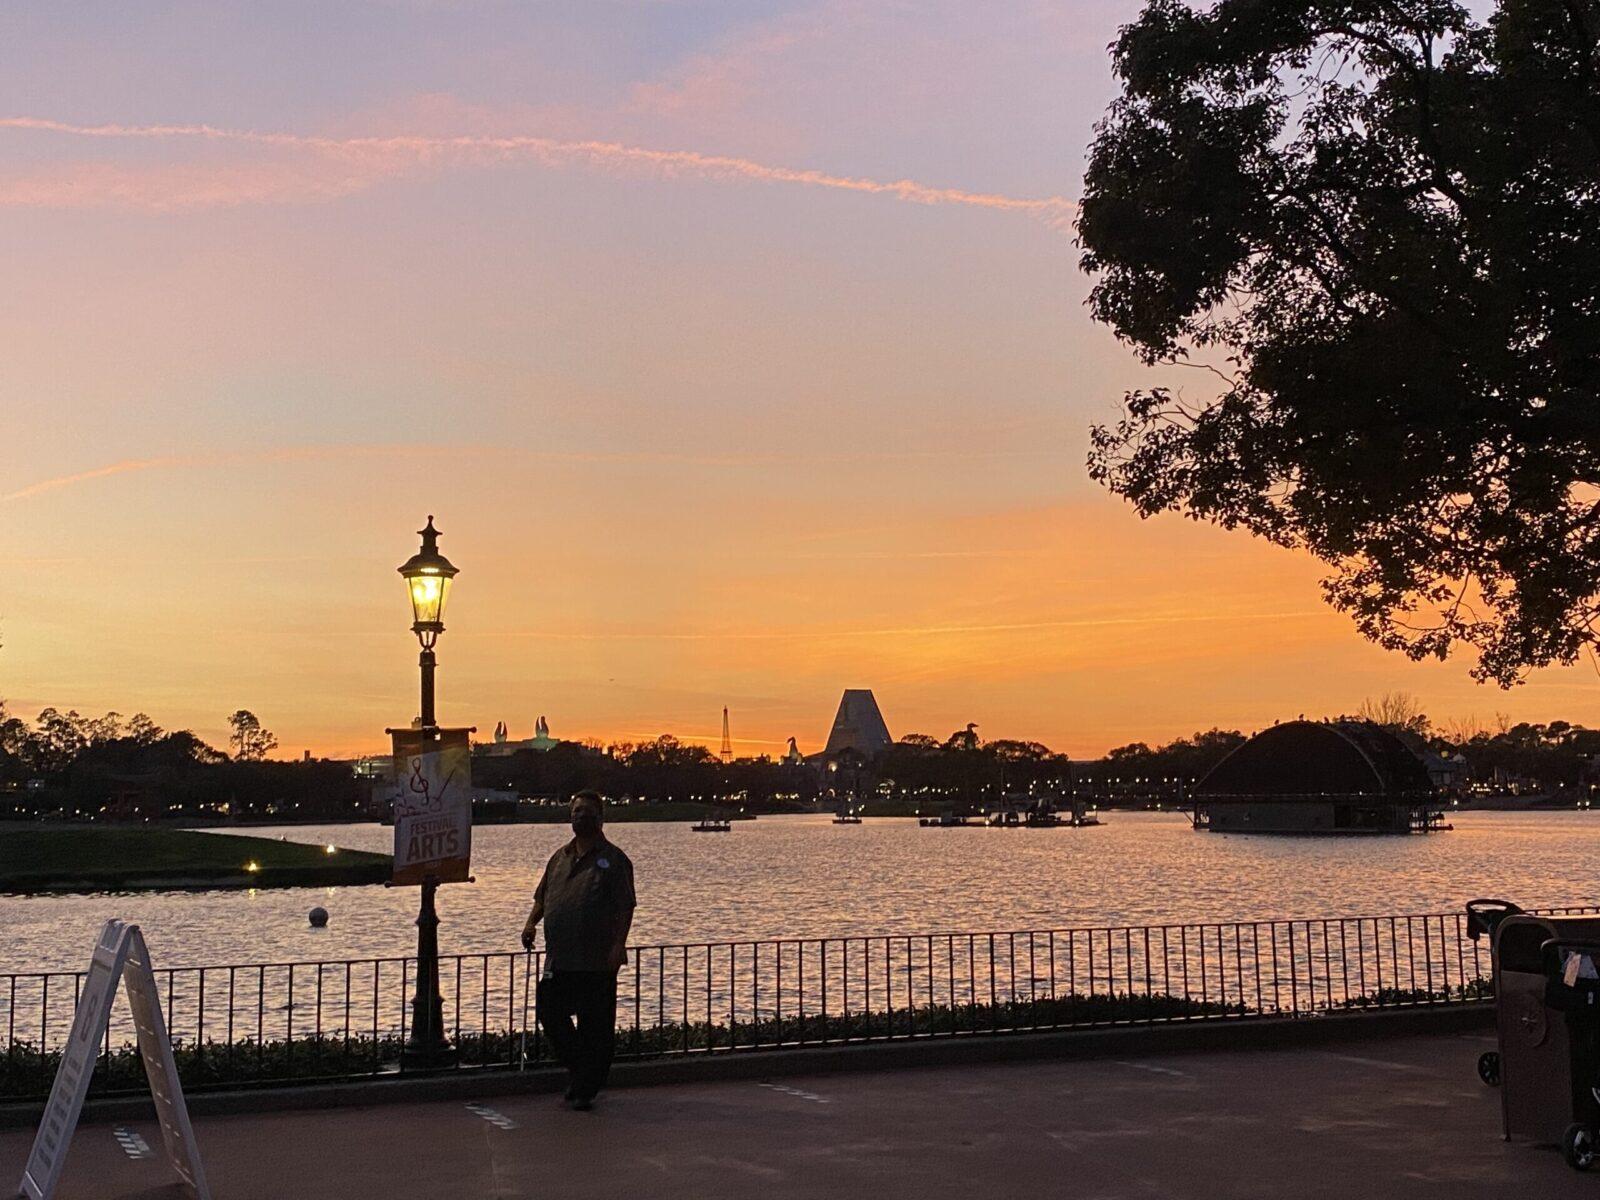
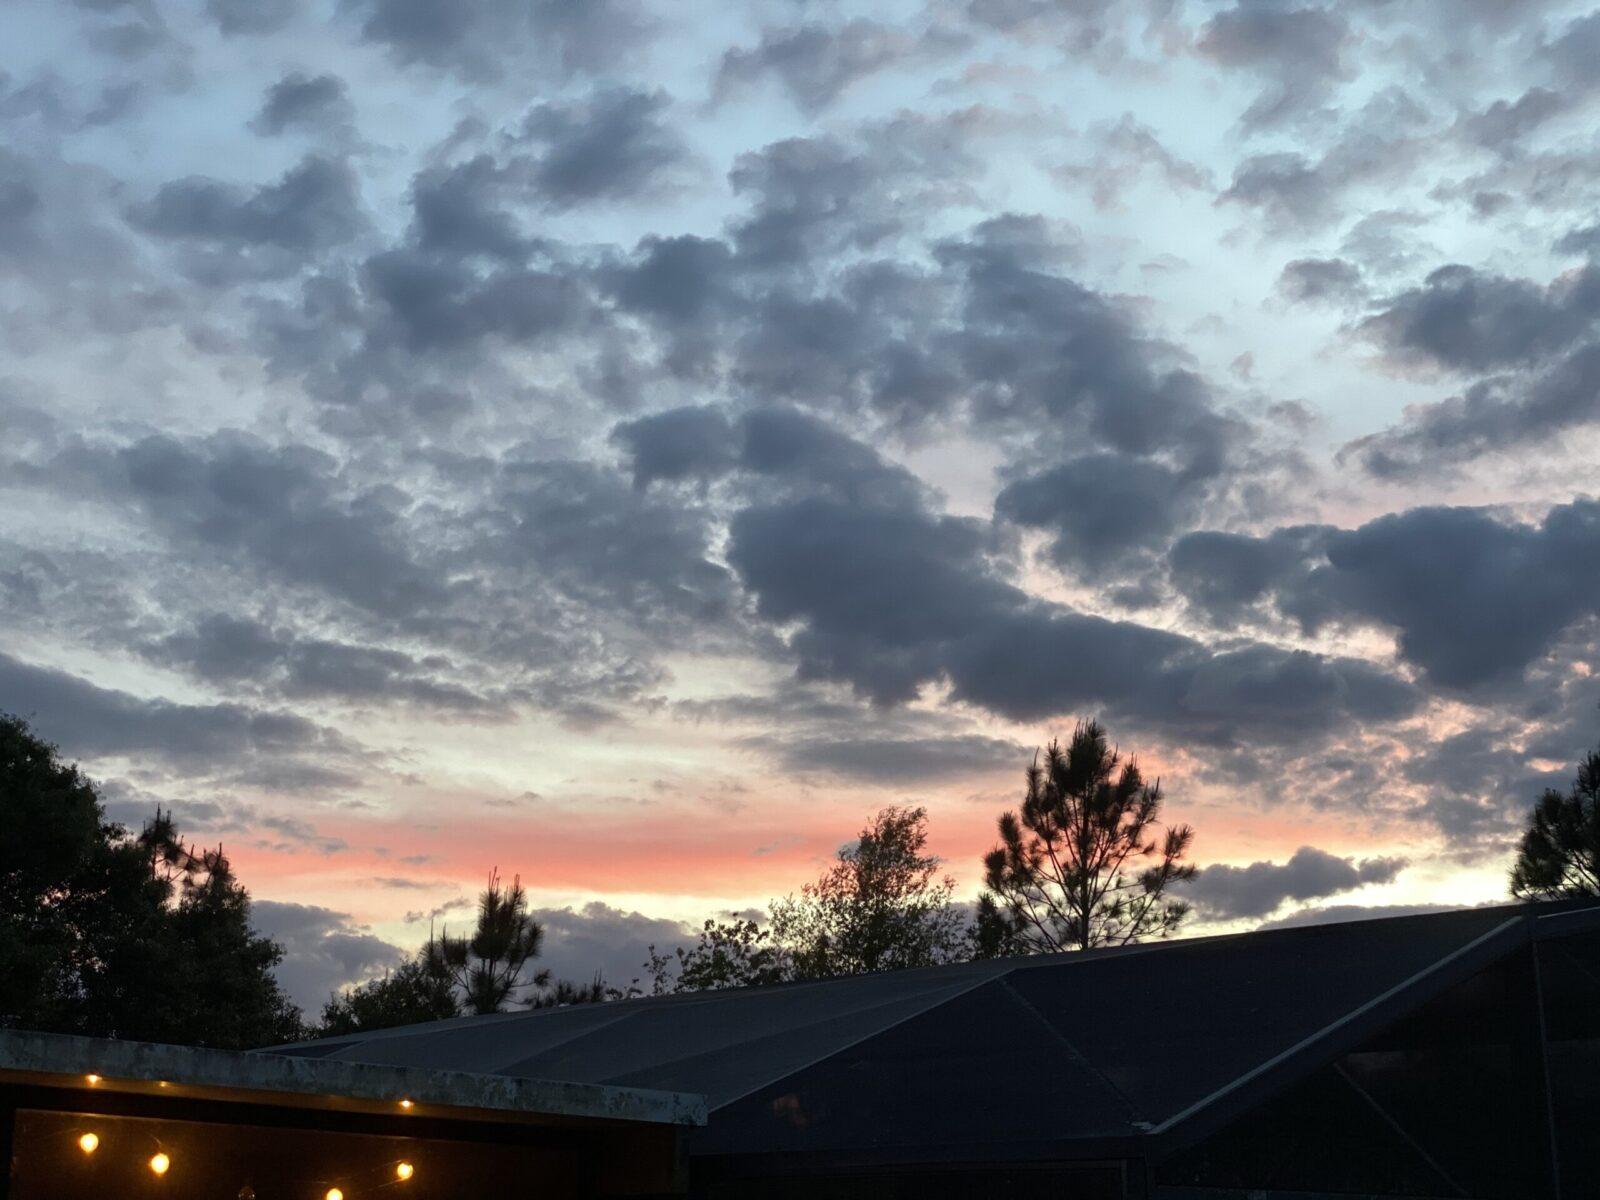
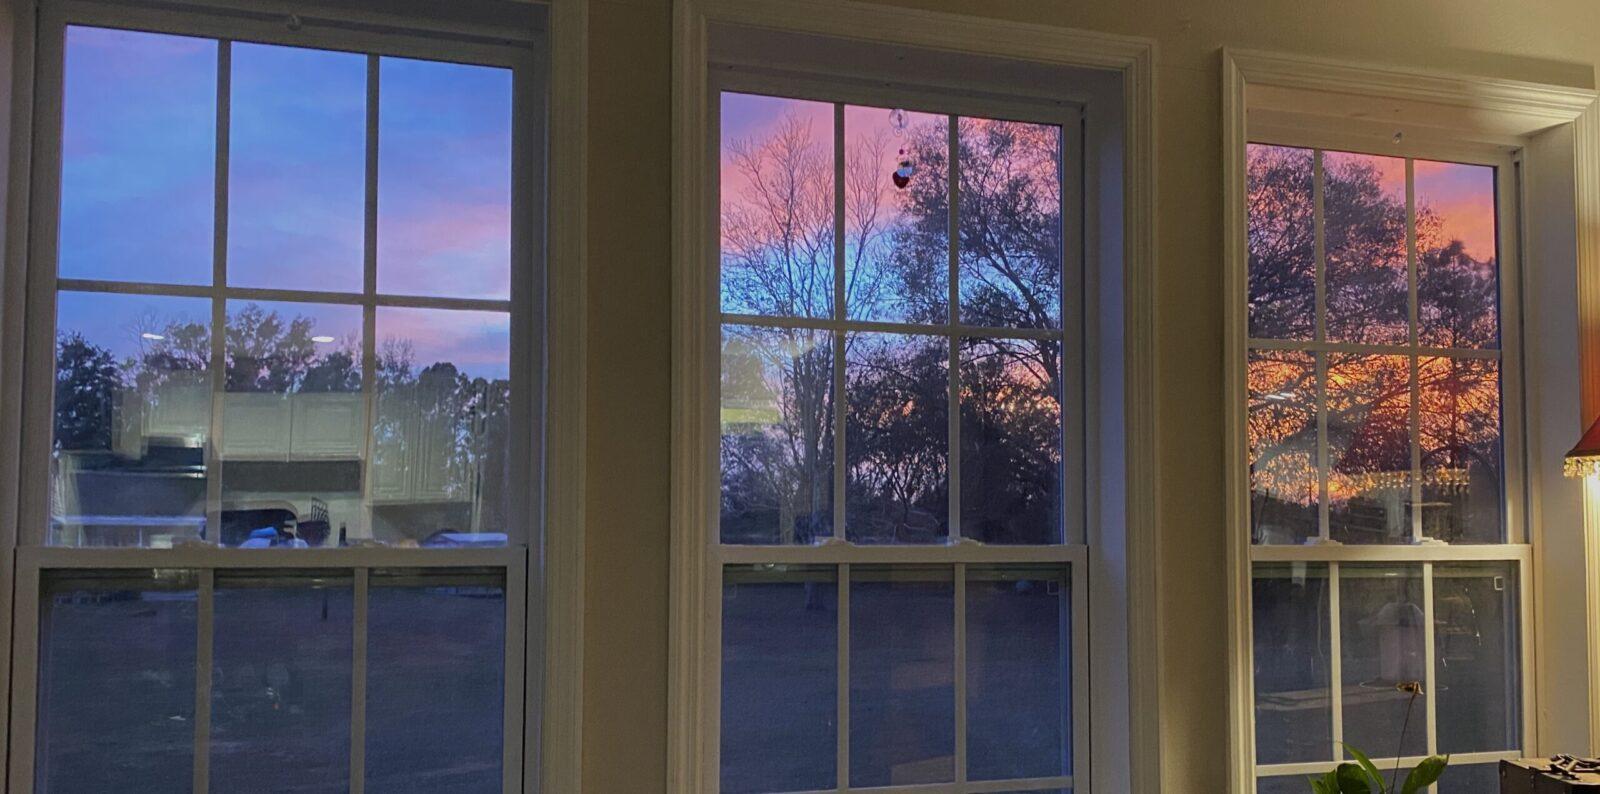
Our sunsets here in Central “Disney” Florida are breathtaking. I never get tired of looking at the sky here. God is free with His paintbrushes of color in this state all day long, but especially at sunset.
So, we decided to use the Florida sunsets as our inspiration for our ice painting. We didn’t do ours exactly like they suggested. As I said, ours was merely inspired by the activity.
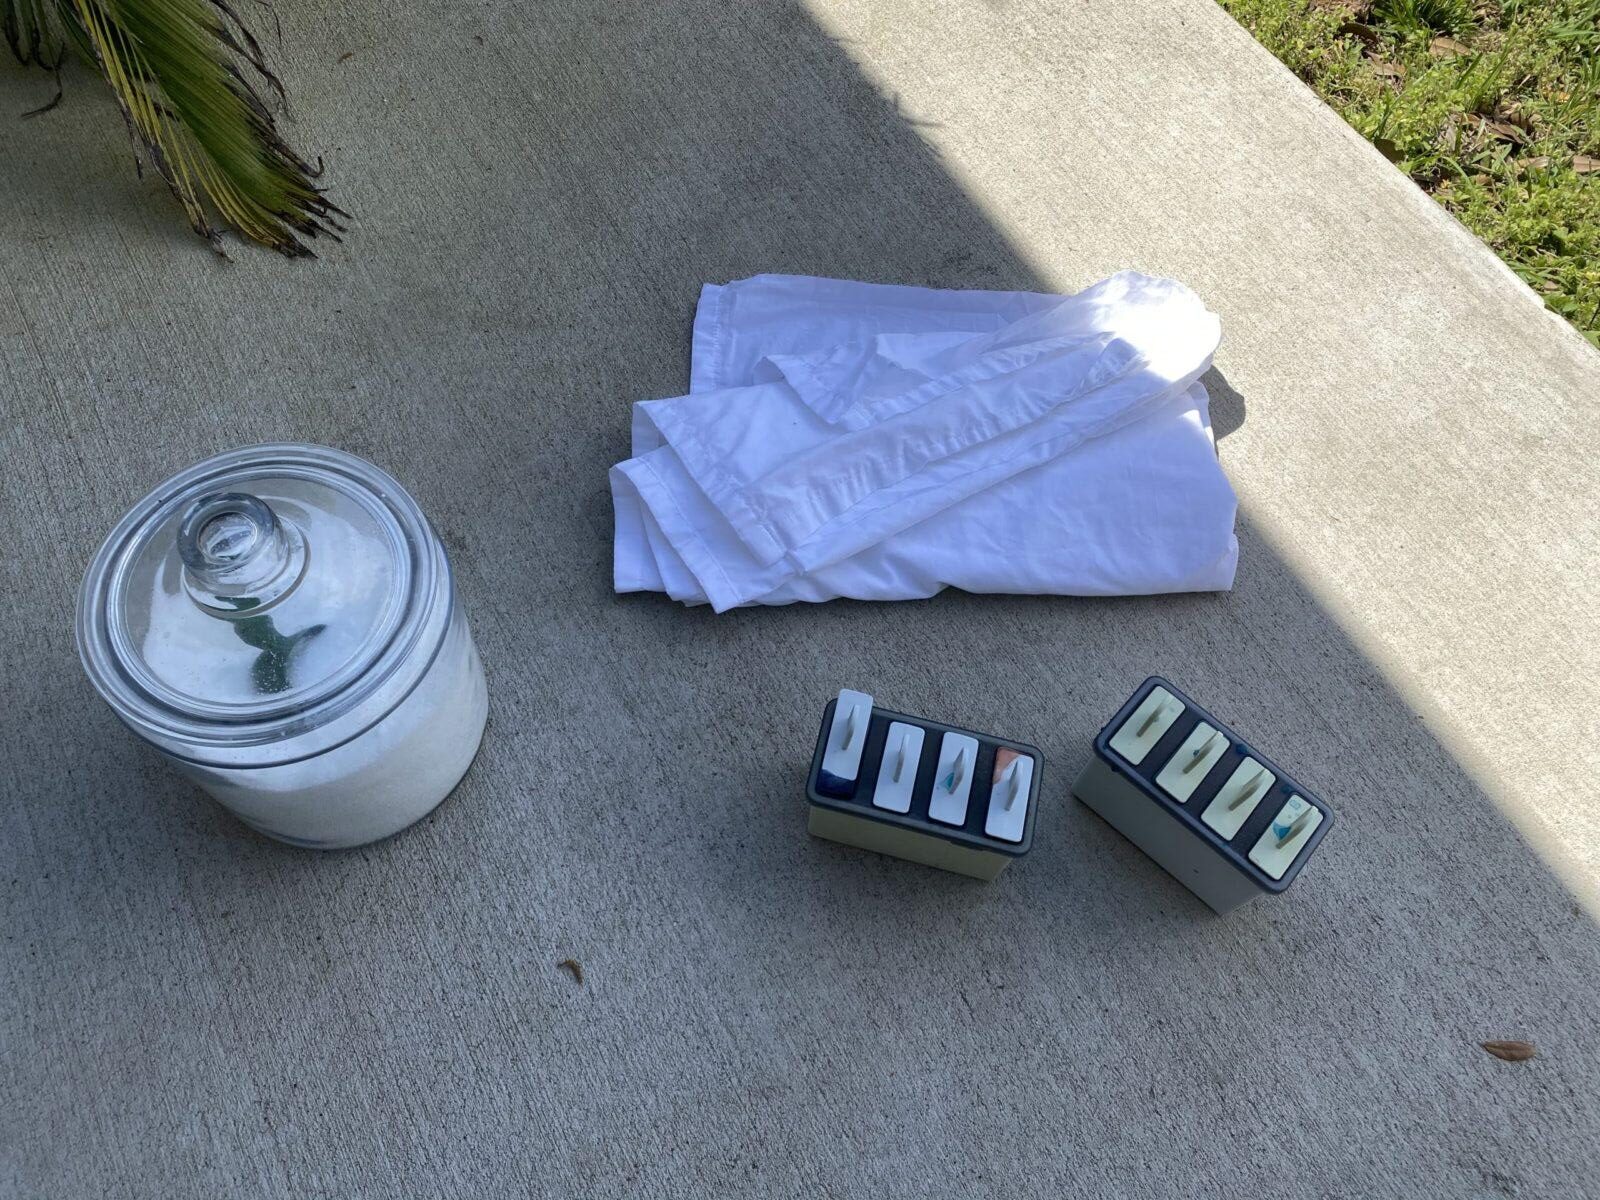
You’ll need:
A sheet (we used half of a twin sheet)
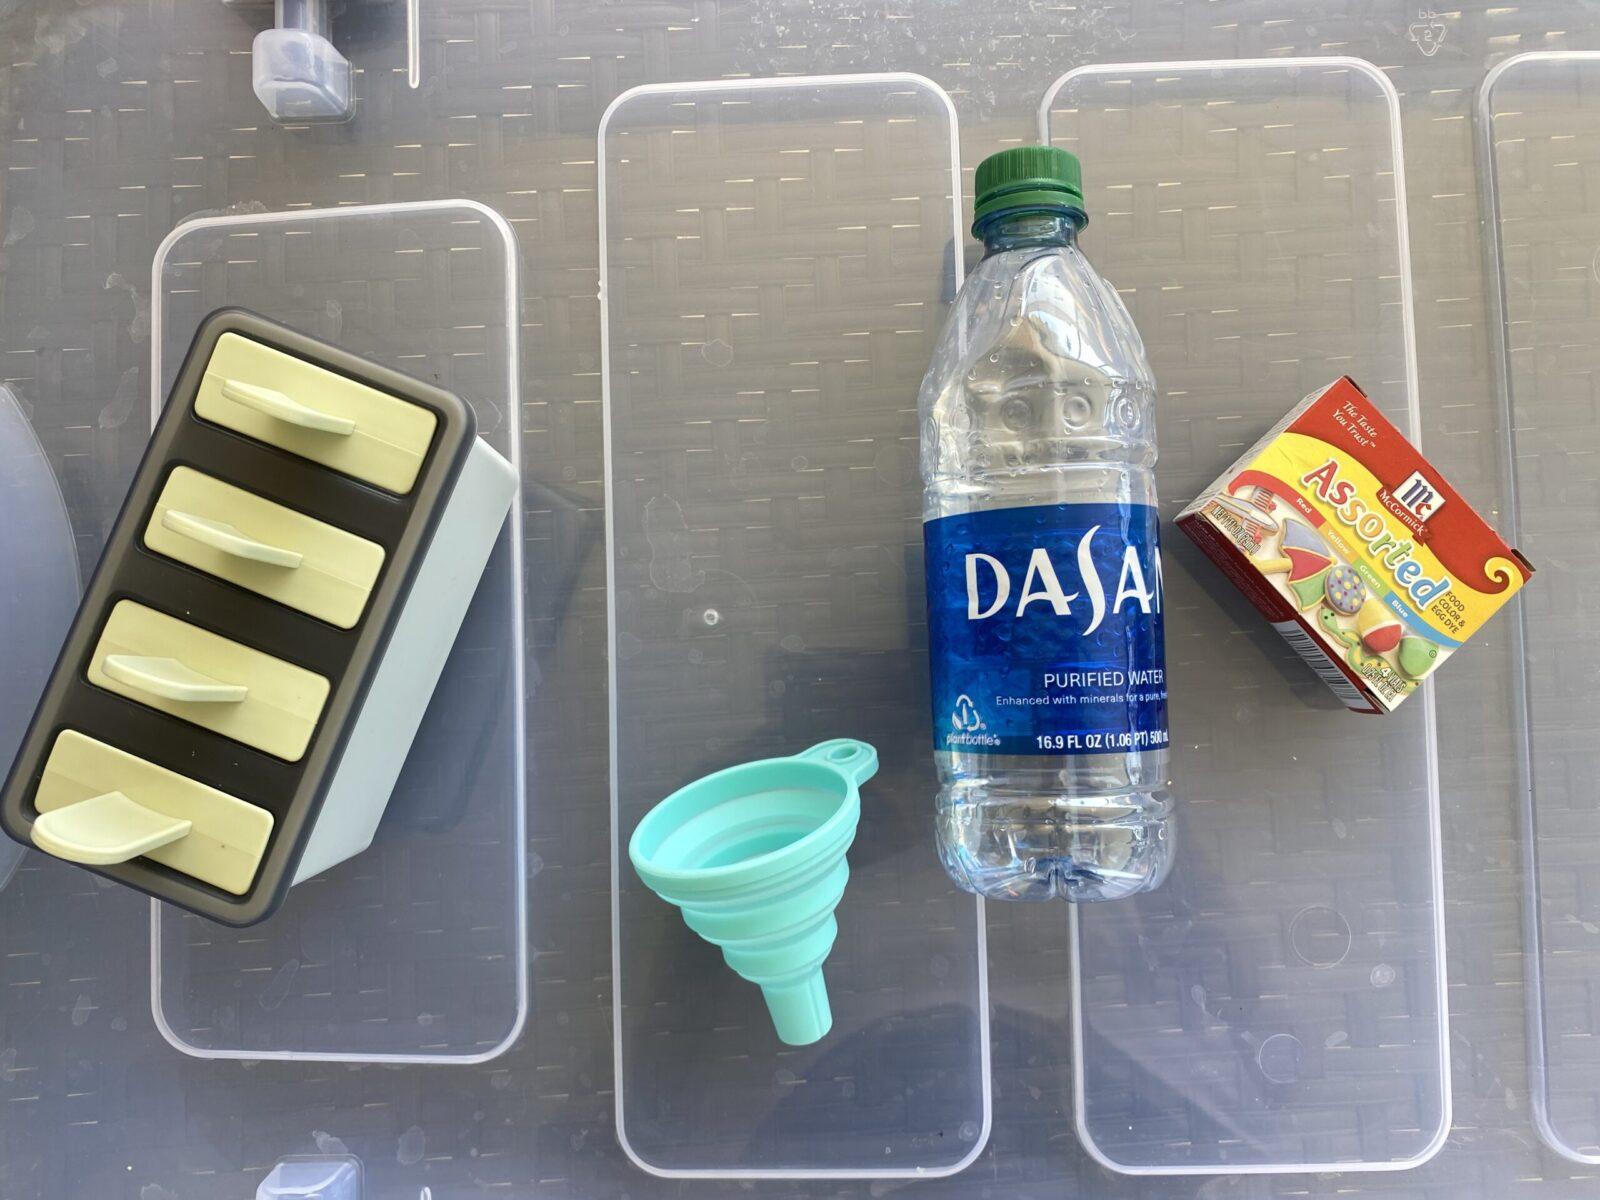
Popsicle molds
Food coloring
Water
Epsom Salt (optional)
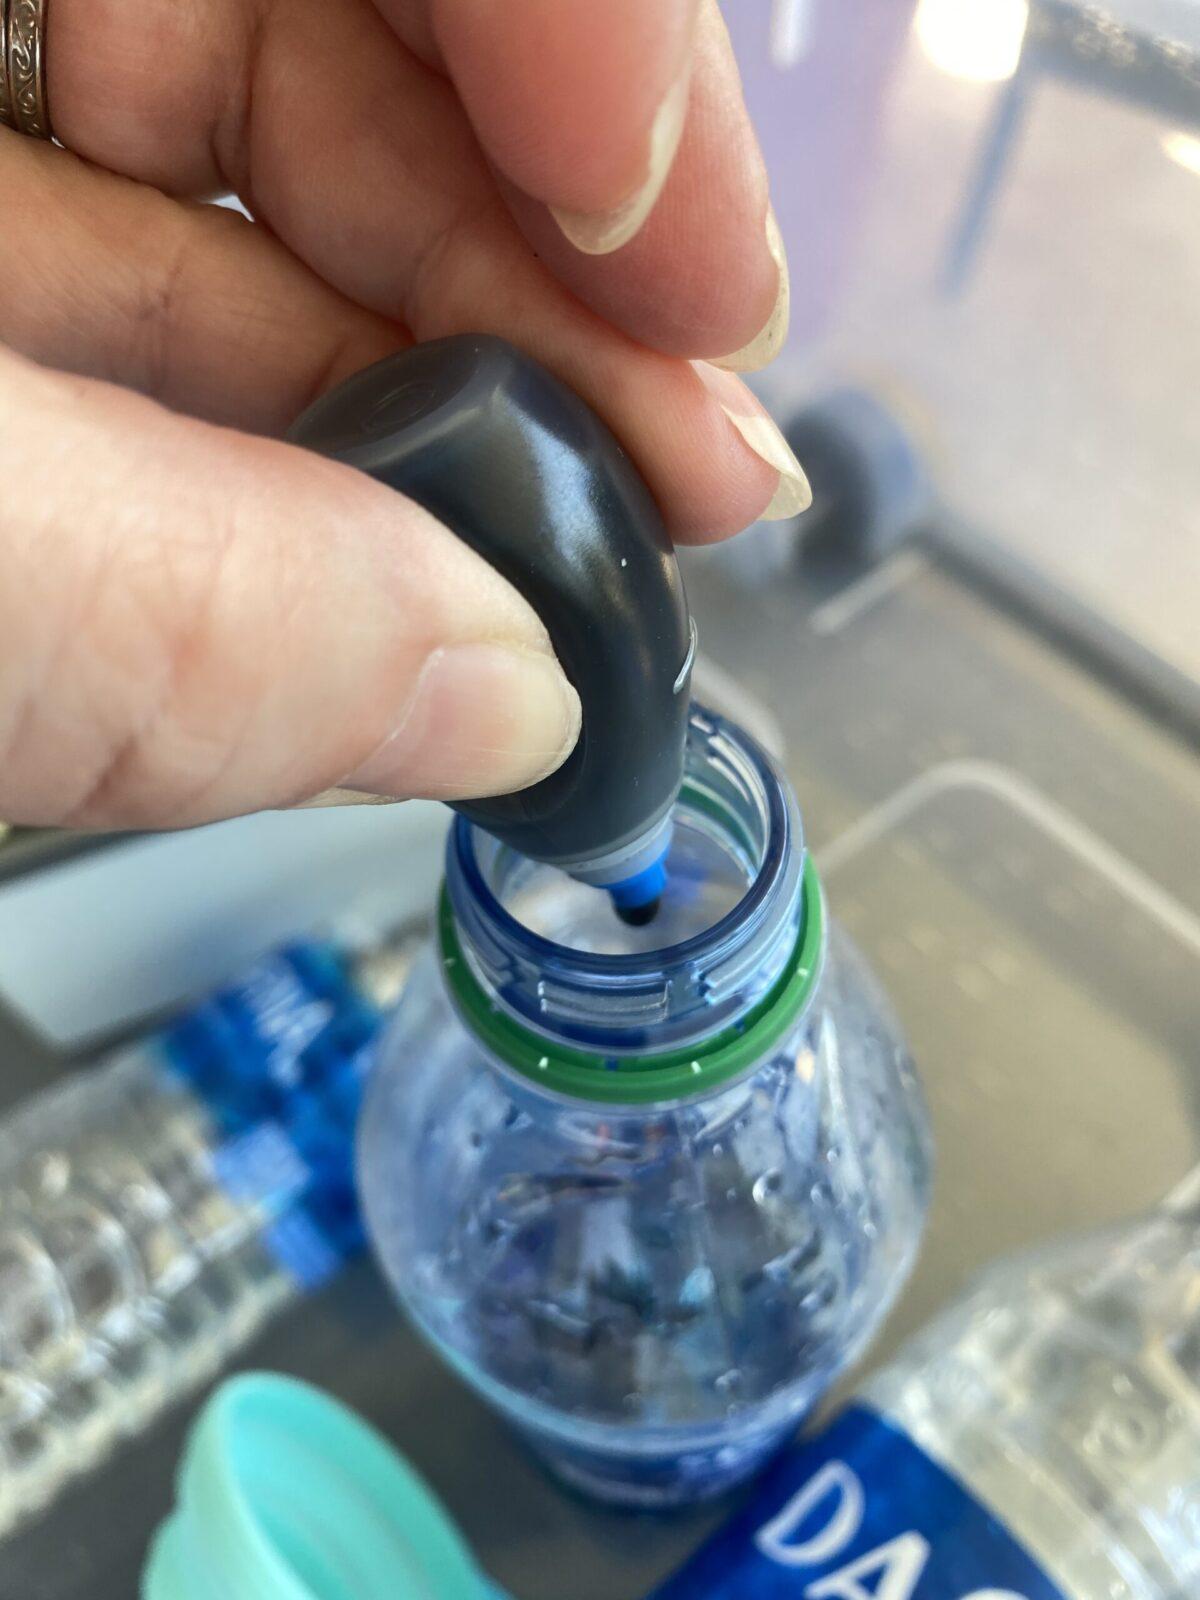
First, we needed something to create our ice brushes with. You can buy popsicle molds at the dollar store. I ordered these popsicle molds from Amazon.

They were about $11 for the pair and they are a bit nicer than the standard run-of-the-mill popsicle makers. Because of their design, they were easy to take out and fill. They also cleaned easily in the dishwasher and came with a neat recipe booklet that included wine popsicles.
The “mold” part is made of a flexible sleeve that makes the popsicles easy to remove. The sleeves sets in a tray that makes them stable. It comes with a cleaning brush and funnel.
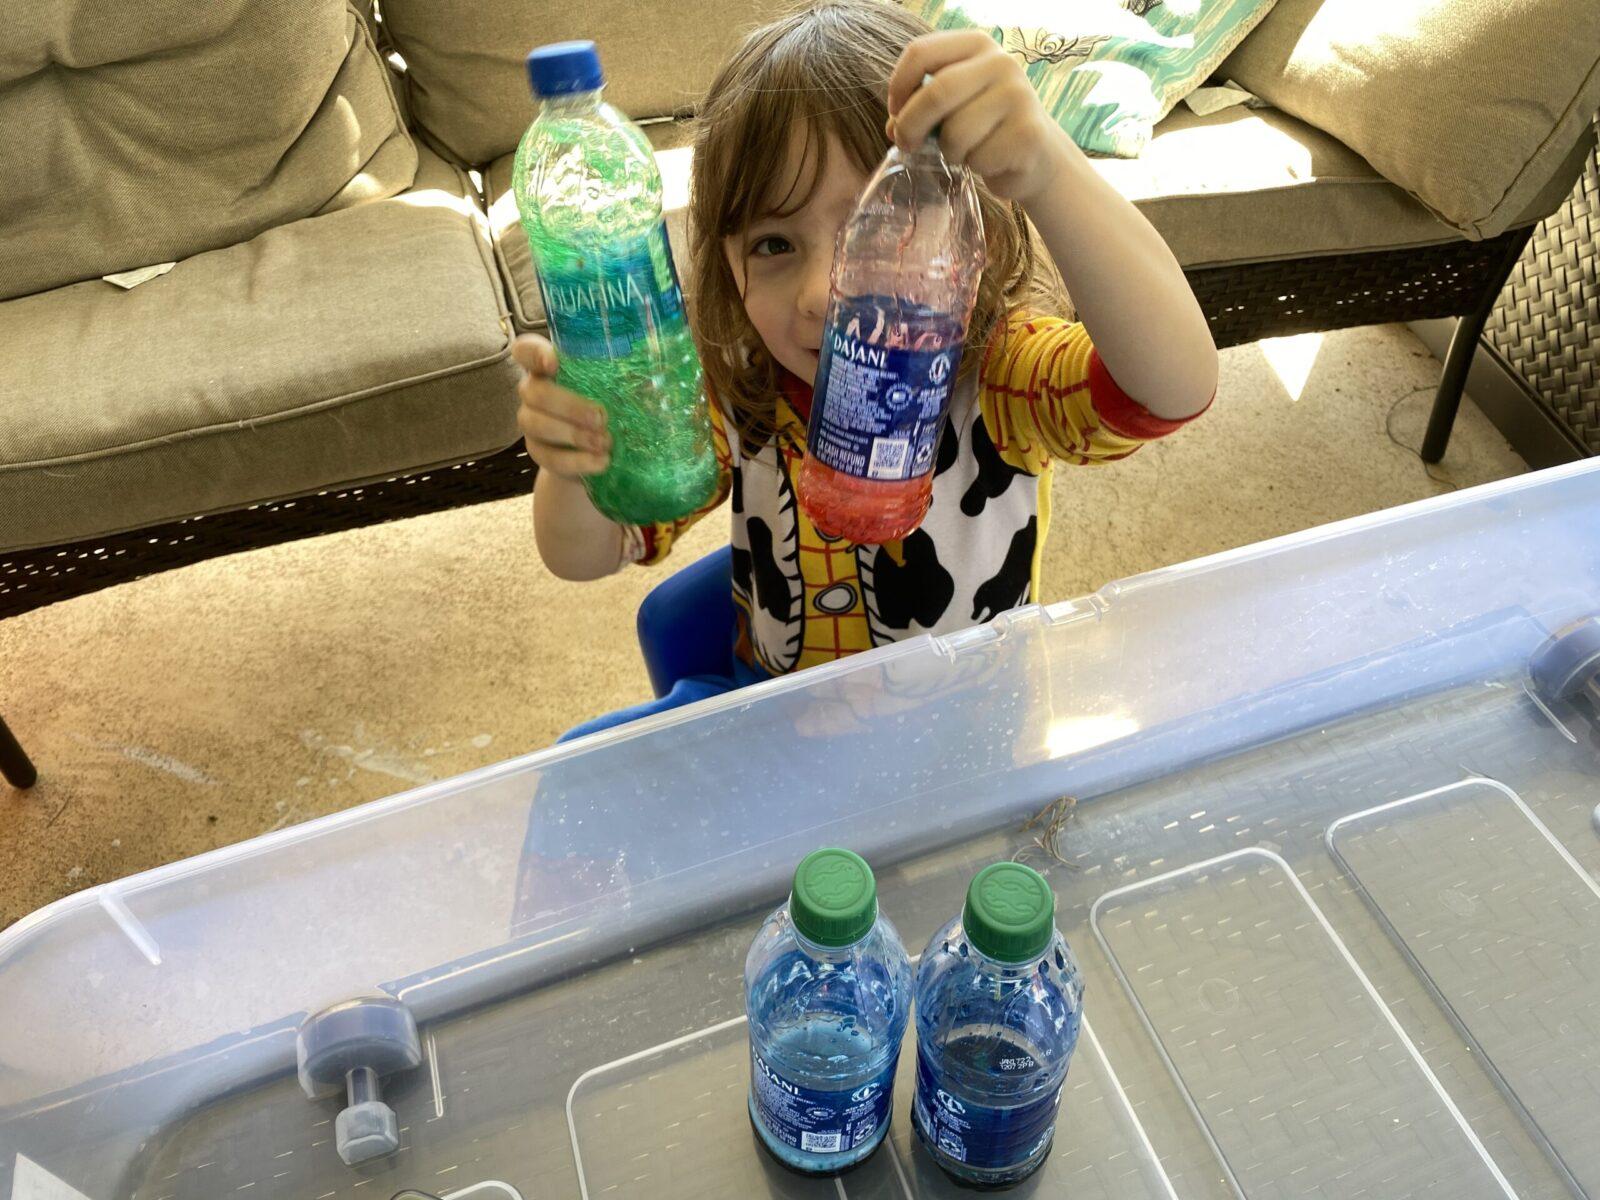
First, we had a popsicle pouring party. We used our homemade storable water table for the project.
It takes a lot of dye. We decided to do red, orange, blue, green, purple, and pink – all colors we usually see in the Florida sunsets.
And a lot of shaking.
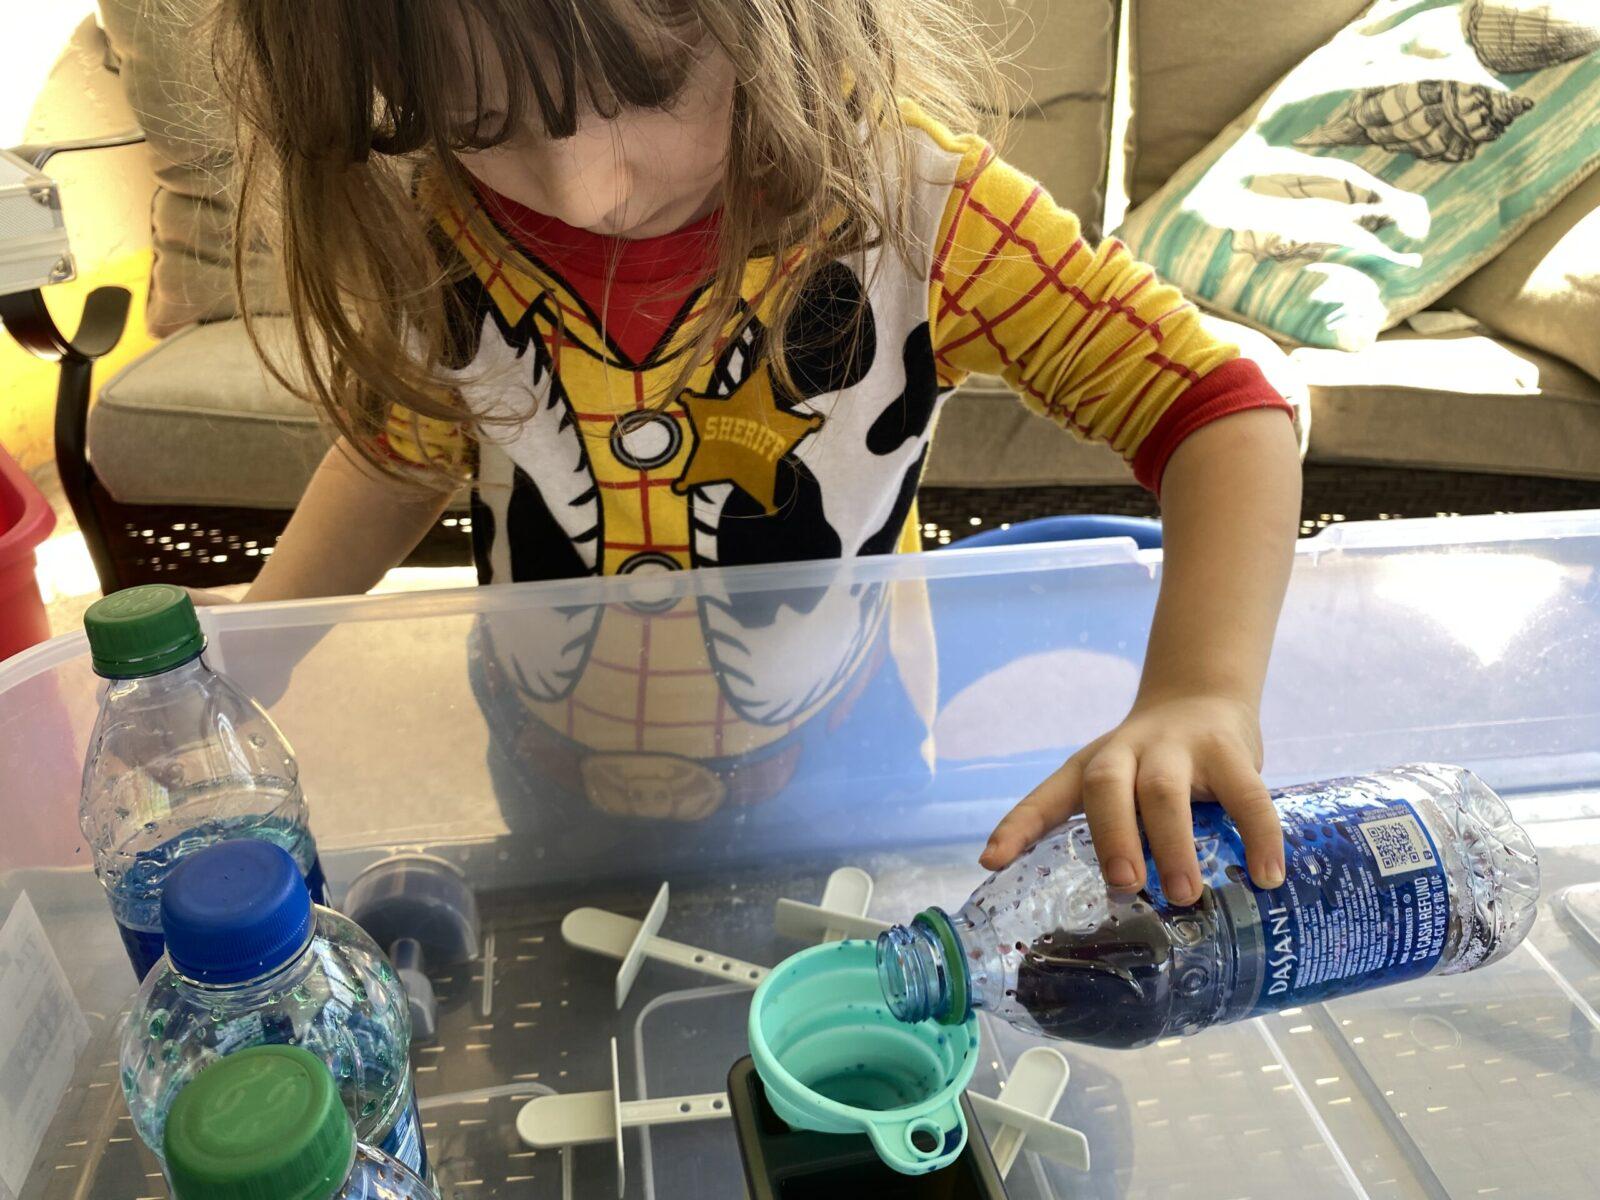
Then we used the squishy funnel that had been included with the popsicle mold to fill the slots. Super easy!
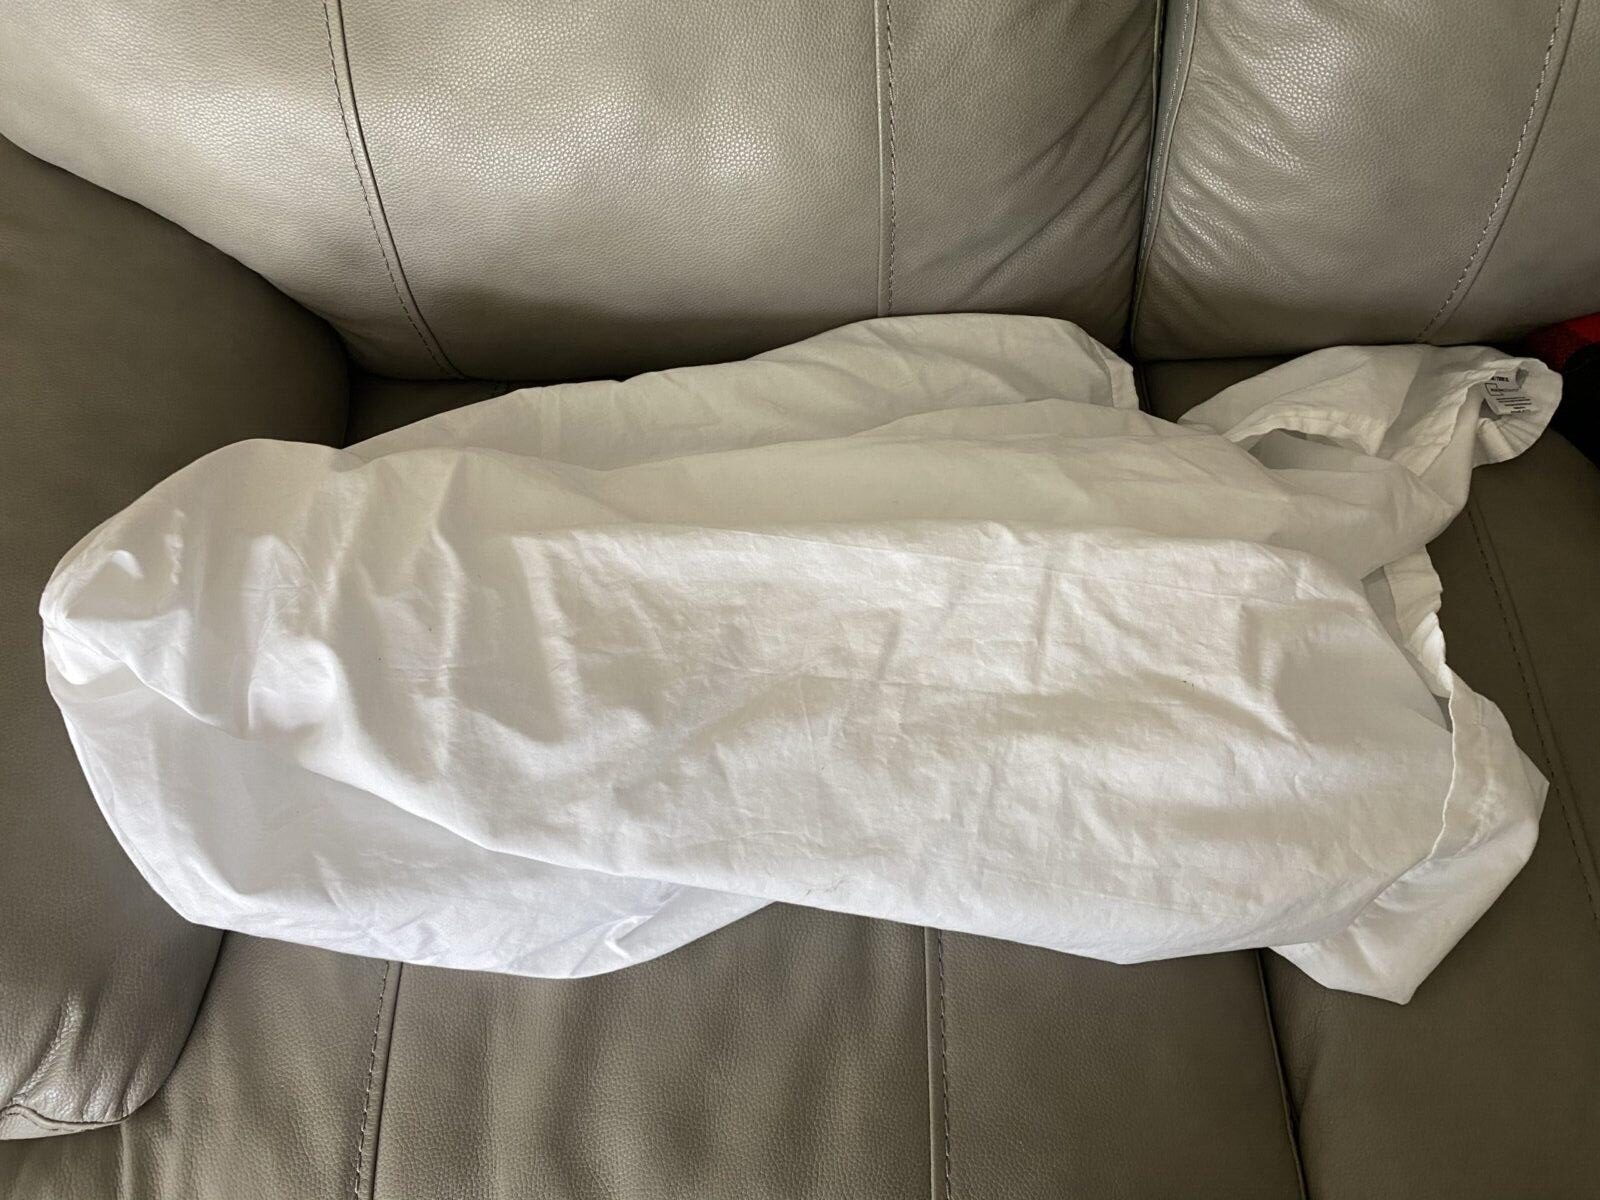
I cut a twin sheet in half. The sheet was all cotton for about $5 from Walmart.
After our ice pops froze, we headed to the backyard.
We spread the sheet on the ground and started out trying to use the pops to “paint” but it really didn’t work all that well.
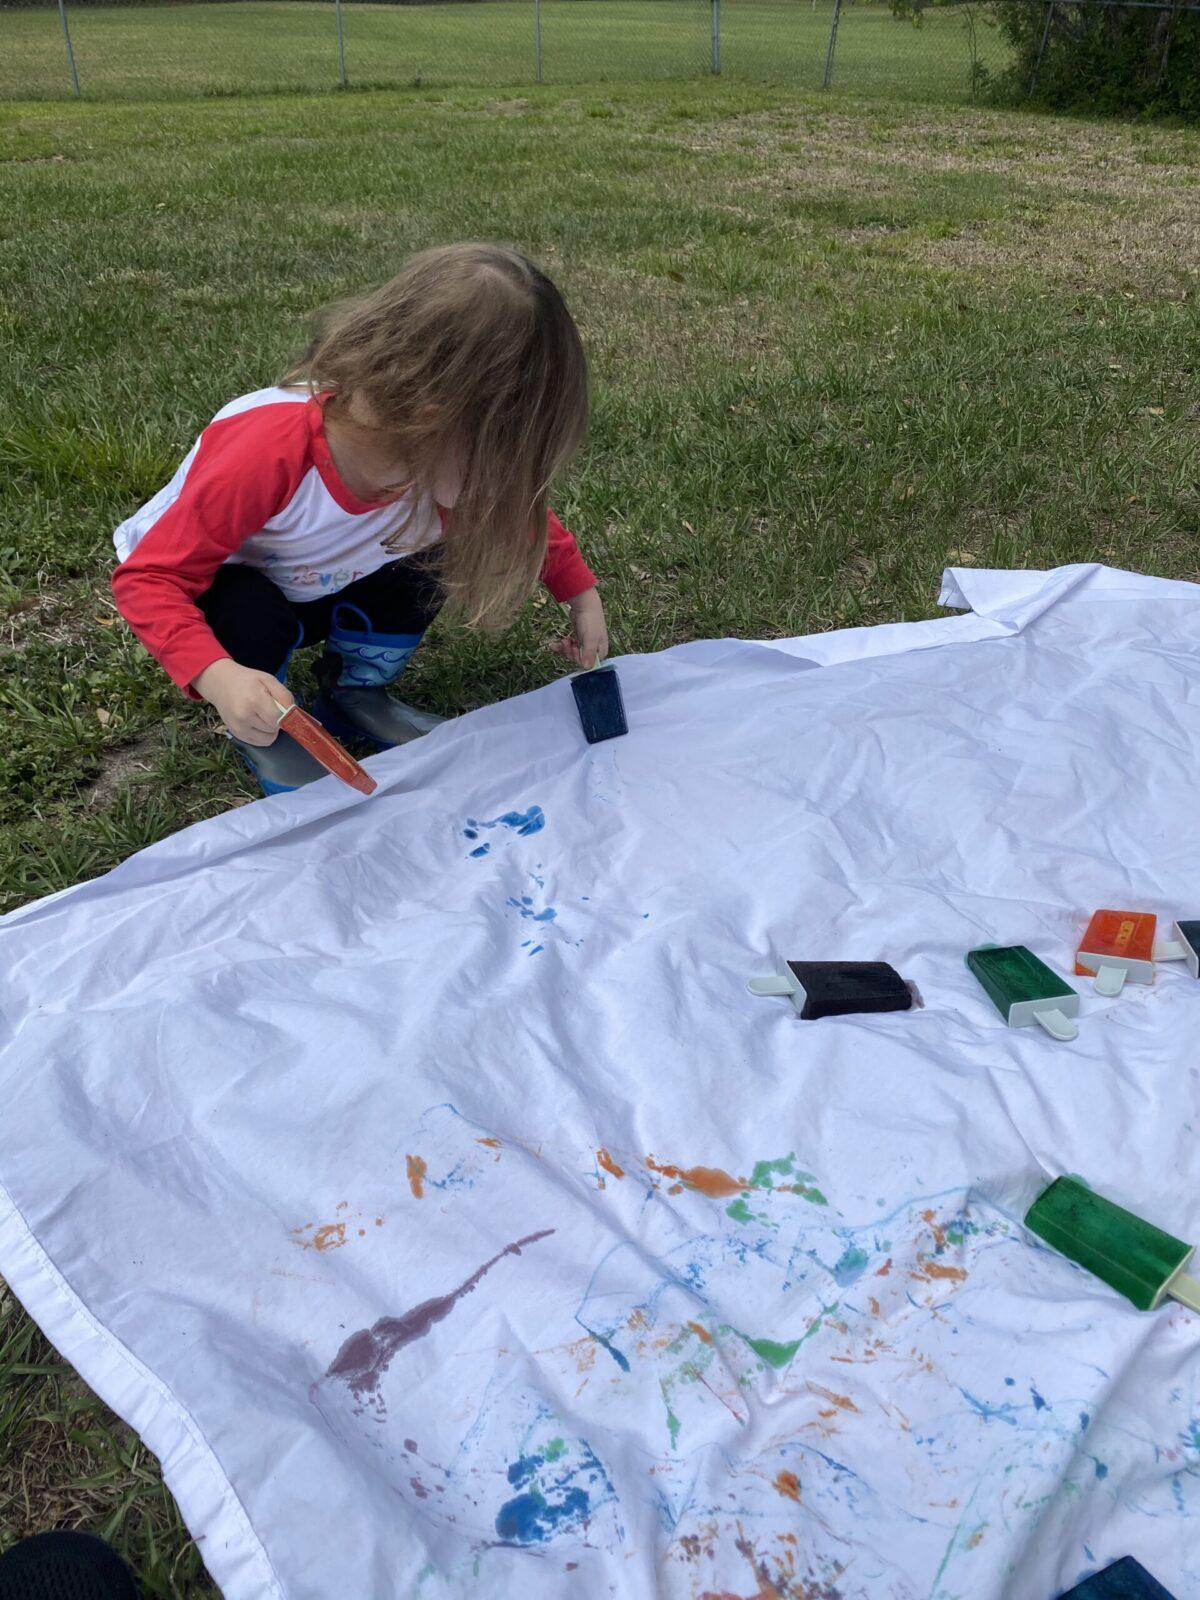
We even tried dipping them in water.
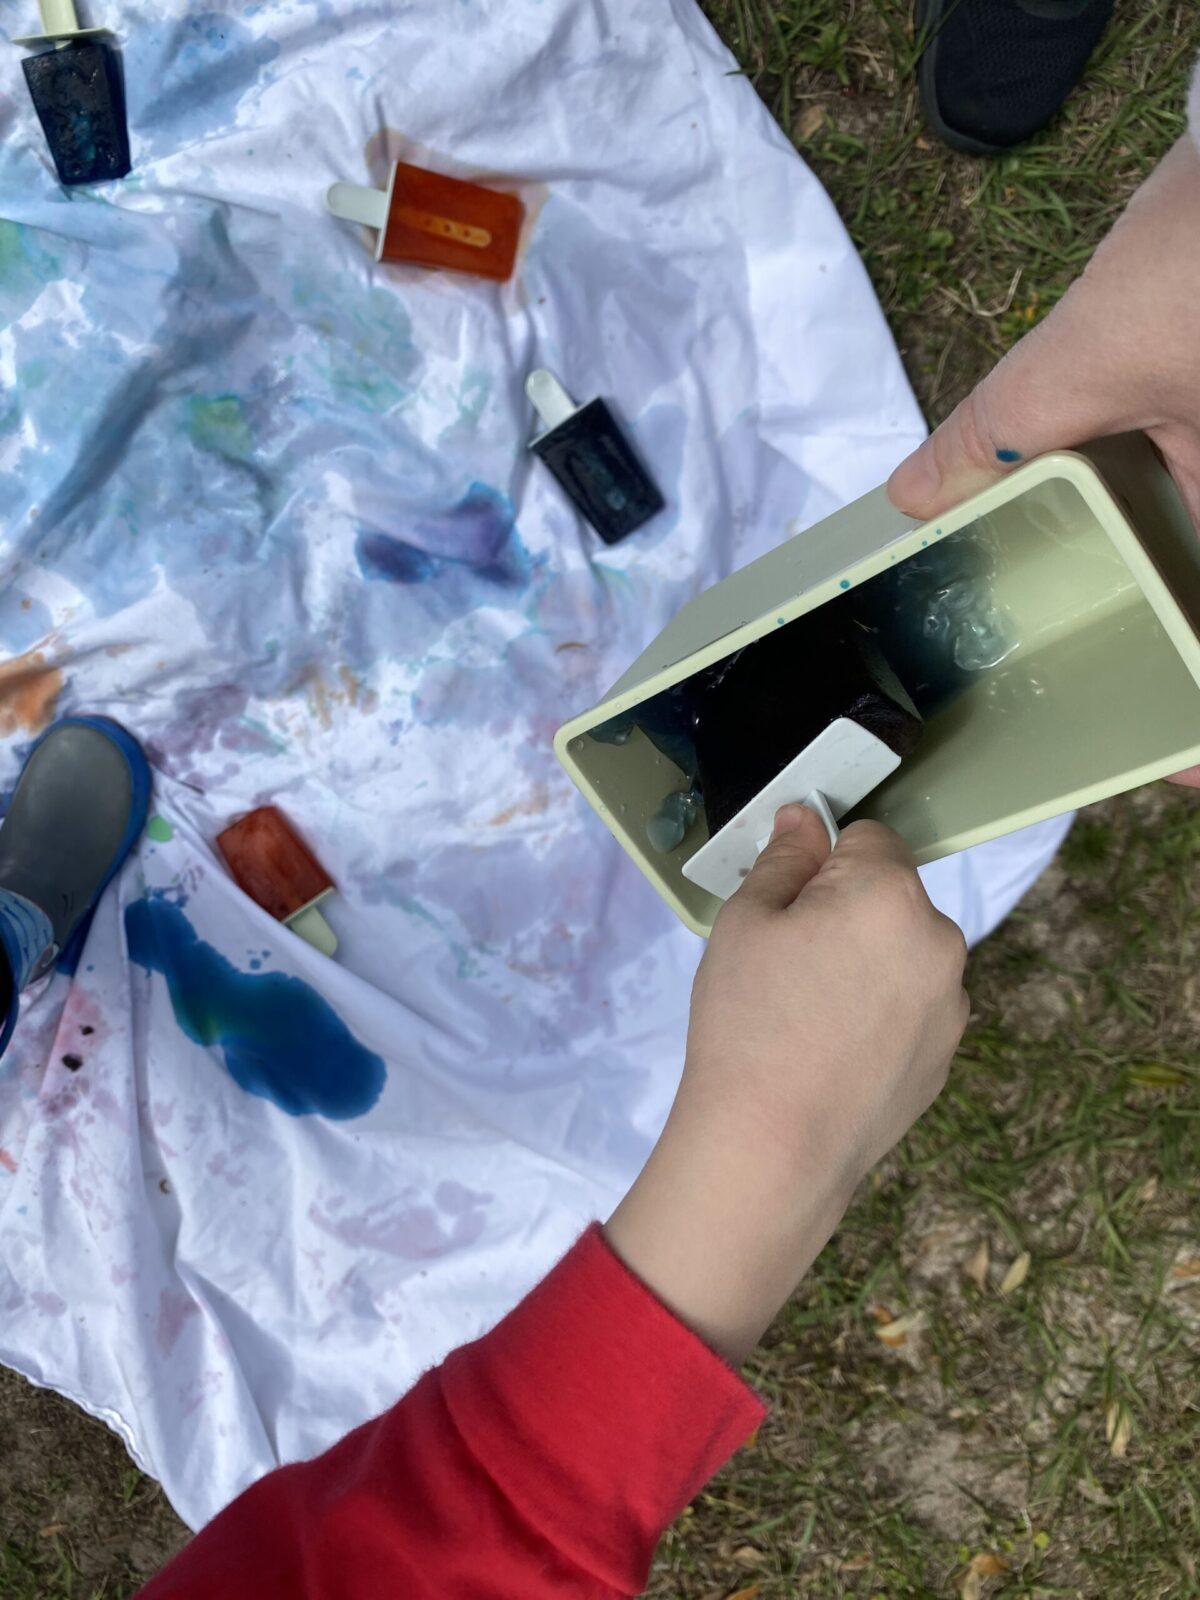
In the end, our strategy was to lay a pop on the sheet and just keep moving them around, letting the sun melt the color onto the sheet. Then, when we were satisfied with the patch the melted ice had covered, we’d move it to a new spot. It really didn’t take long in the Florida sun with 8 popsicles in circulation.

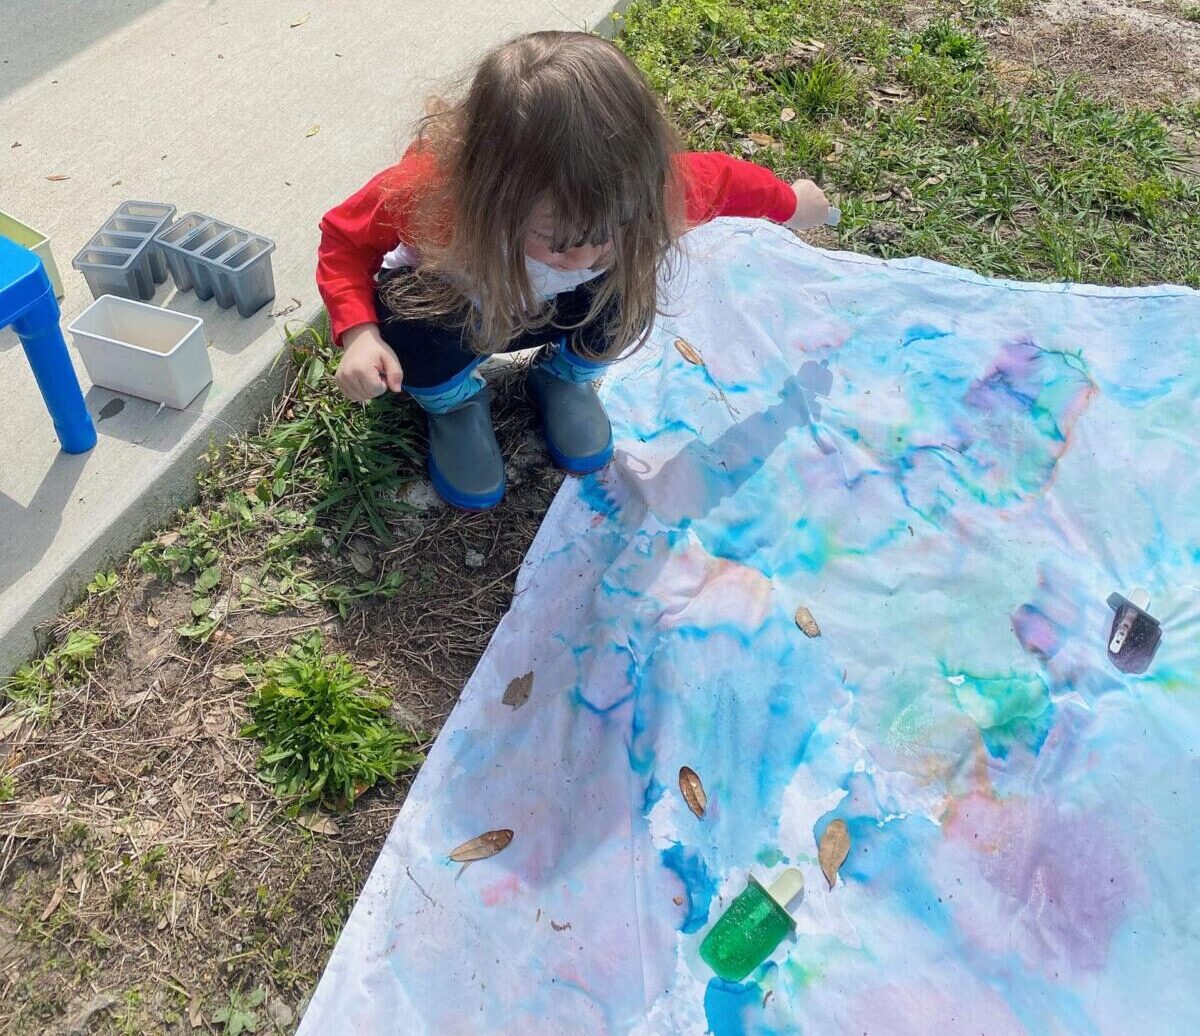
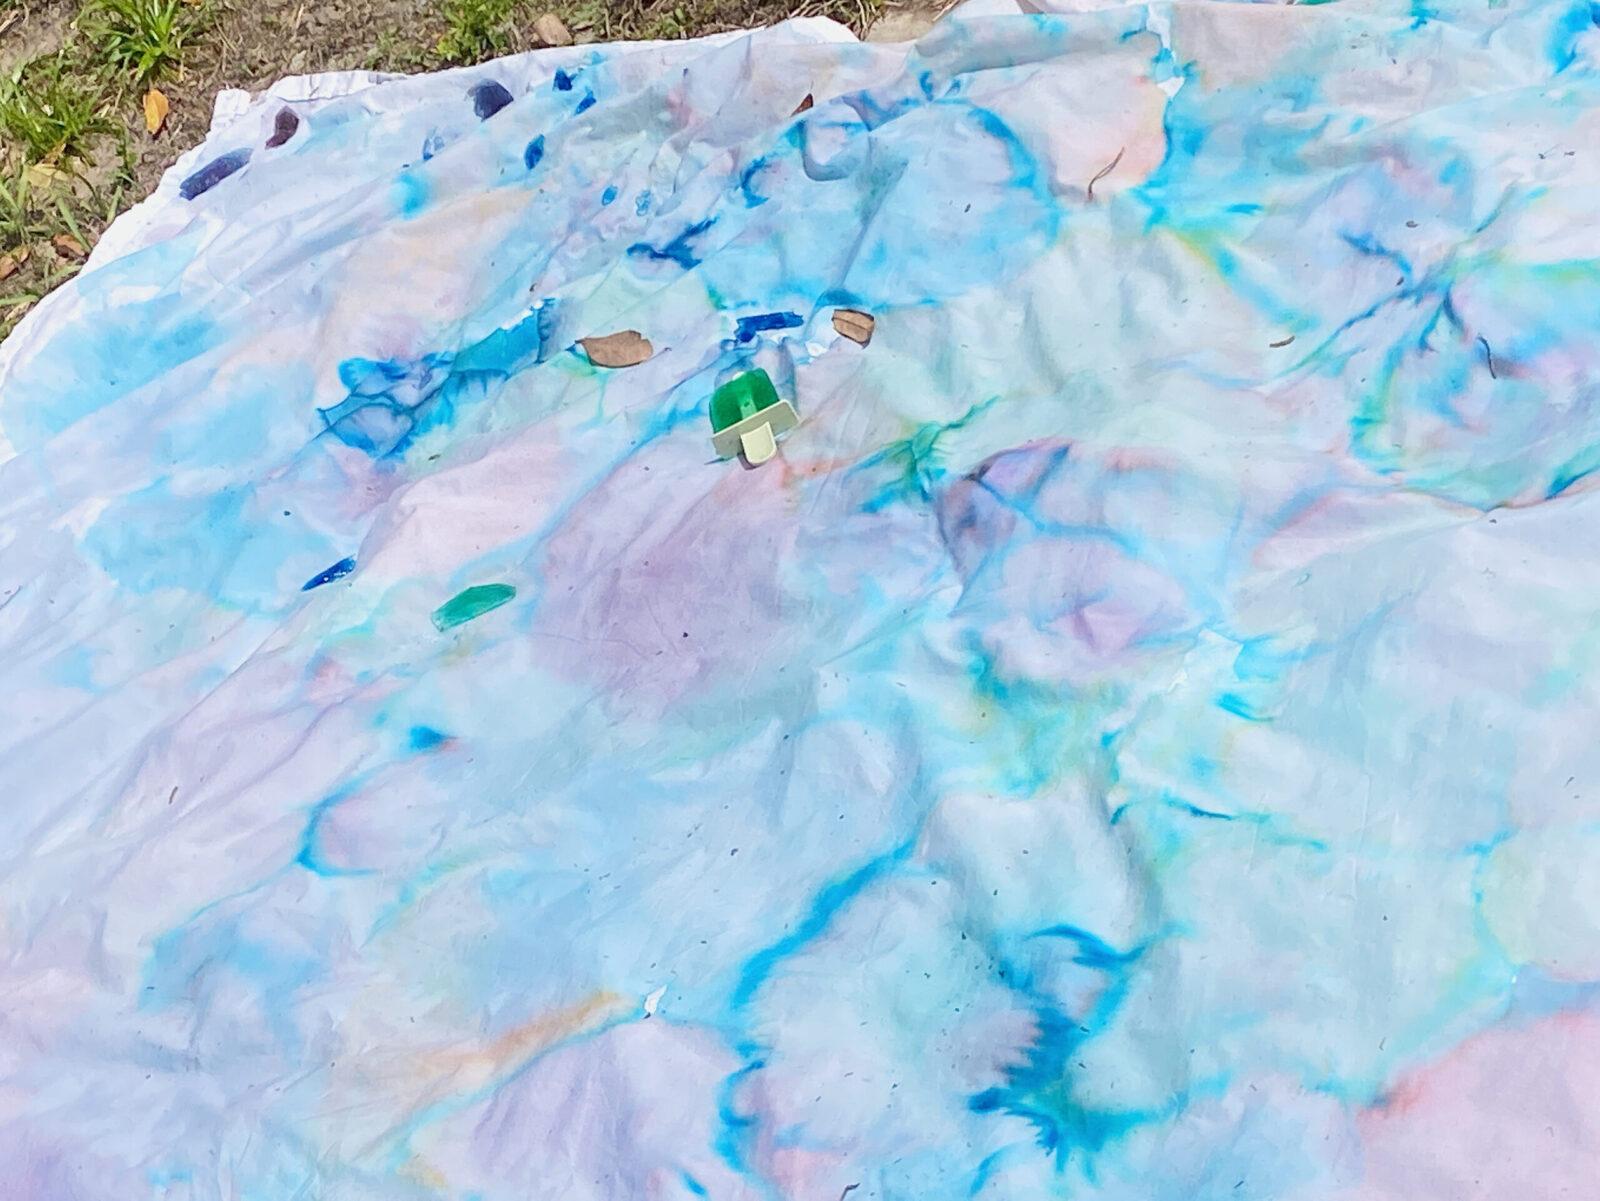
Once we were satisfied with the color distribution (the edges were the trickiest) it was time to apply the salt.

Now, the plan here was to try to “set” the dye so the blanket could be washed.
So, we poured on salt. We used Epsom salts because I read they were safer for the environment.
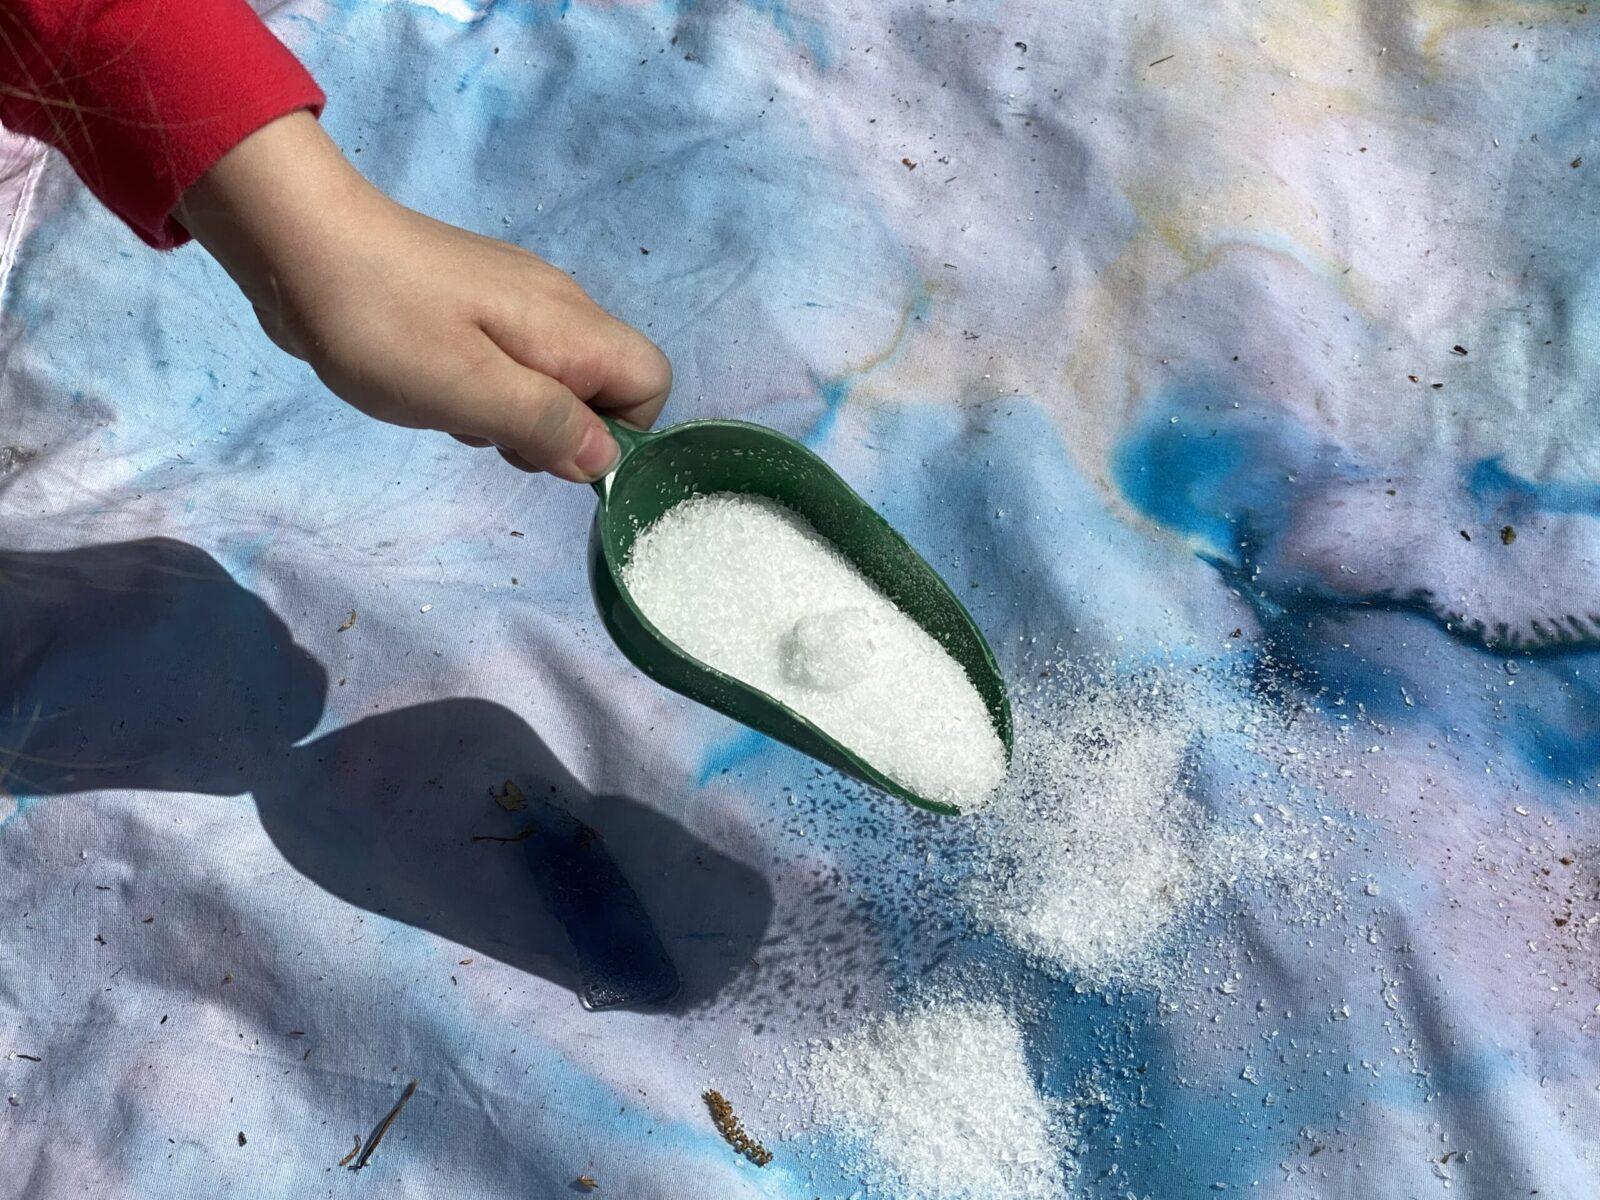
As you can see, there was no keeping the leaves and grass off of it with the breeze blowing. But, that was no big deal.
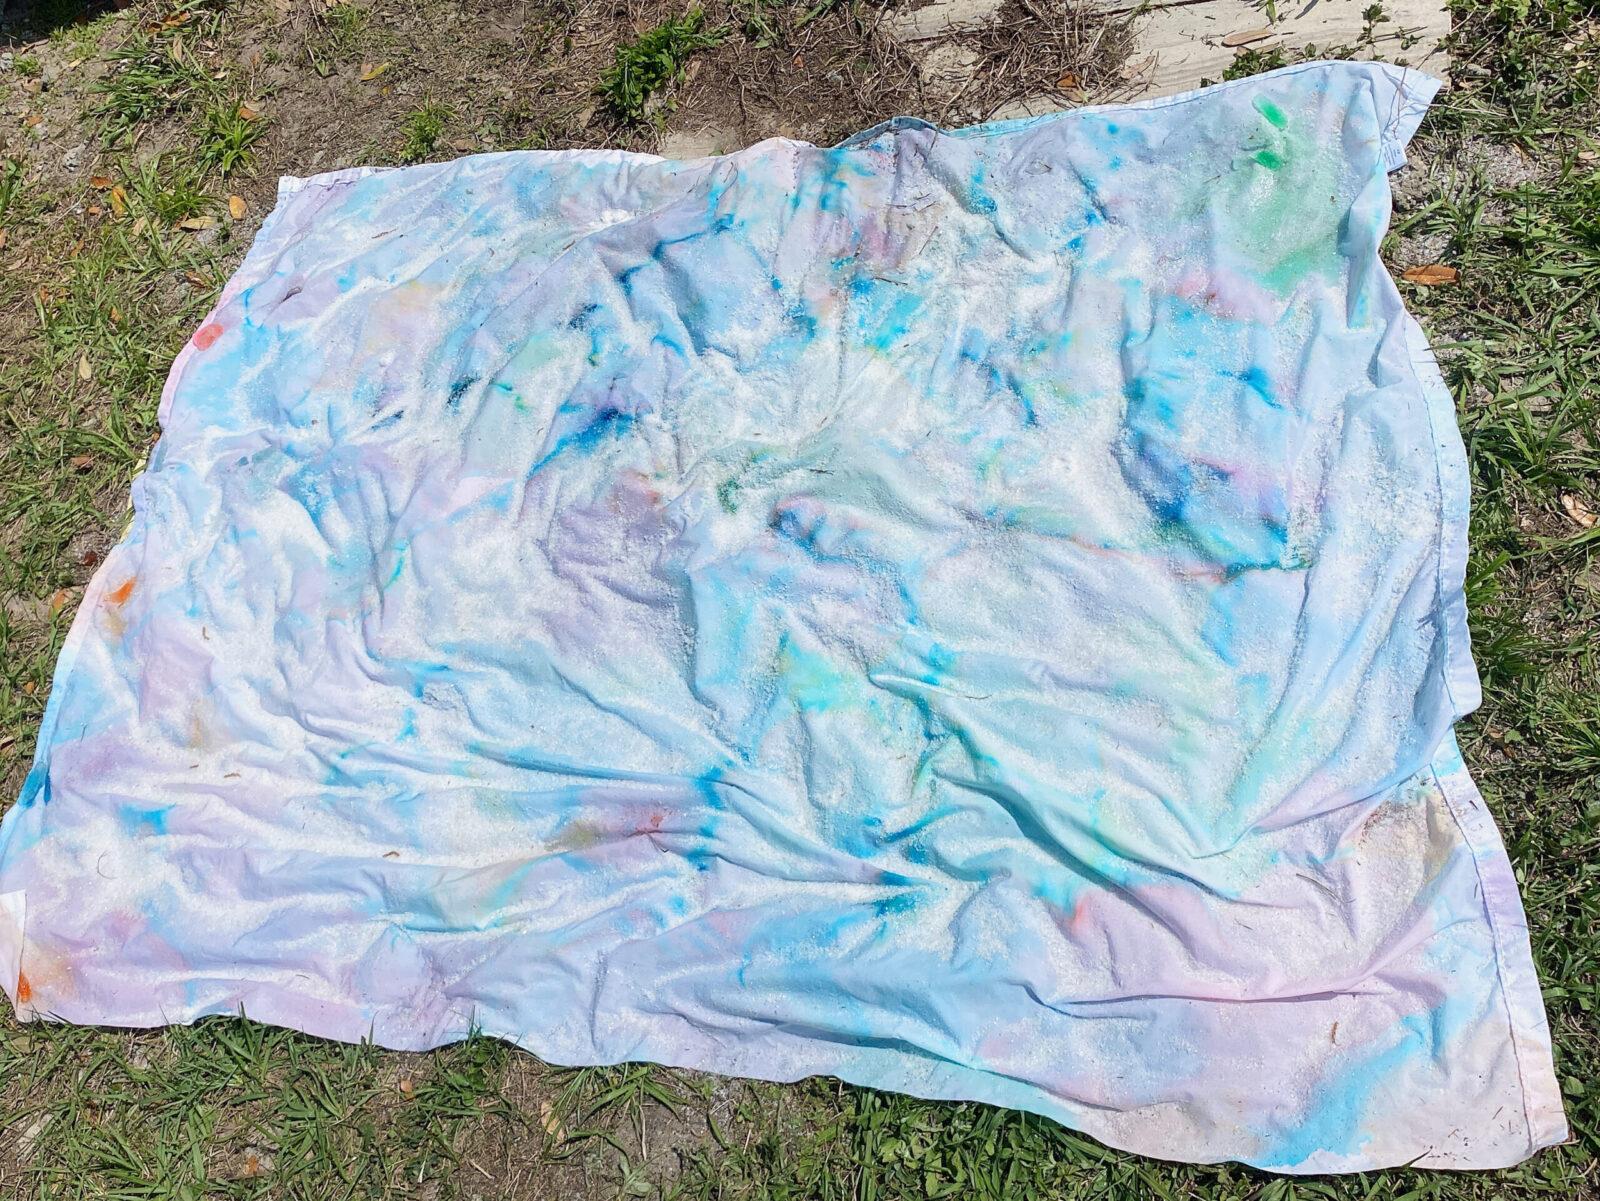
Then we let it set in the sun to dry.
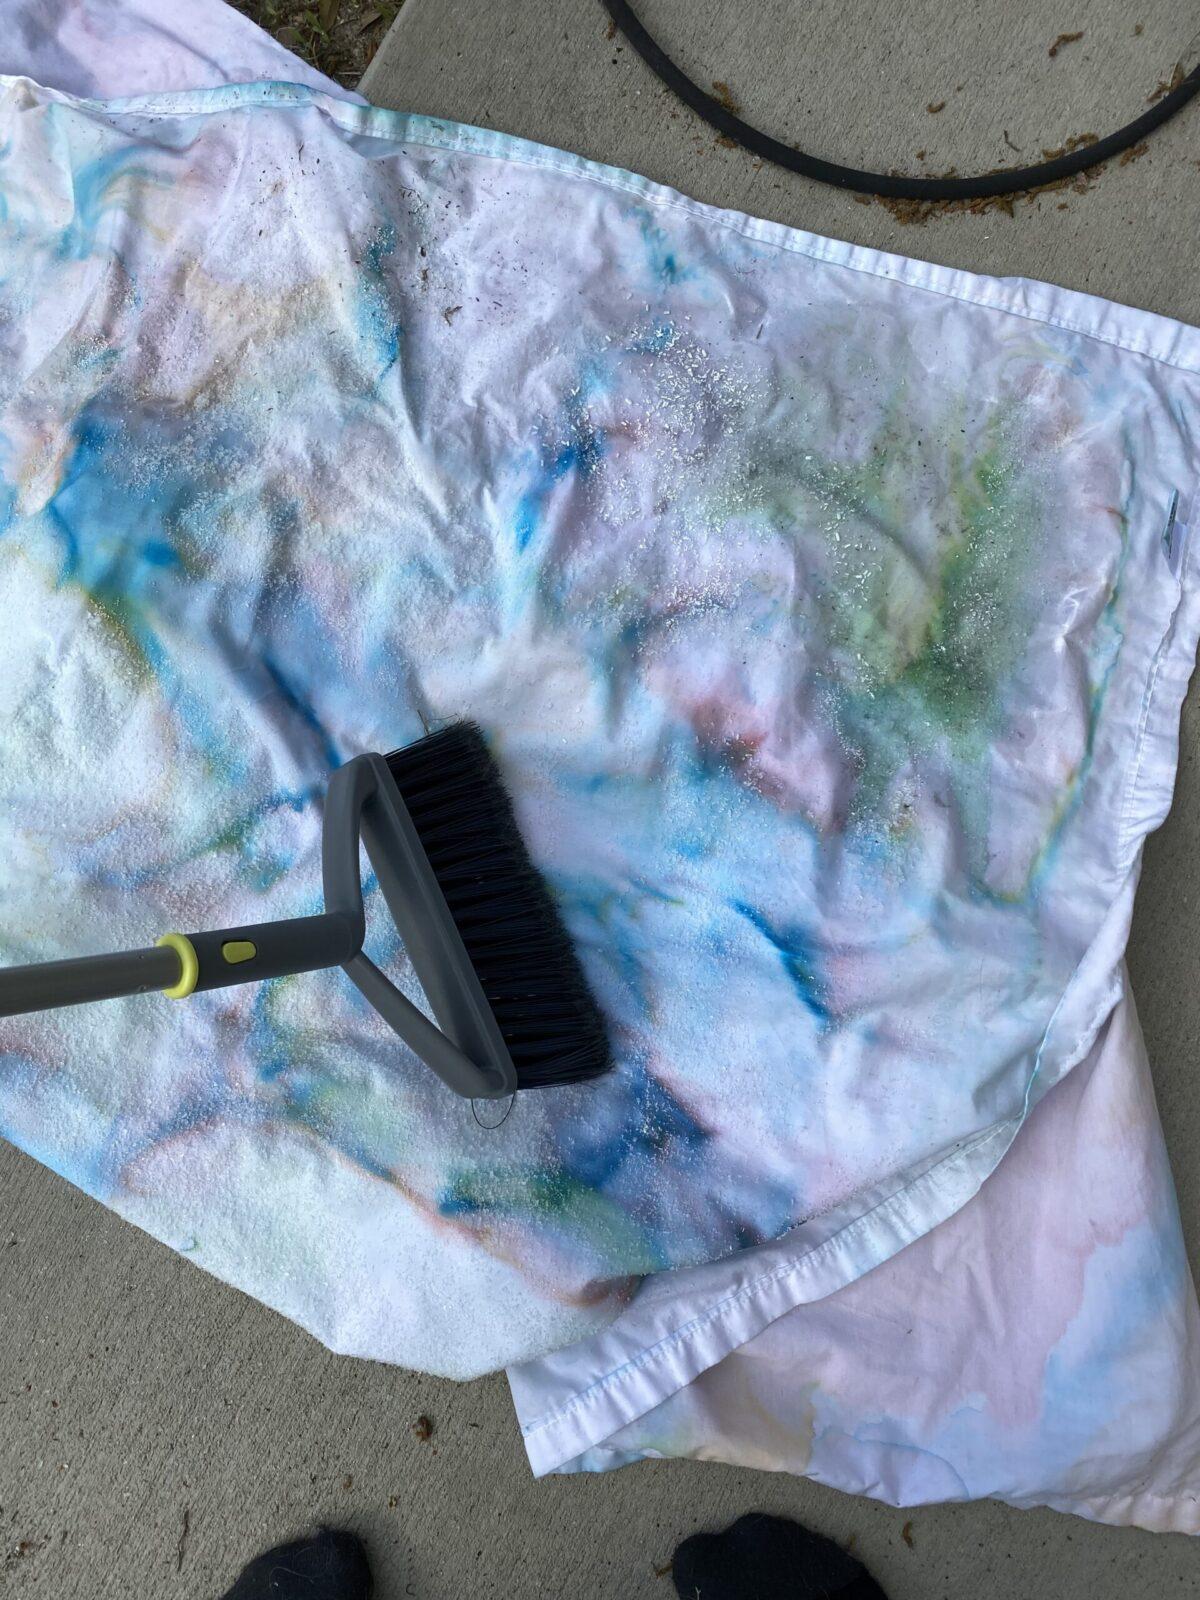
After about two hours, it was dry. The salt had made it a little stiff. I brushed the salt off with a clean broom.
So, a lot of the salt stuck. To be honest, I’m leaving this step in here just in case it helped the color stay, even though I don’t think it actually did.
I shook it out, then hung it over the bench and hosed it off a bit.
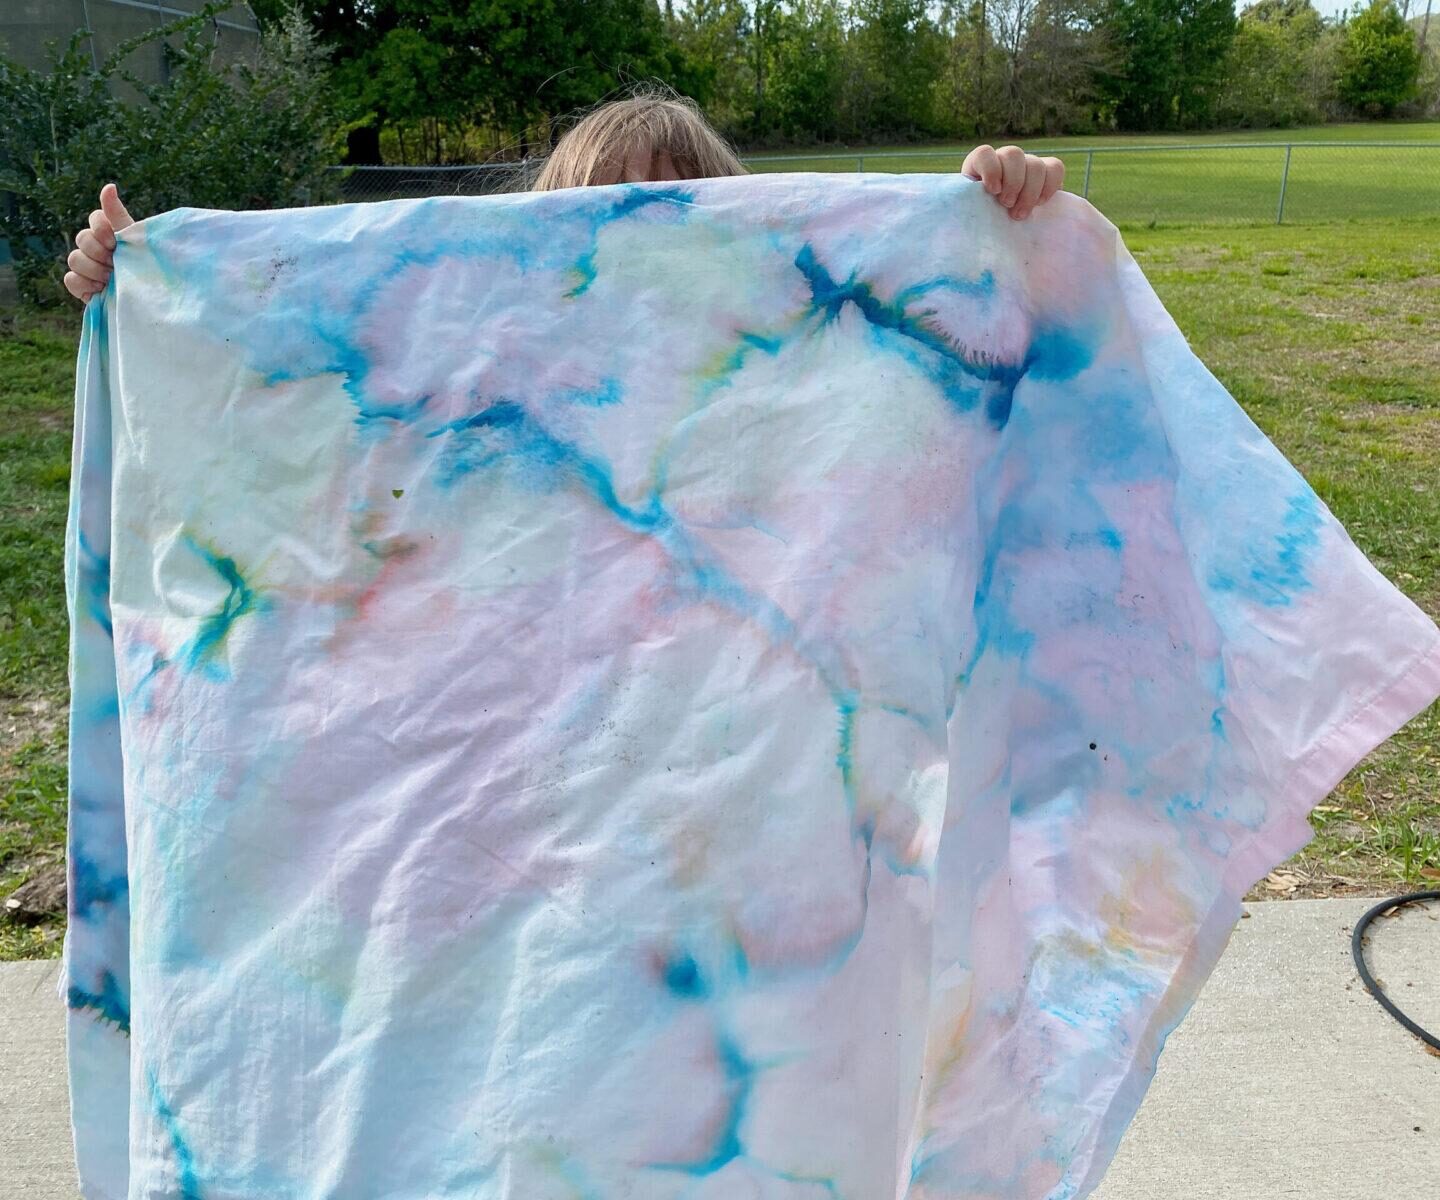
Quite a bit of the color rinsed off with the cold hose water. I’m sure a dye expert could probably give better tips on making it stay better, but it was a fun project nonetheless.
I had intended for the sheet to hang on the wall when we were done, but Bug enjoyed playing with it so he uses it for pretend play and occasionally to cover up with.