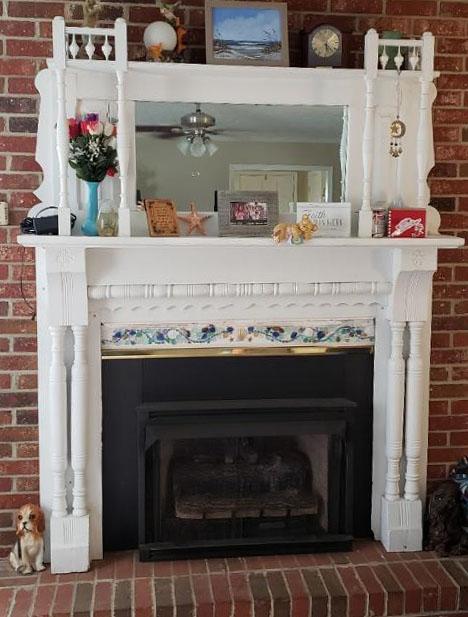
My mom purchased a mantle/fireplace frame from someone on Craigslist a couple of years ago. It’s a lovely carved piece from the late 1800s from a house that was being renovated. They brought it home and my stepdad bolted it to the brick. It was only then that mom started wishing that they had cut it down a little shorter, because it left a spot of brick exposed above the insert. It bugged her frequently but bolts to brick are pretty much there to stay, so I decided to try to make something to cover it.
My mom is beach obsessed. At first I considered trying to paint a beach scene, but I wasn’t sure how it would hold up being next to the fireplace. After some thought, I decided a seaglass montage would probably work a little better.
I later thought it would also be great over the top of an archway or at the top of a window with blinds. It’s on my to do list if we ever move to Florida.
By the way, to clean it, you’ll want to use a feather duster and no chemicals, since it’s all organic material.
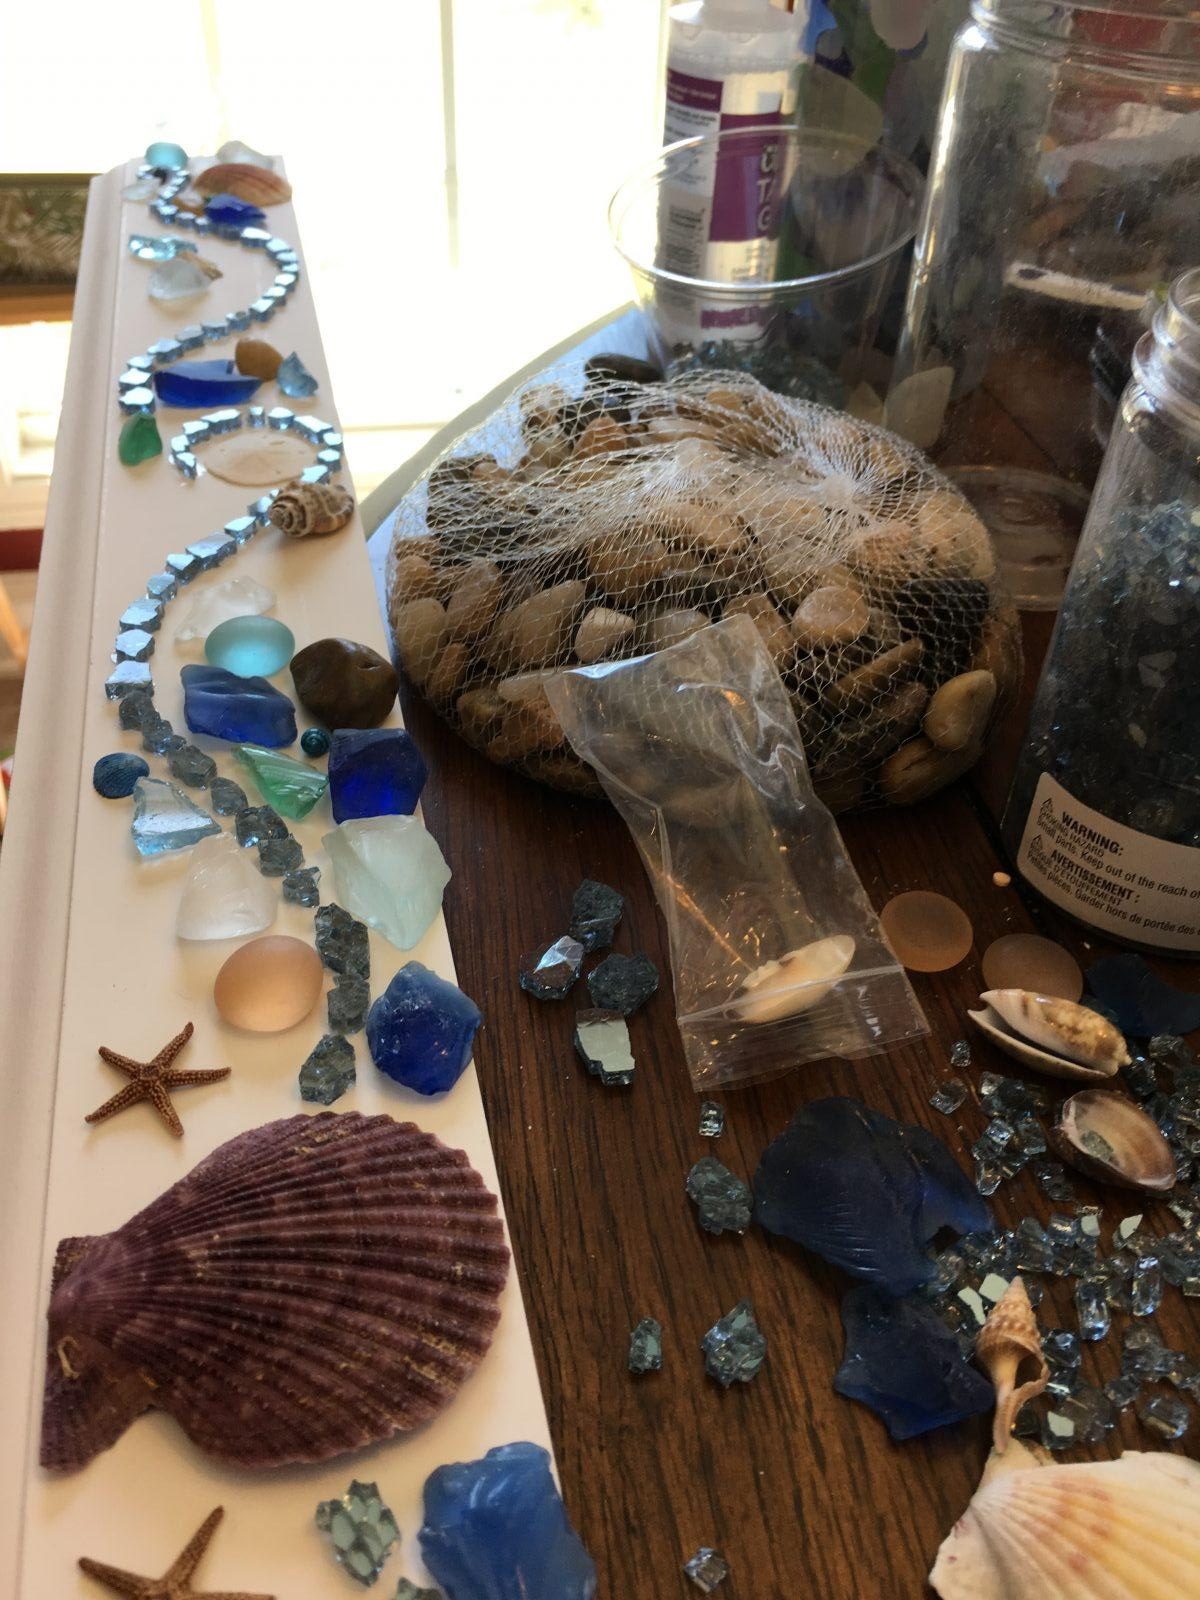
Materials (see pics below):
White wooden baseboard, cut to size (Lowes or Home Depot)

Various shells (available at the craft store and sometimes Dollar Tree)
Centerpiece Shell (craft stores – be sure to measure it so it’s not too tall!)
Dyed shells, sand dollar, and starfish assortment (from Hobby Lobby)
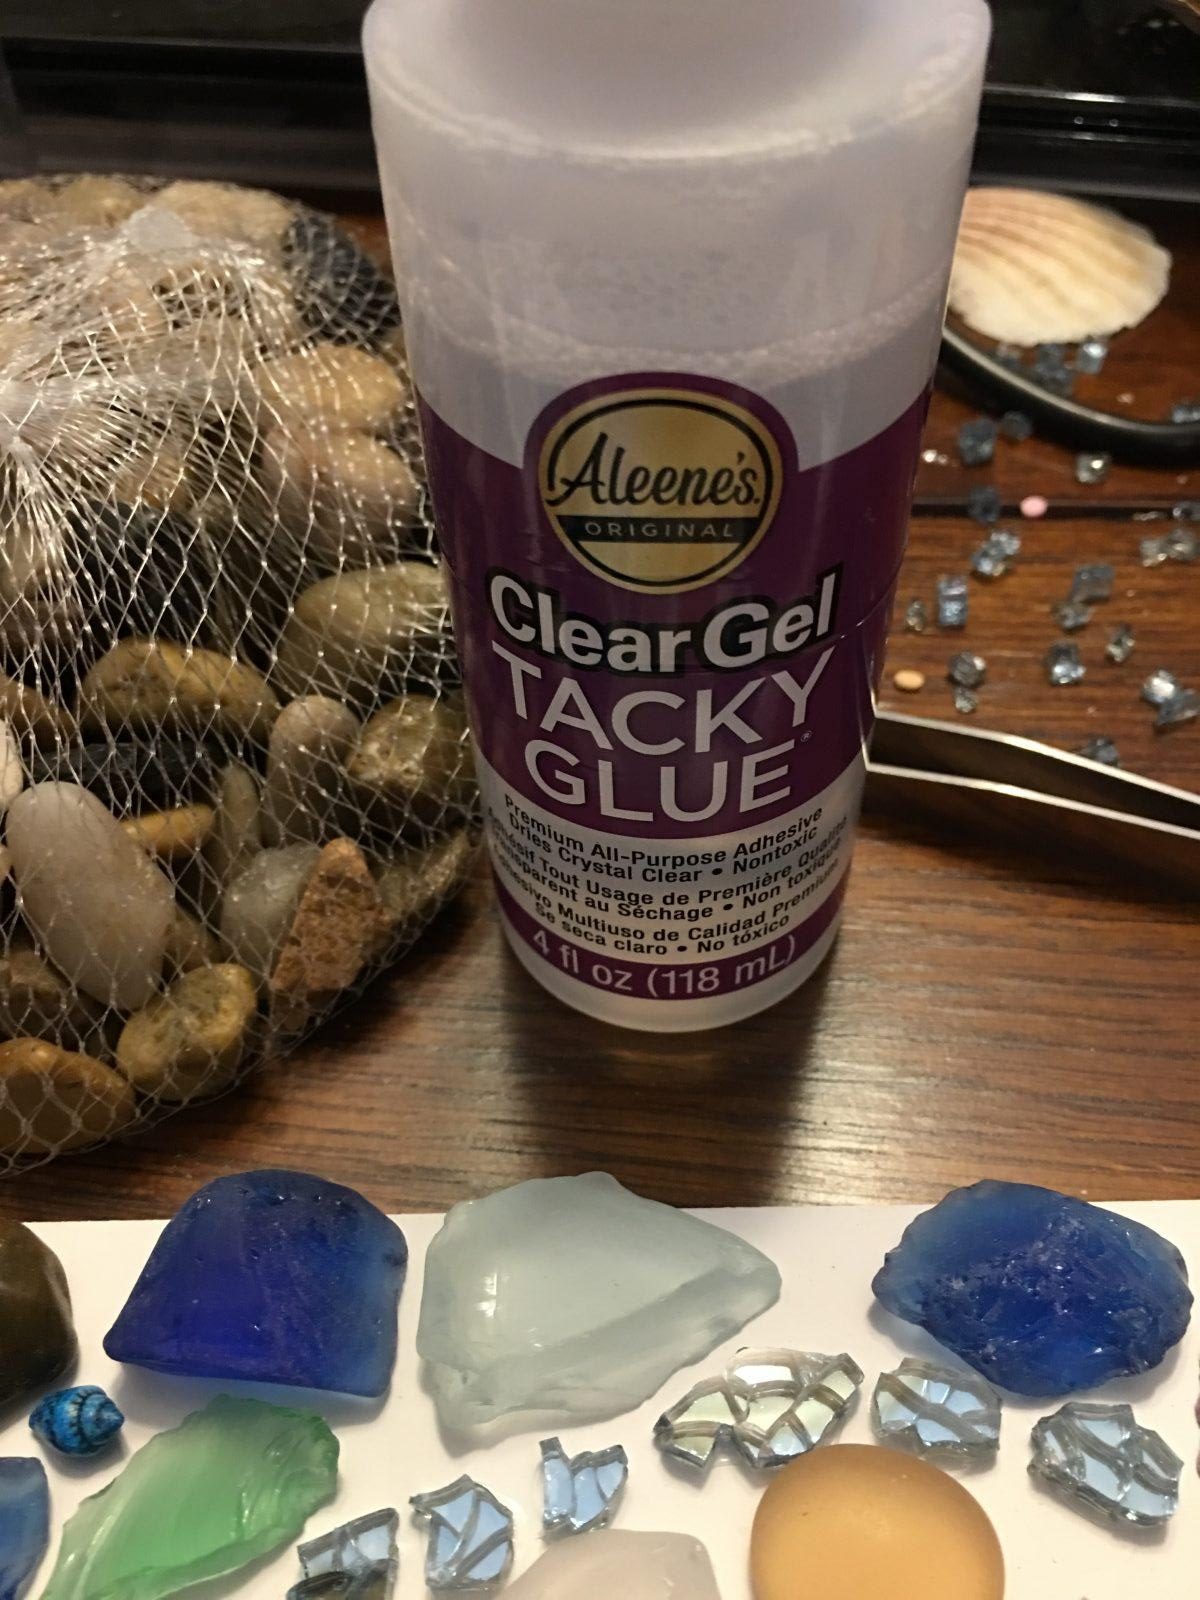
Ashland decorative glass filler (from Michaels)
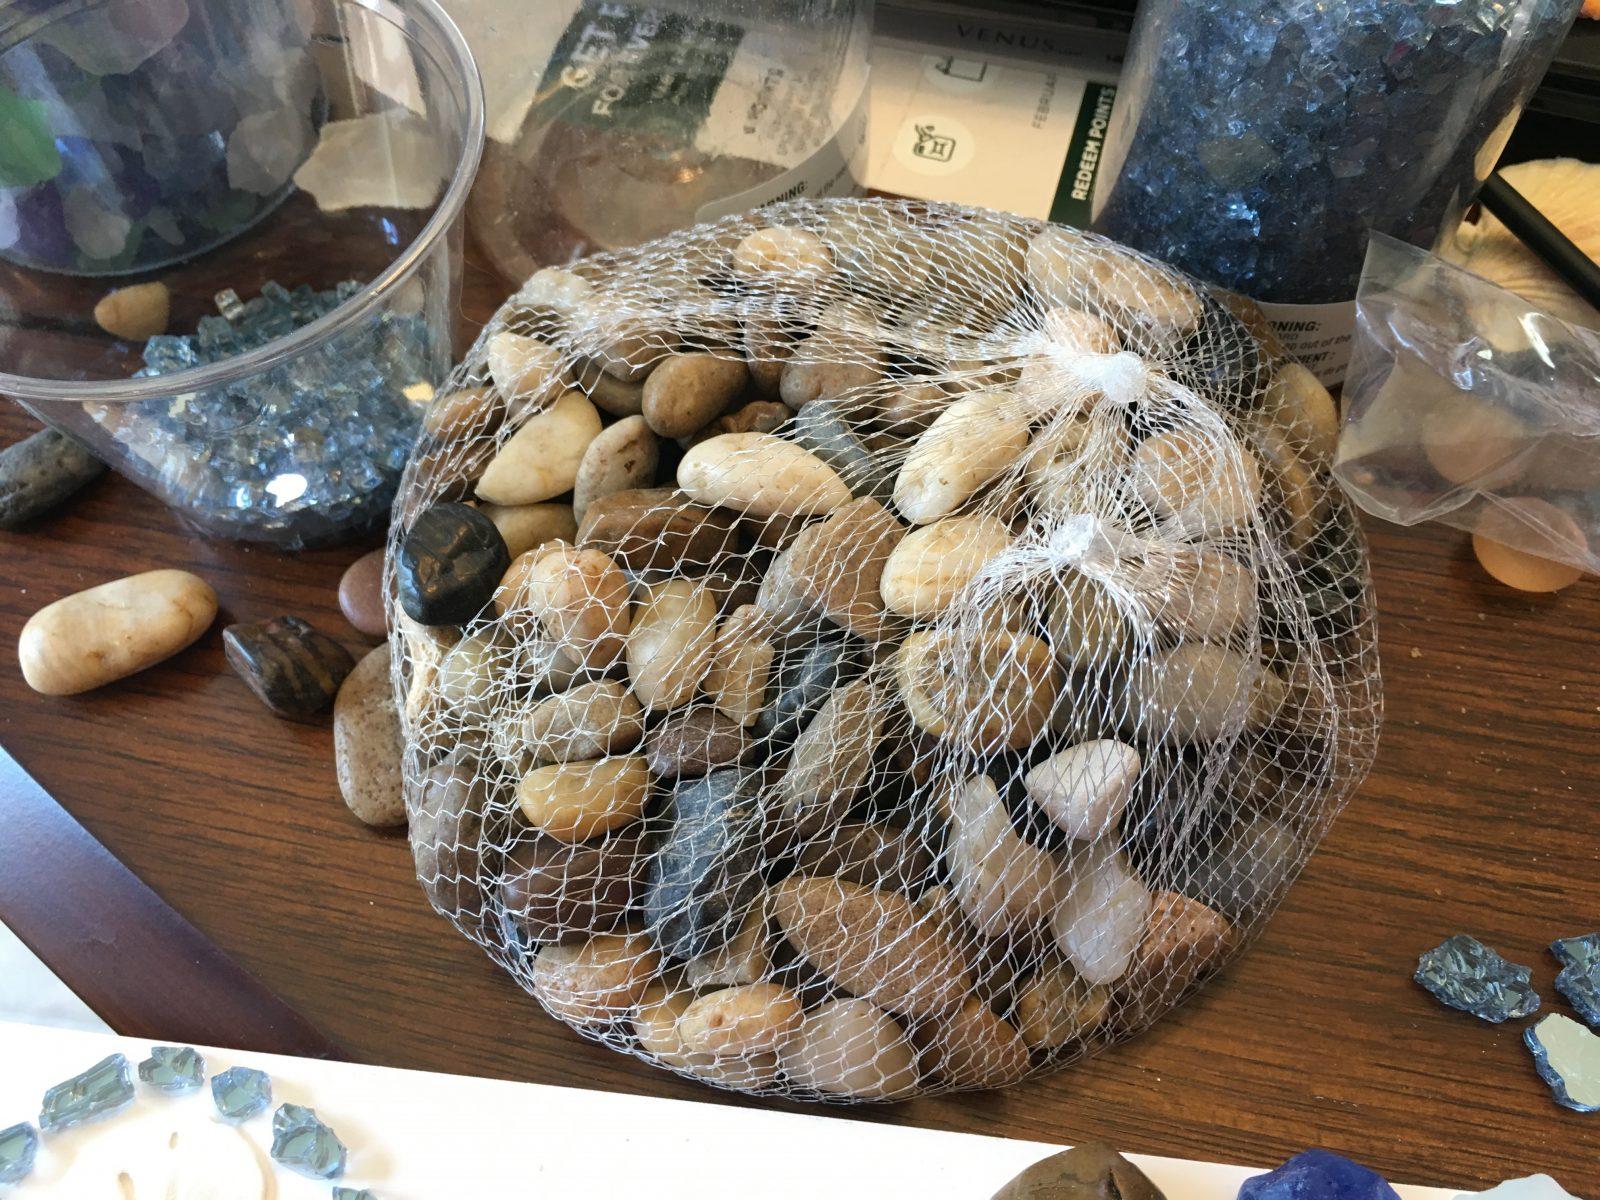
Assorted stones (from Dollar Tree, they come in a bag, see below)
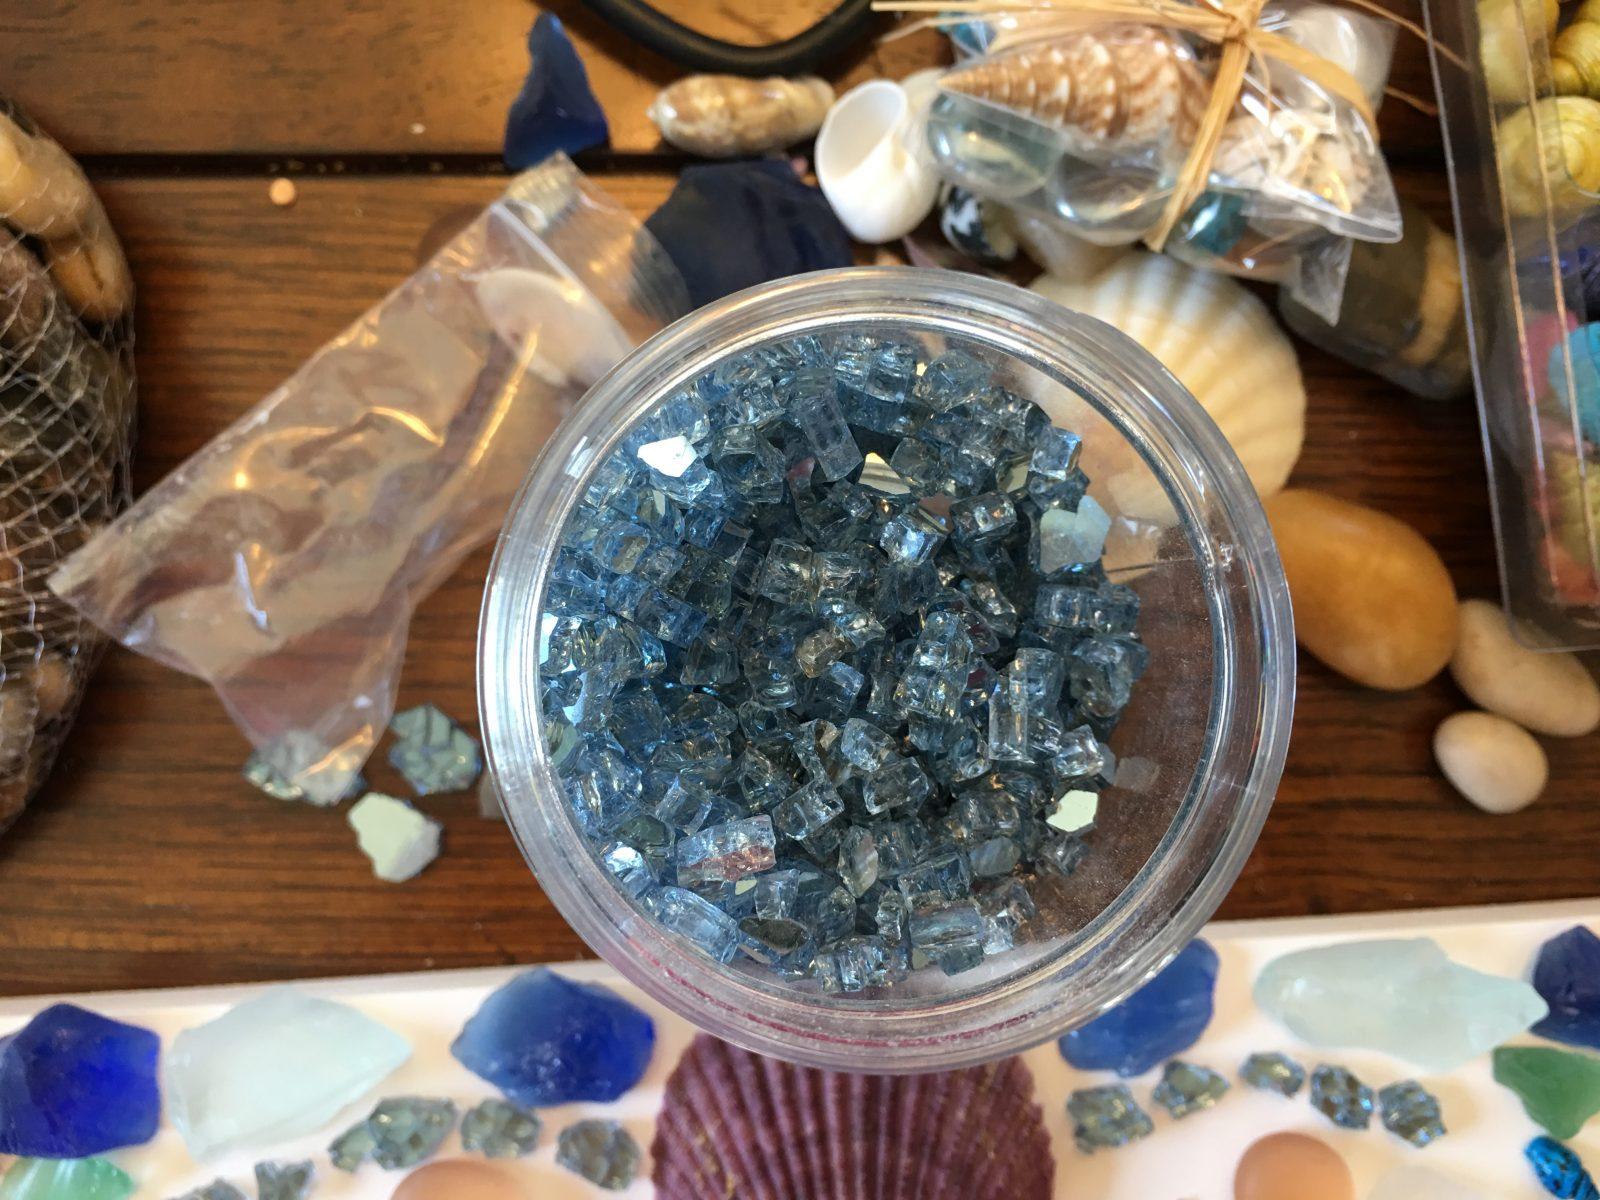
Sea Glass
Frosted glass stones in pale blue and tan (sometimes these are called flat marbles and are available at craft and dollar stores)
Measuring tape
Tweezers

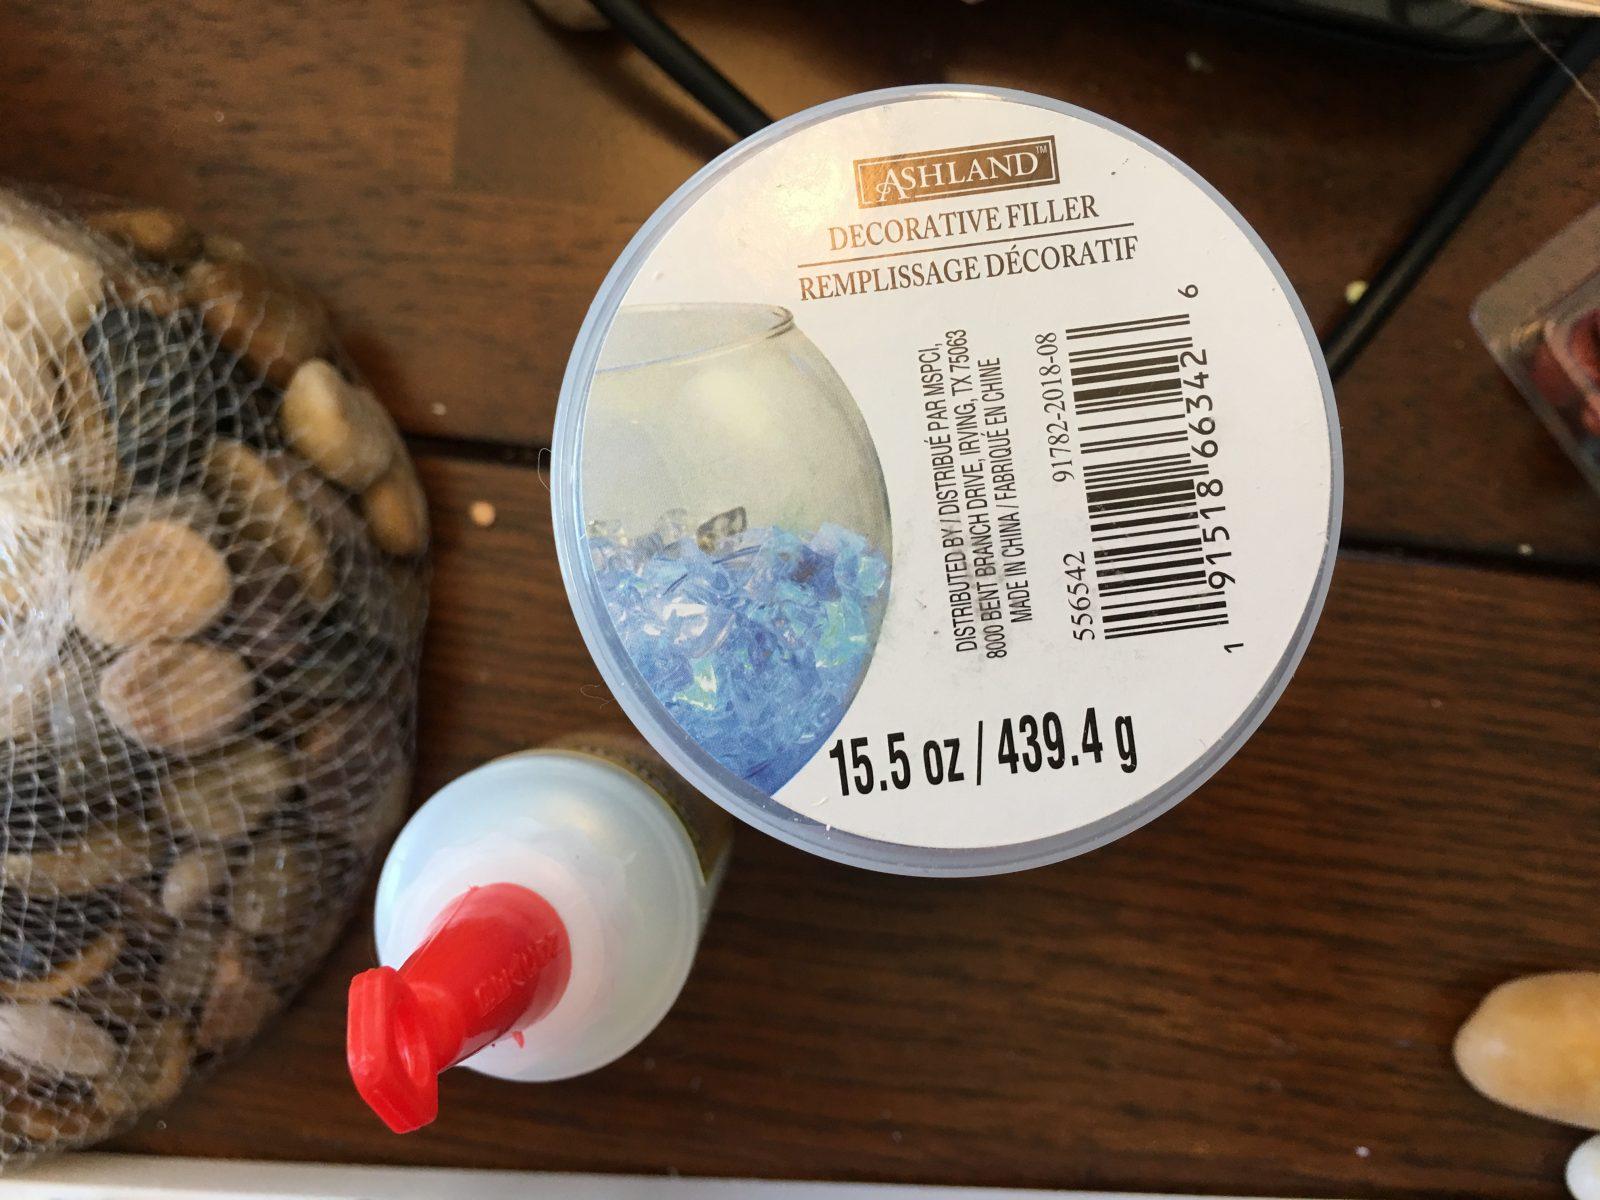
This is the glass filler. I have more pics of it below as well.
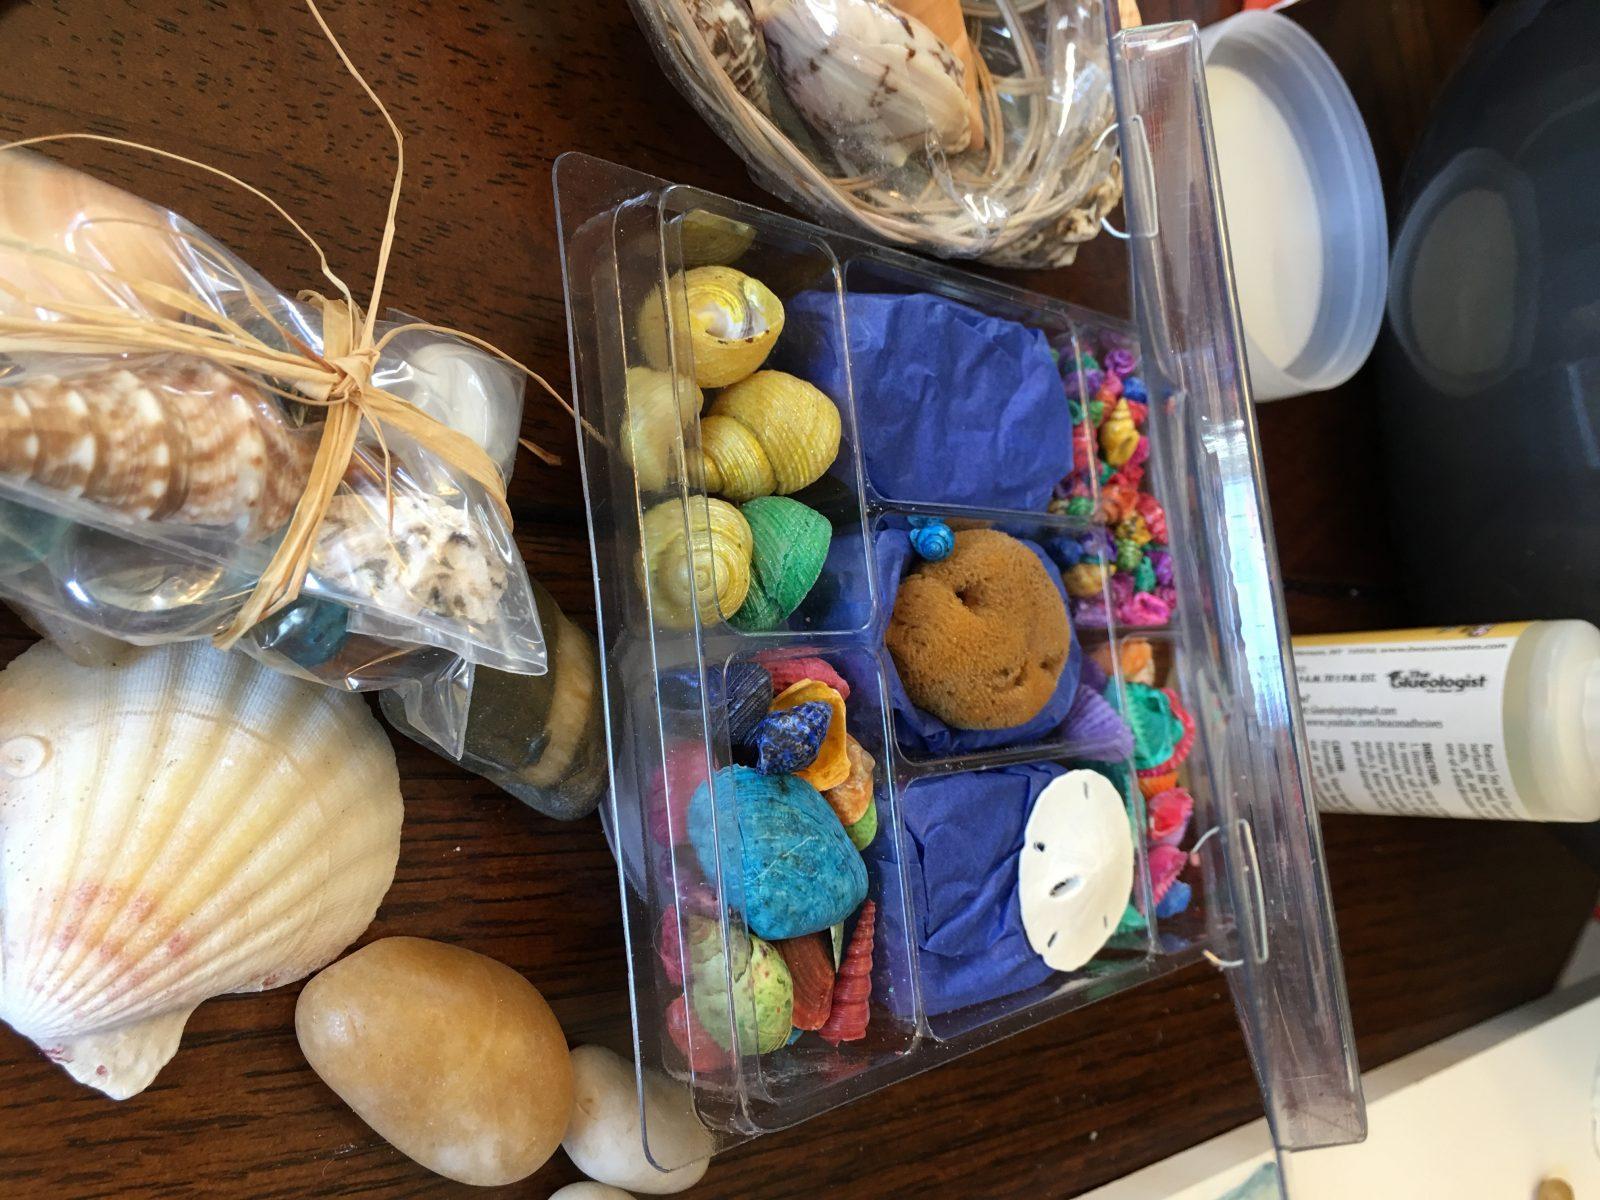
This is the kind of container that the starfish/sand dollar assortment is in.
To start, we used a piece of white baseboard, because the finished edge had a more polished look. It also cut down on a lot of prep time. You can use a plain board and paint it or use chalk paint to give it a weathered look if you like.
I had a hard time picking a glue, so we bought several. The Aleene’s worked great because it had the consistency of a hot glue (sort of) without the “hot” part. I also had bought Gorilla hot glue in case it was needed for the heavier pieces, but we didn’t end up needing it.

I attached the decorative glass pieces first to sort of resemble a wave. I laid them out in the pattern I liked, then laid them out on the other side, using the measuring tape to make sure the sides were even. Next, I glued it down, piece by piece. The tweezers are a must for this part.
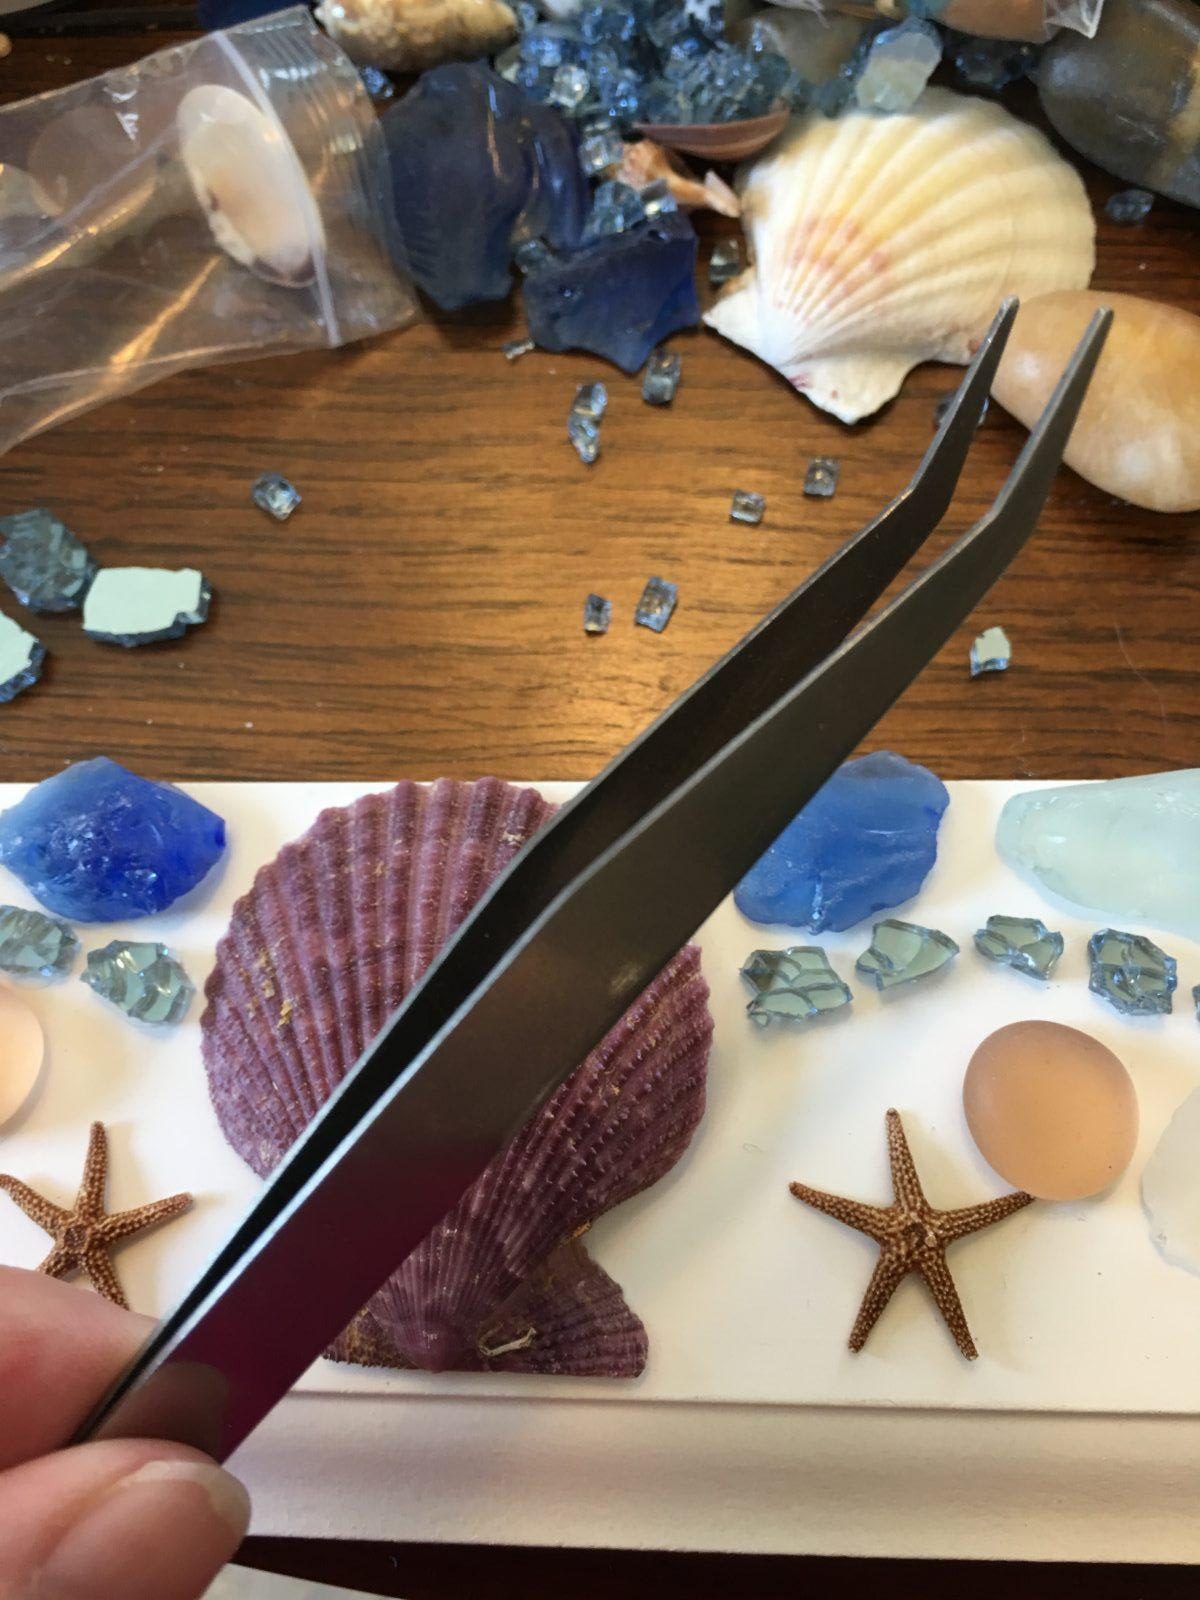
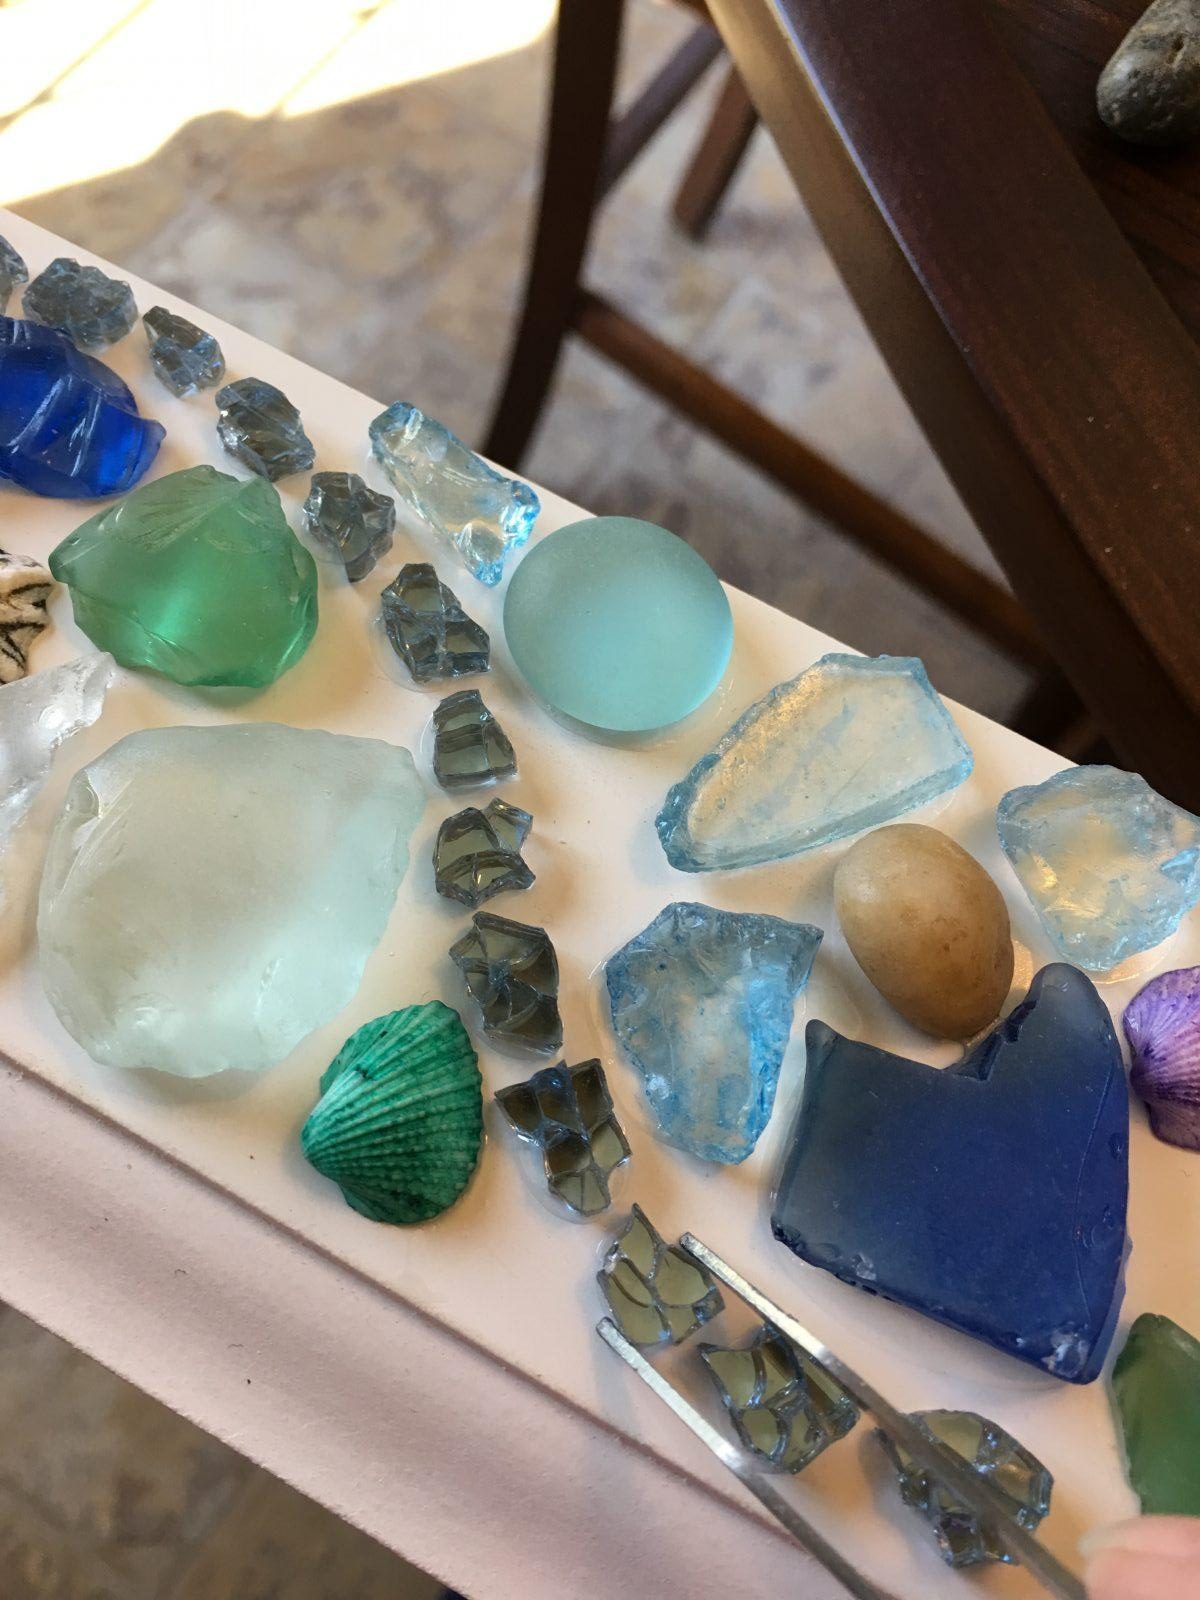


Here you can see a nice close up of how the glass pieces look. The back is mirrored and the front is like cracked glass. These aren’t sharp to touch for the most part, but they do break and there will be some teeny pieces or shards in the bottom of the jar, so be cautious.

When attaching the shells, I filled them with the glue as if I were using hot glue.
The nice part about this glue is that it firms up pretty quickly and when it dries, it’s very forgiving. While you may see a fine outline, it isn’t puffy and is perfectly clear.

Then, I laid everything out to make use I was happy with it, filling in noticeable gaps with the tiny shells for pops of color. The shells on the end were not glued down so they could be used to cover where the screws will hold it to the brick.
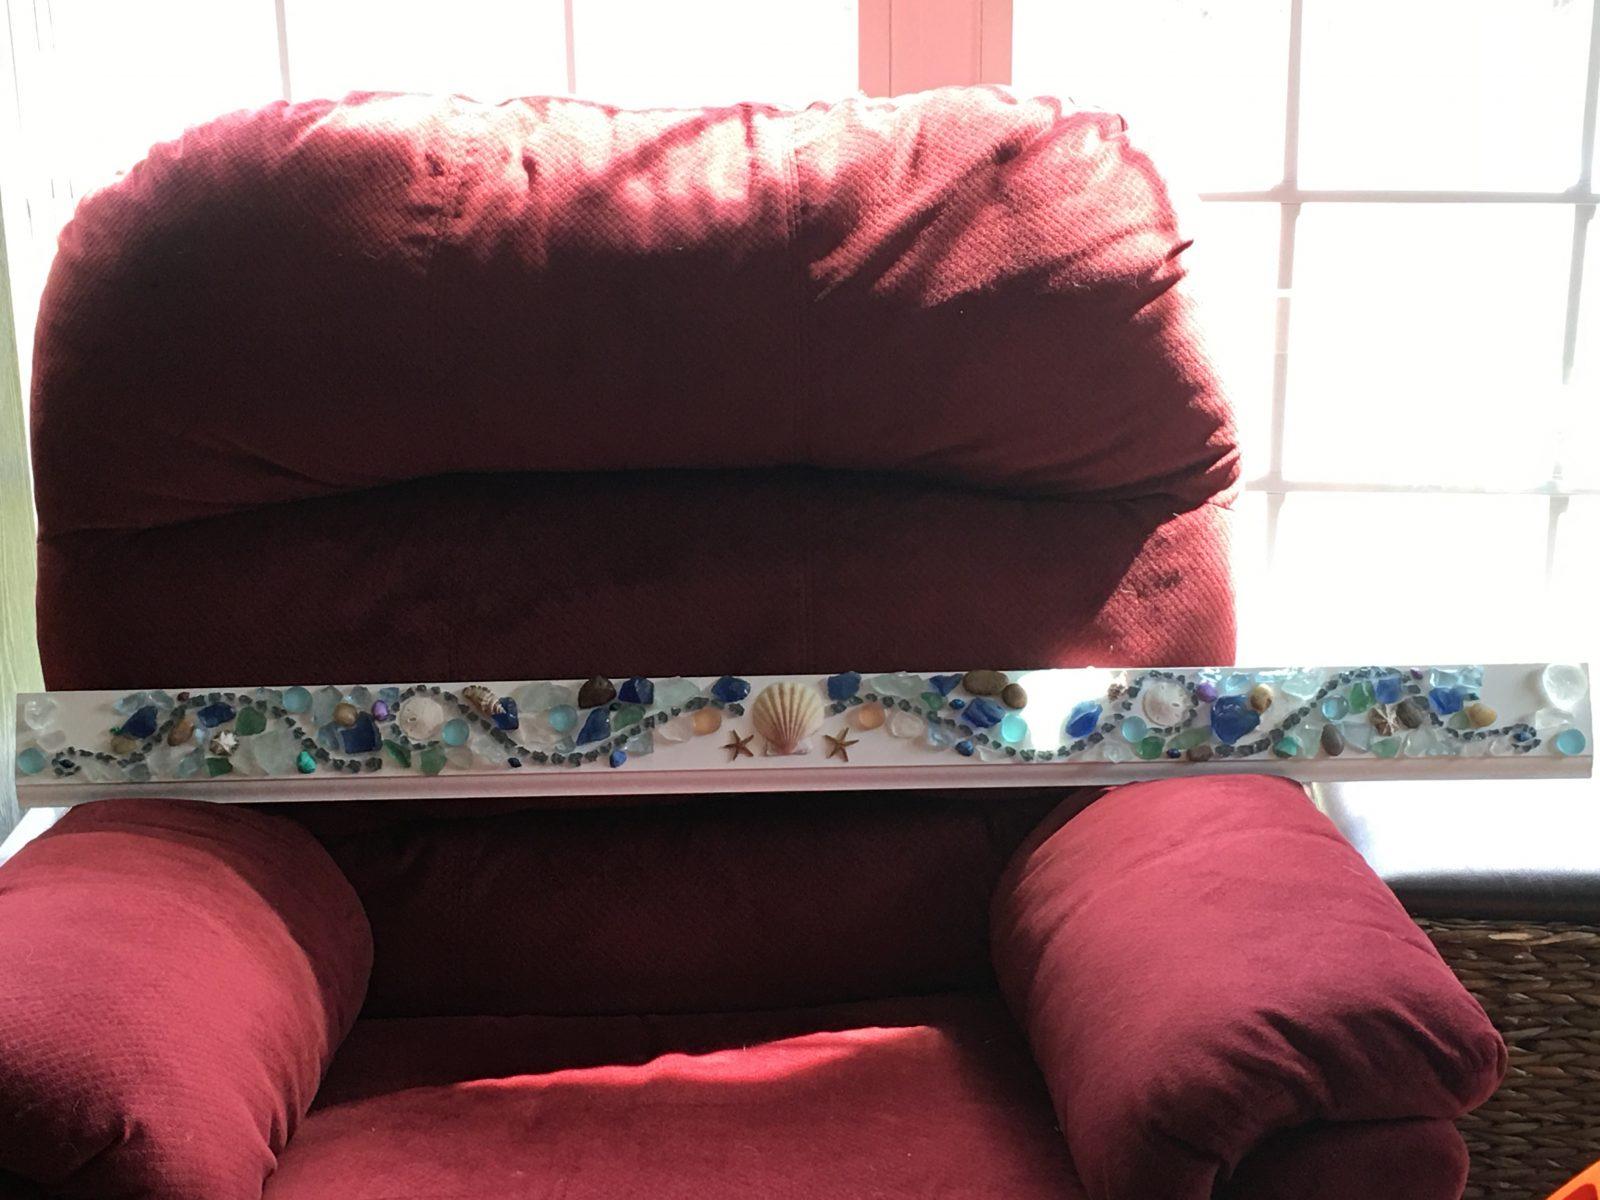
Dried and ready for delivery.
Here is a video of the finished product to show all the detail.

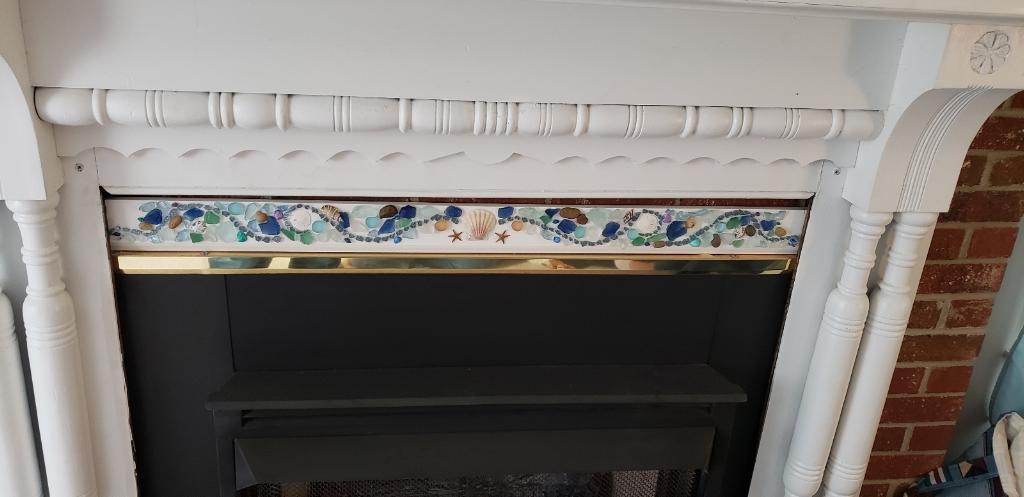
Inset and ready for the finishing trim.

Before and After:


This is “almost done.” We still have to cut more trim for the sides, but it will give you an idea of the finished product.

Subscribe: RSS