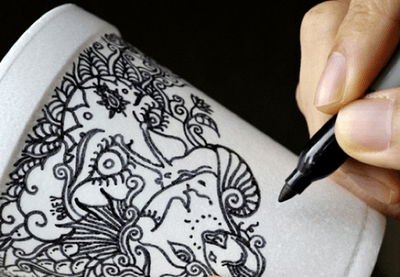
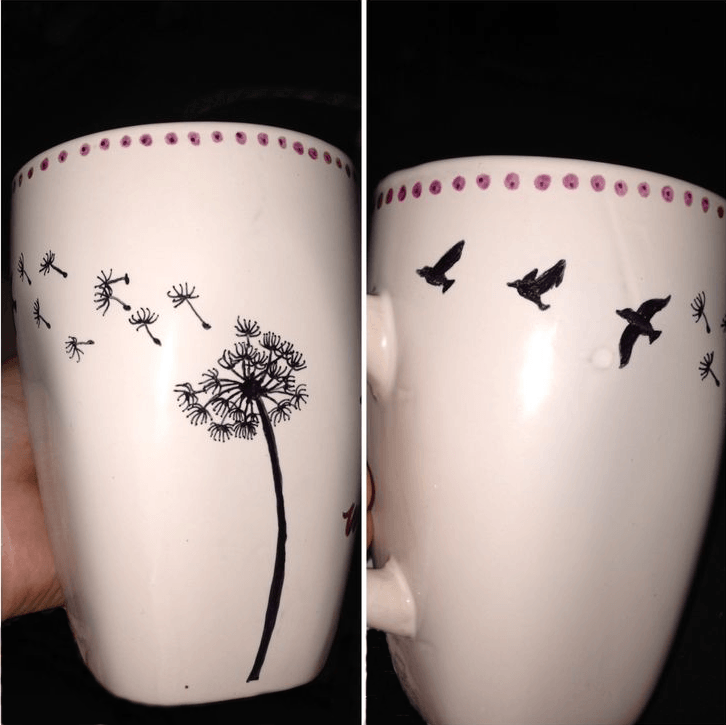
They are all the rage and super cute! When you search images on Google, you find TONS of inspiring ideas for this fun and easy project.
BUT! There is a catch. A lot of sites advise that you use “any old Sharpie” to create the mug, however this isn’t the case. We’ve done our research and found that doing so could lead to some pretty depressing results when it comes time to wash.
One of our researchers suggested using a non-toxic finishing spray. All I can say is – please don’t. Non-toxic doesn’t mean food safe. We want your loved one to be able to use this everyday and have no idea what will happen with long term daily use and a hot liquid.

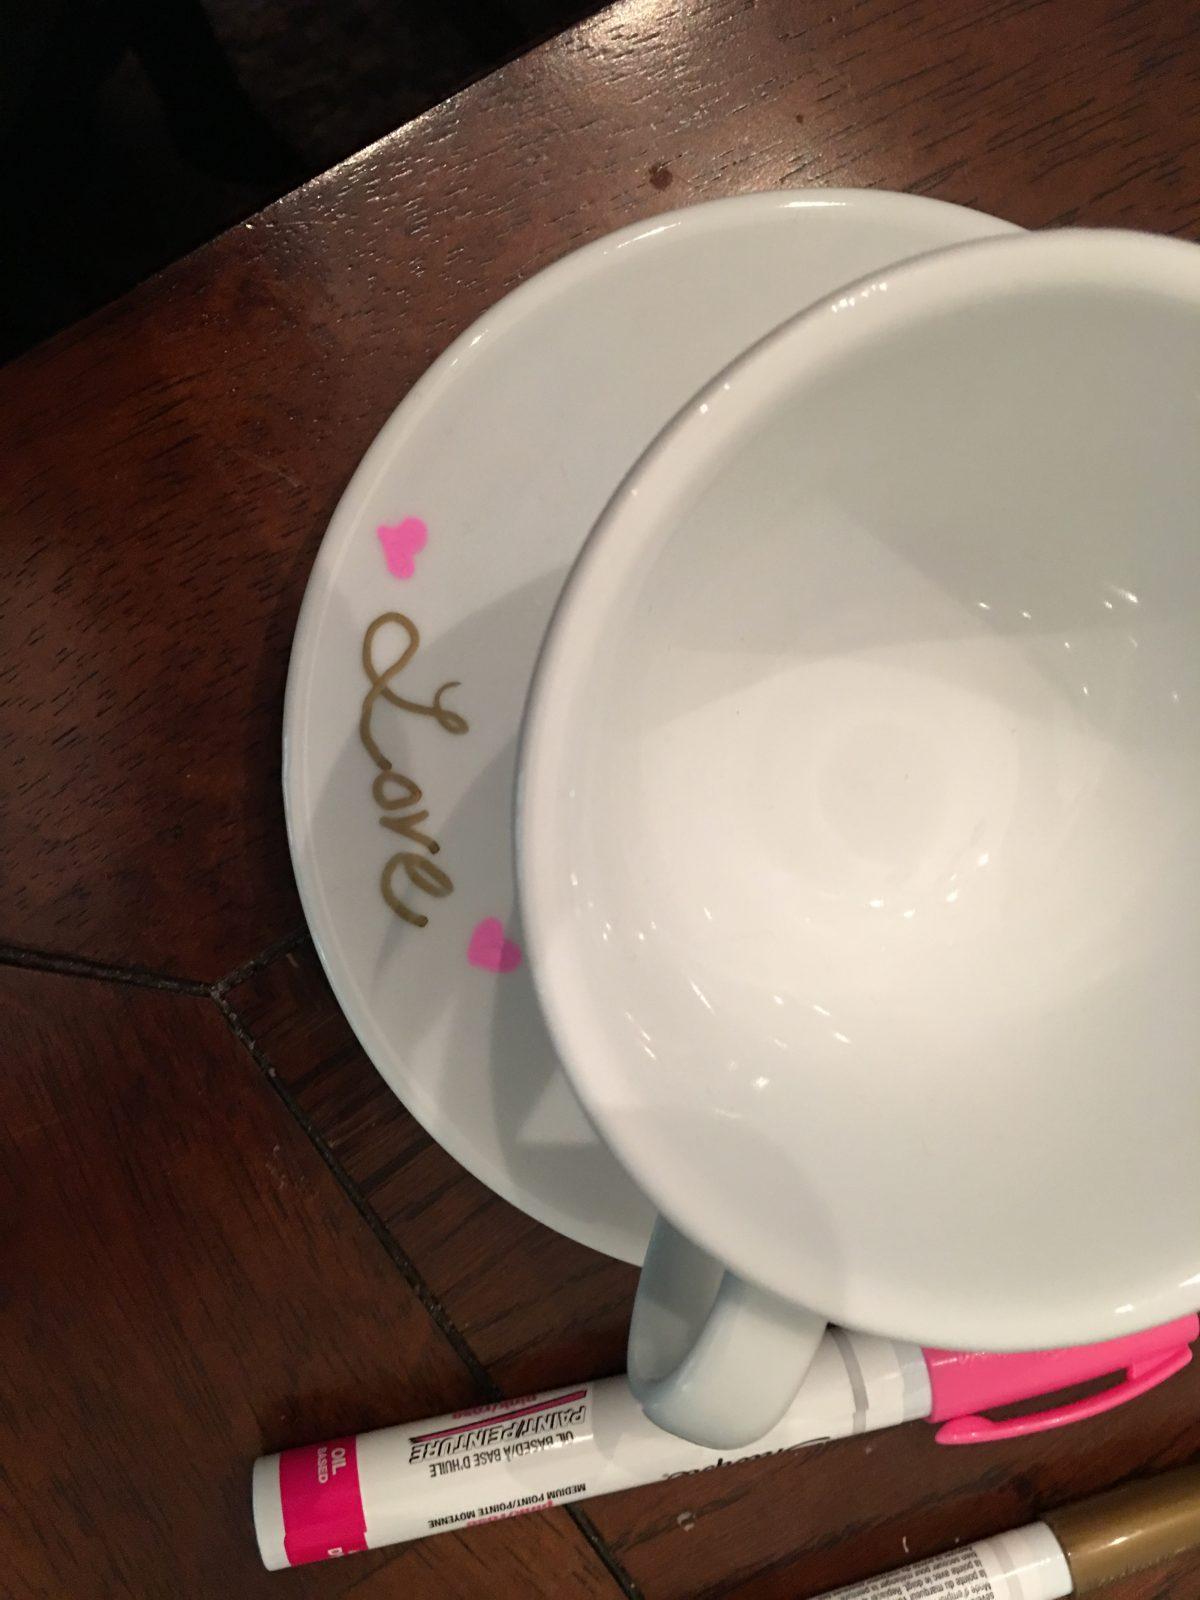
All of that being said – there are two choices that work well: oil based sharpies and DecoArt Glass Paint markers. Really, don’t bother with other choices because even after treated they probably would stand up to a washing or two.
If you go with the Deco Art (harder to find but we are told they even stand up to the dishwasher!) then follow the instructions on the package, which is pretty similar to the instructions for the sharpie.
Sharpie instructions:
You will need:
- Your choice of oil based sharpie colors
- Plain white mug or tea cup (cheap ones work best)
1. Line a cookie sheet with tinfoil to place the mugs on to bake. Do not preheat the oven.
3. If desired, use a pencil to draw your base design so it can be traced.
4. Decorate, decorate decorate!
5. Place the mugs on the cookie sheet in the oven and place them inside.
6. Turn the oven to 350 degrees. It is important that your mug heats up with the oven, so that the shock of the heat doesn’t shatter the ceramic, so put it in first then turn the oven on. This is especially true if it’s a fragile teacup! If you are using black or colored marker, I’ve also had success with using the oven at 425 degrees. This does produce a firmer “set” of the paint, but for colors like gold or silver, I have noticed that it seems to burn off the finish slightly if it isn’t layered thickly. It’s not overly noticeable, but I’m nitpicky. I also noticed the higher temp did seem to change the color slightly darker on the pink. It did set very well though. Details on that project are below.
7. Bake 20-30 minutes.
8. Allow to cool. Wash before using.
Here is another project using colored paint sharpies. I used the 425 degree technique on these:
Before Curing in the Oven:

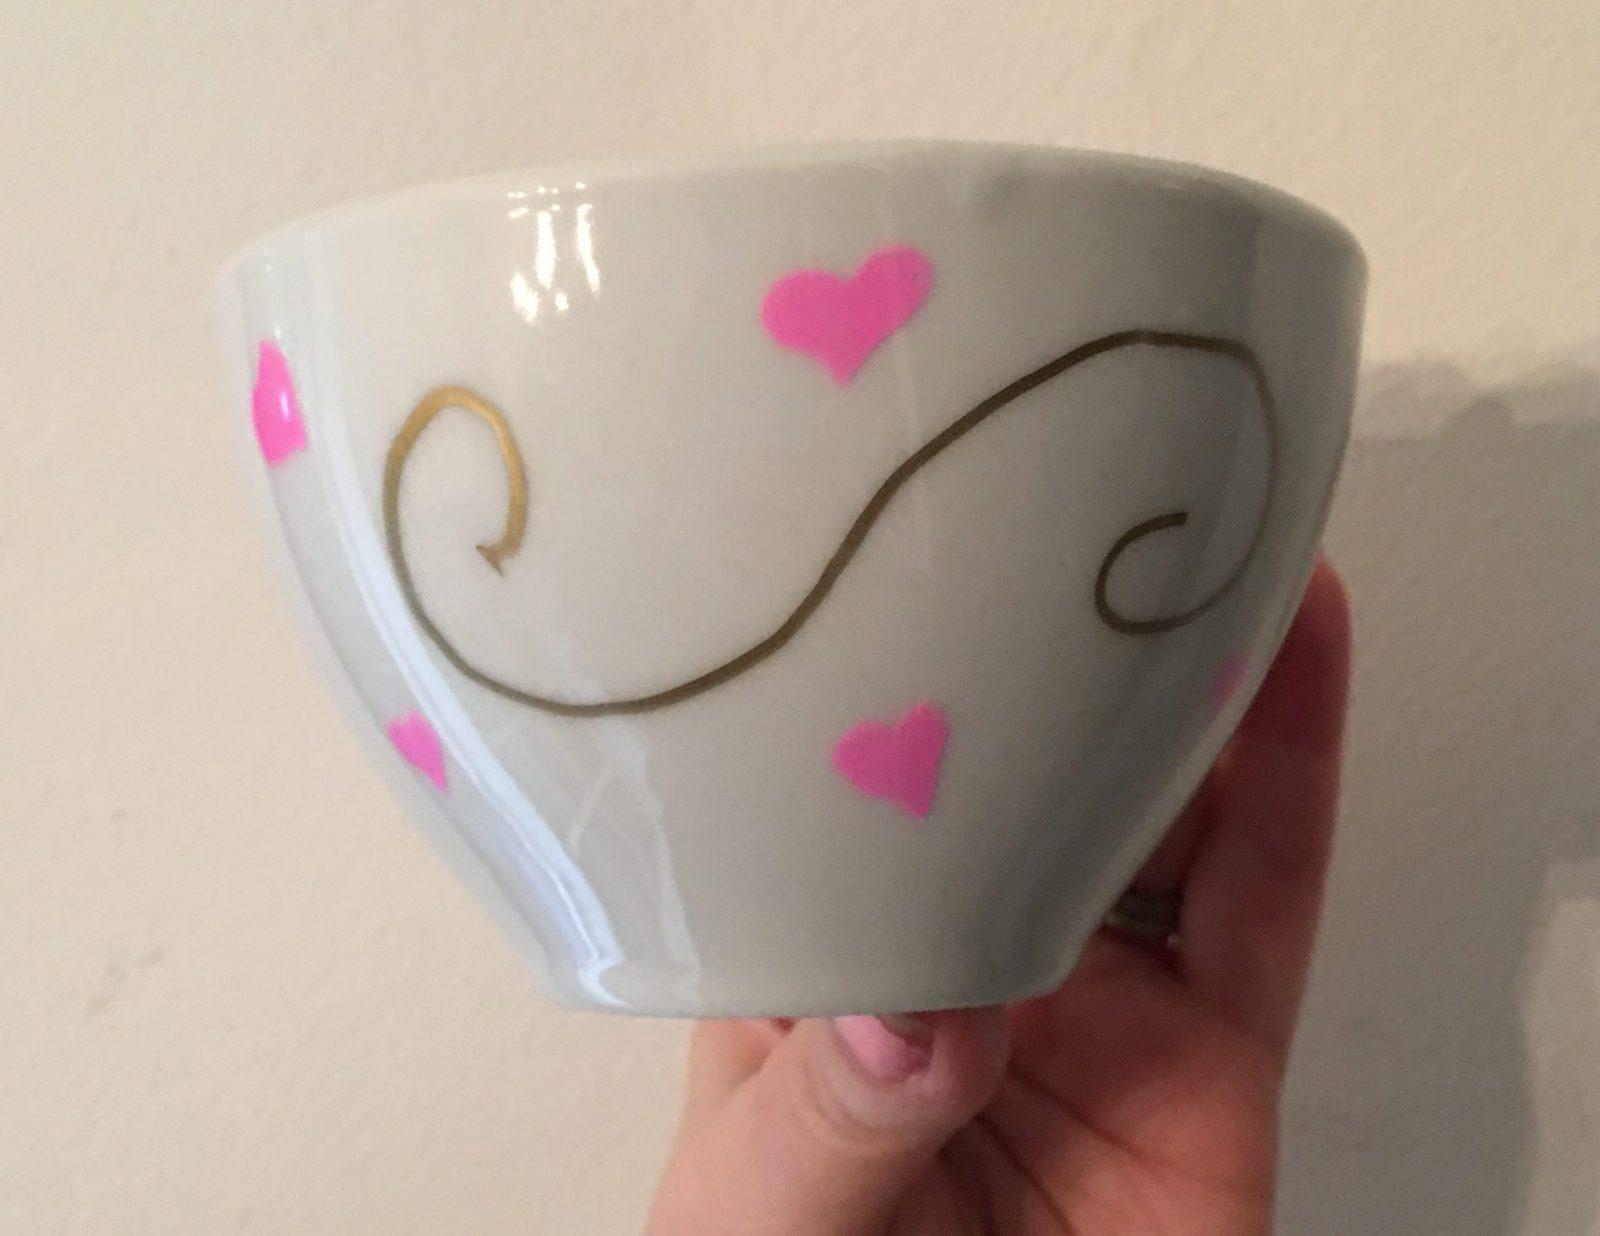

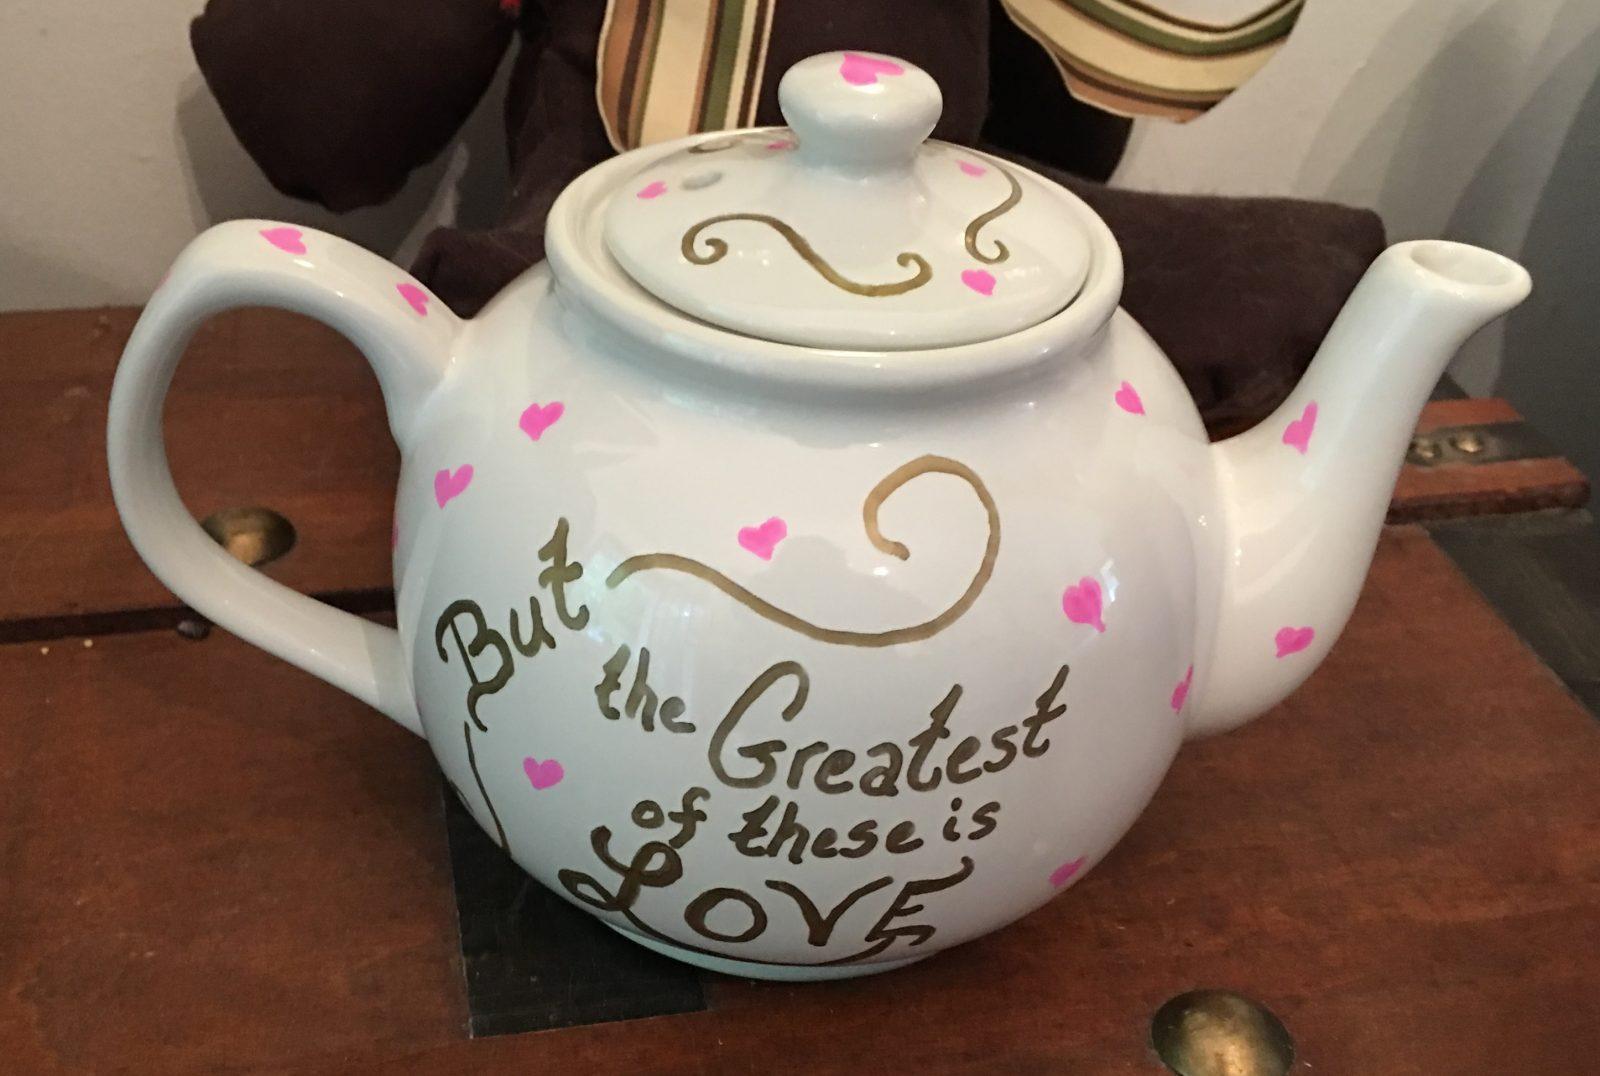


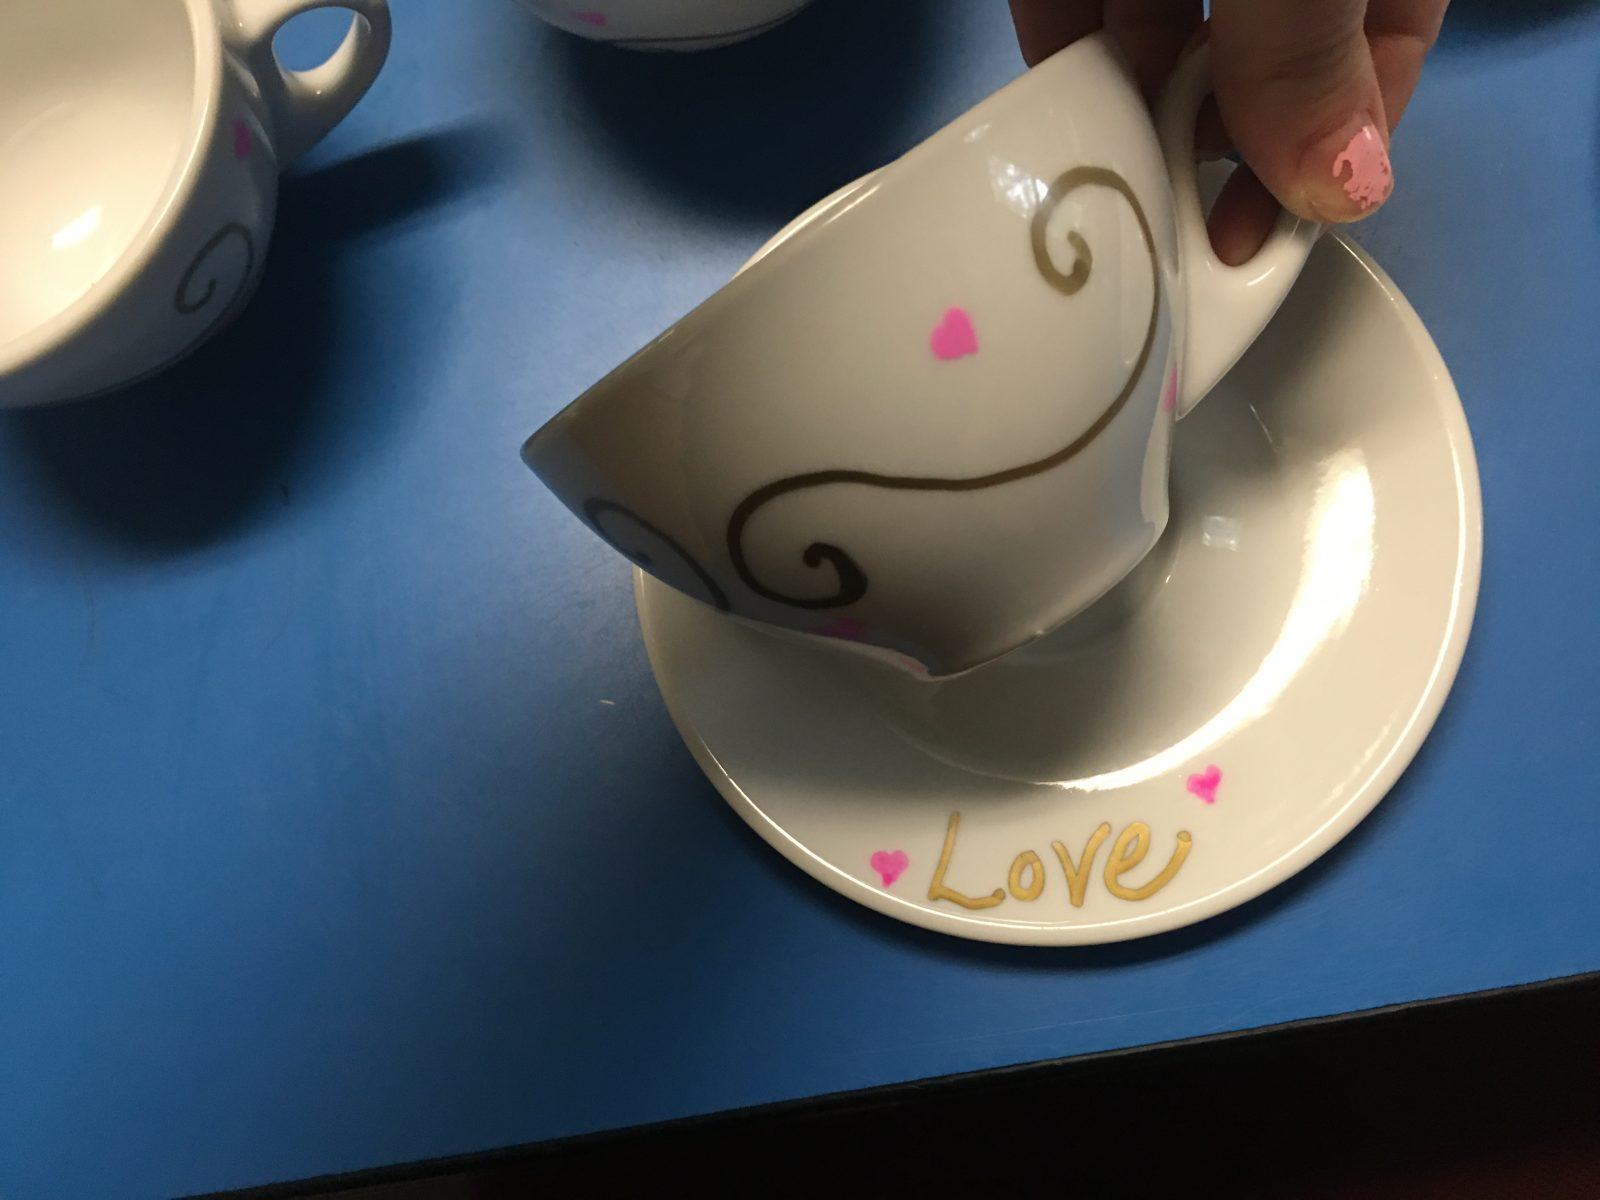

After Curing in the Oven:
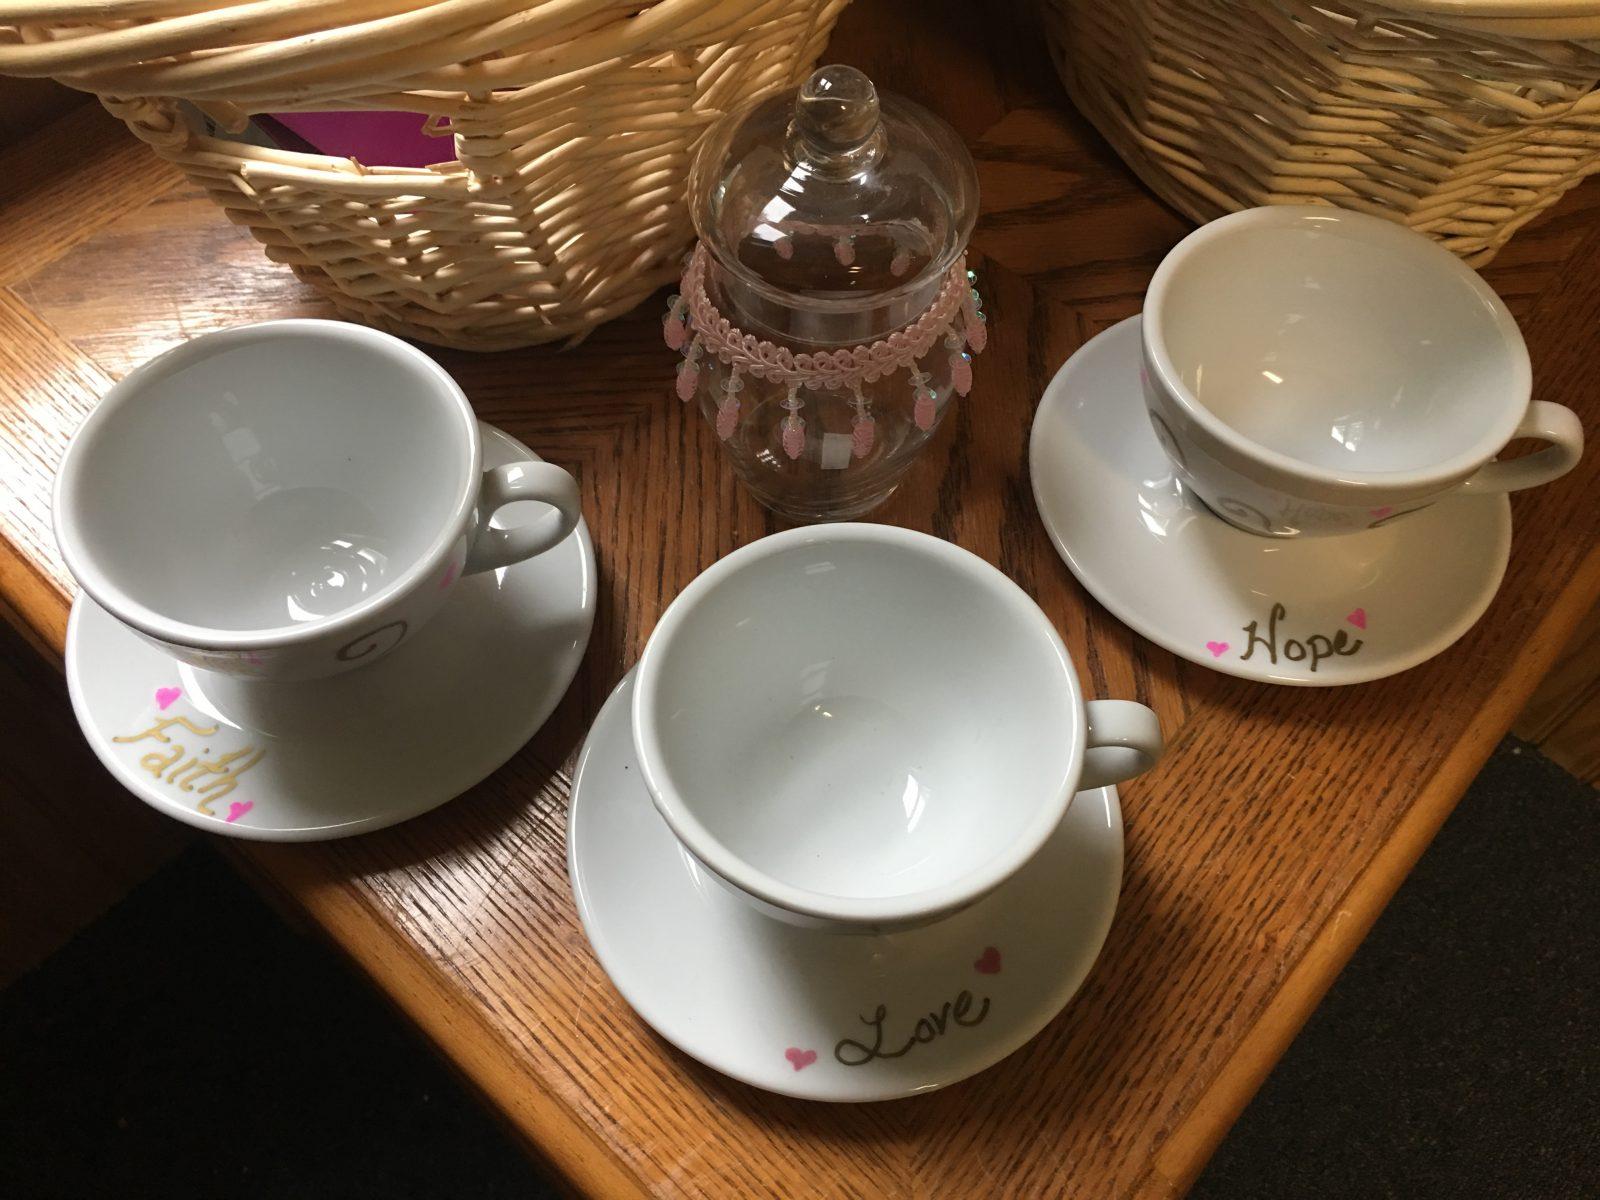

You can see that the bright pink turned into slightly more of a pink/mauve and the gold got a little darker and lost a bit of it’s sheen, but they are still pretty close to the original color. These were for a tea party for our pastor’s daughter’s bridal shower (there were 25 cups and saucers and the teapot was an added surprise for the bride). The set features the quote from 1 Corinthians 13:13 and the reference is written on the back of the teapot as well in gold. (Unfortunately I forgot to take a picture of that before I gave it to the family).
Afterwards, I tested them by scratching with my nail, washing them, and rubbing them with a paper towel and they held up just fine.
Be sure that you hand wash. I’m told you “can” wash them in your dishwasher, but I’ve never had the courage.
If you would like to use the teapot that I did, I purchased it very reasonably at Amazon here. Happy crafting!